In this guide4 steps
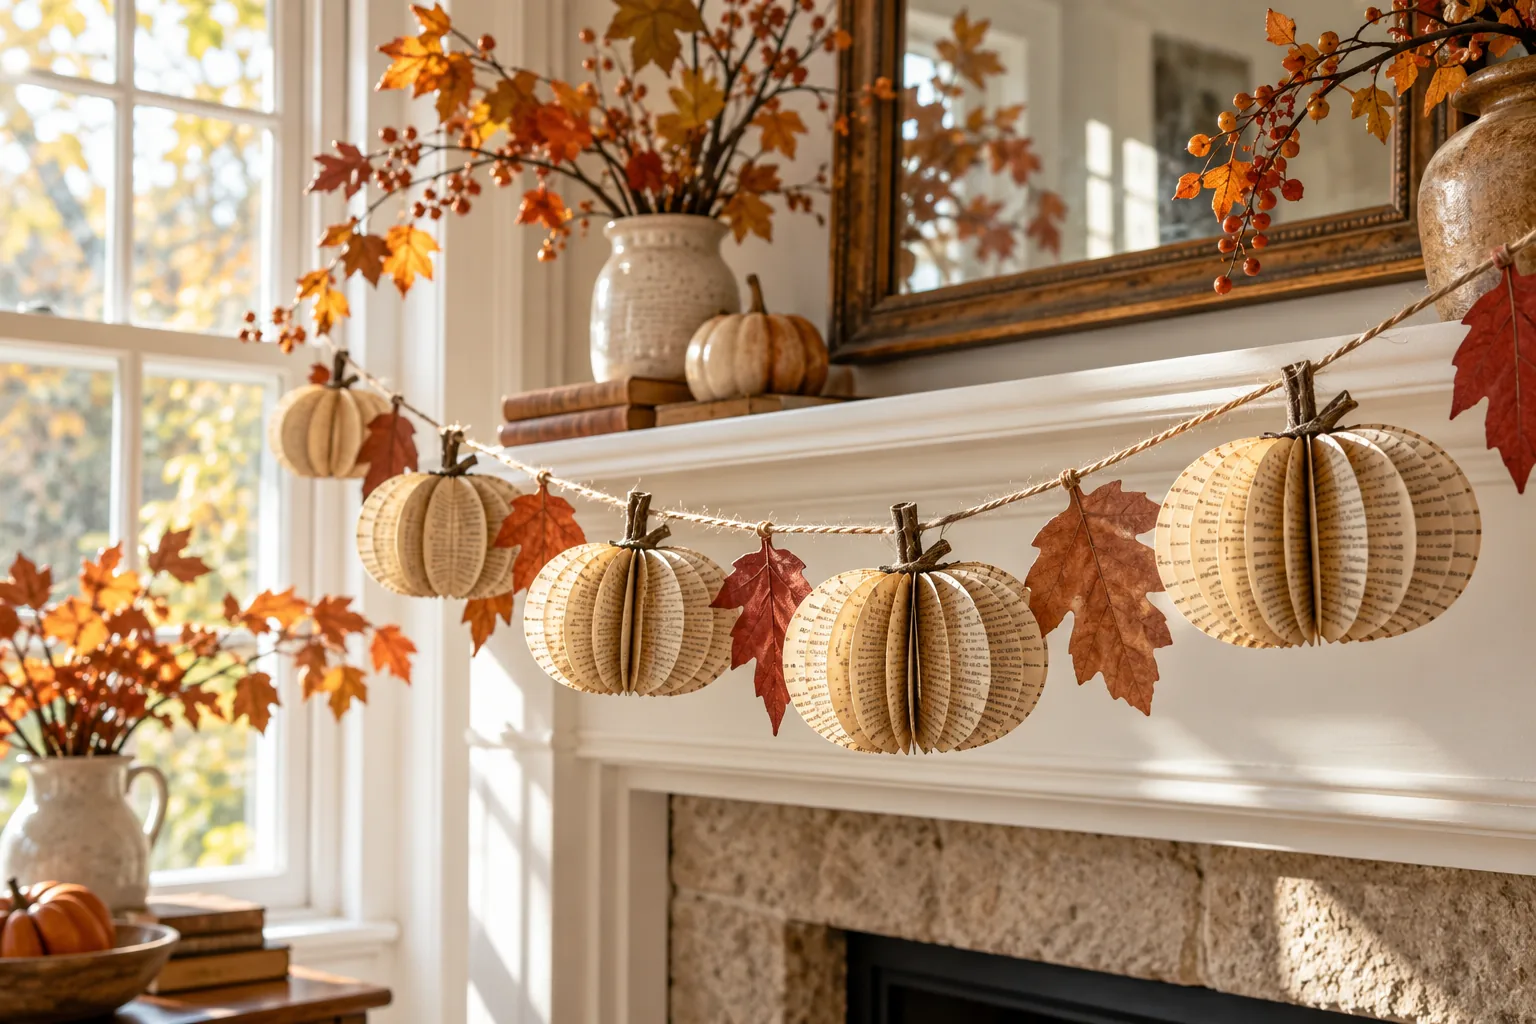
This book-page pumpkin garland brings a little Halloween shape to a mantel, shelf, or window without plastic decorations. Each pumpkin is made from folded paper pieces joined into a soft dimensional form, then spaced along cotton twine. The finished garland is light, easy to adjust, and simple to store flat after the season.
Choose paper and make a template
Use lightweight pages that fold cleanly. Reclaimed book pages add gentle print texture, while plain kraft or cream paper makes a quieter garland. Skip valuable or fragile books; photocopies or scrap paper work just as well. Draw one rounded pumpkin shape about 3 inches tall on cardstock and cut it out. Make a second template a little smaller if you want varied sizes.
Before cutting the full batch, fold and glue a few test shapes. If the paper cracks, choose thinner stock or score the fold gently with the back of a spoon. If it curls, use less glue and let the form dry under a light book.
Build a balanced garland
Plan the spacing on a table before threading. A mix of five to seven pumpkins with a few inches between them usually reads clearly on a small mantel; a wider window may need more. Paper stems can be made from tiny folded strips. Keep the shapes lightweight so the cord does not sag, and use removable hooks rated for the surface where you plan to hang it.
Hang and store it
Hang the cord with a relaxed curve and adjust each pumpkin so its fullest side faces the room. Keep the garland away from candles, heaters, and damp window condensation. When Halloween is over, remove it by the cord rather than pulling on the paper shapes. Store it flat in a shallow box with tissue between layers.
Make and test the pumpkin template
Draw a rounded pumpkin outline about 3 inches tall on scrap cardstock and cut it out. Fold one paper shape down the center to check that the outline stays balanced. Adjust the template before tracing the rest; a softly lobed shape is easier to fold than narrow, sharp ribs.
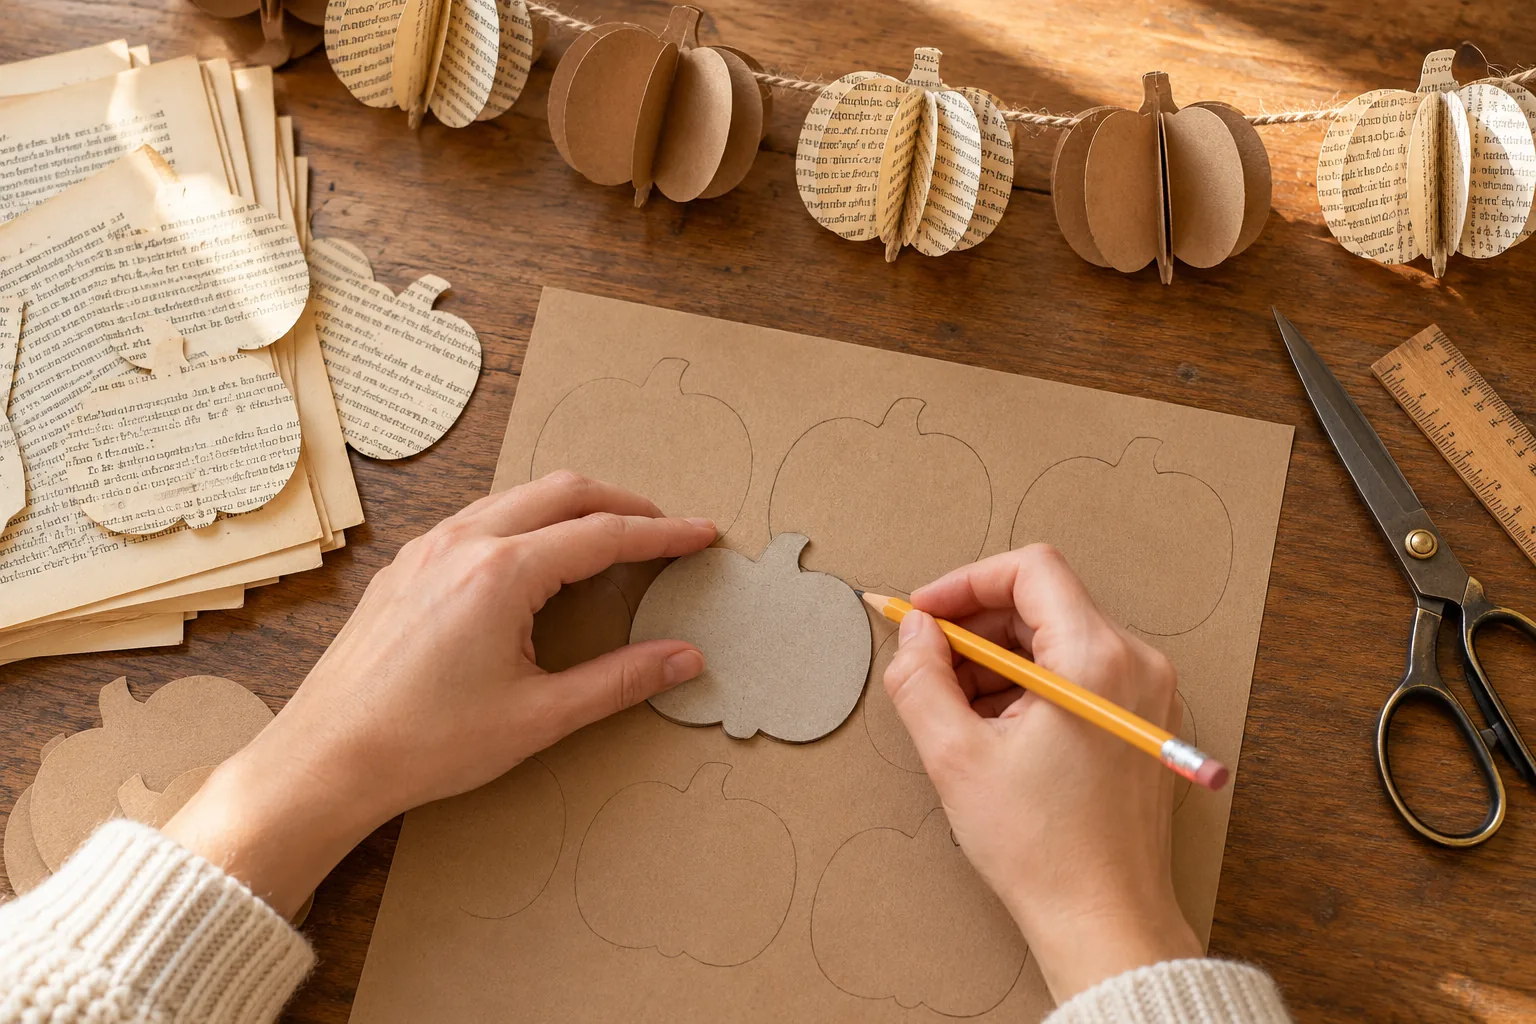
Trace and cut matching shapes
Trace 6–8 shapes for each dimensional pumpkin, keeping the center line vertical. Cut slowly with small scissors and stack only a few sheets at a time so the edges stay even. Combine printed and plain paper if you want the garland to feel lighter.
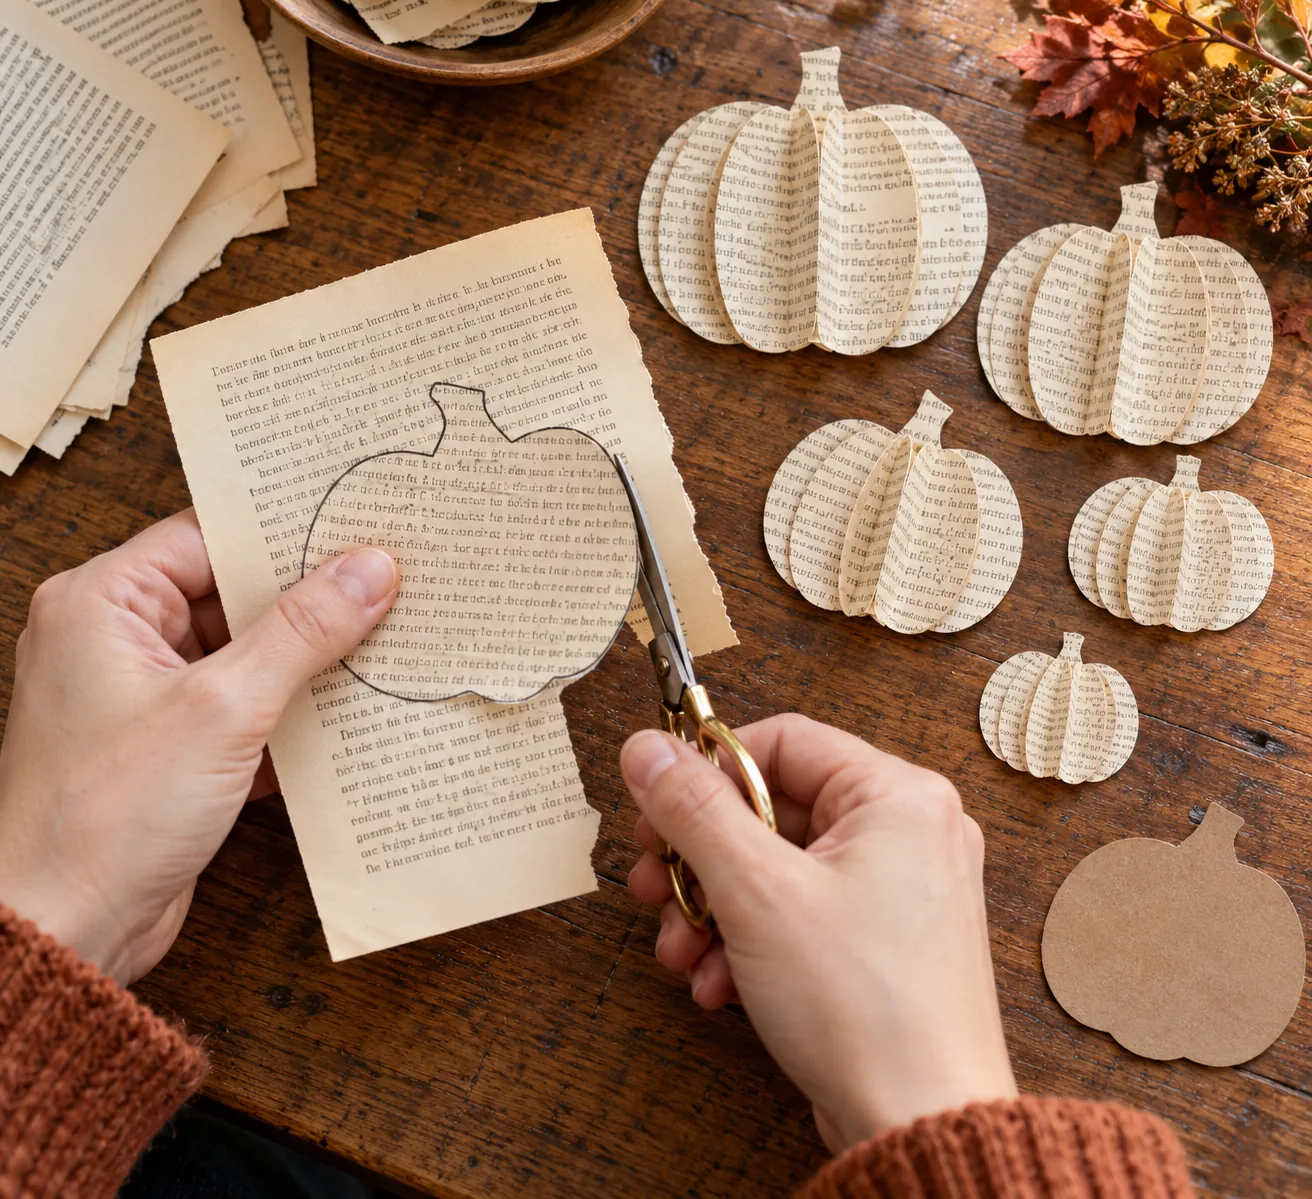
Fold, join, and add a stem
Fold each paper pumpkin shape in half along its center line. Glue one half to the next until the stack forms a rounded fan, then join the first and last halves. Add a small folded paper stem at the top and let the pumpkin dry flat before handling. Repeat for each size.
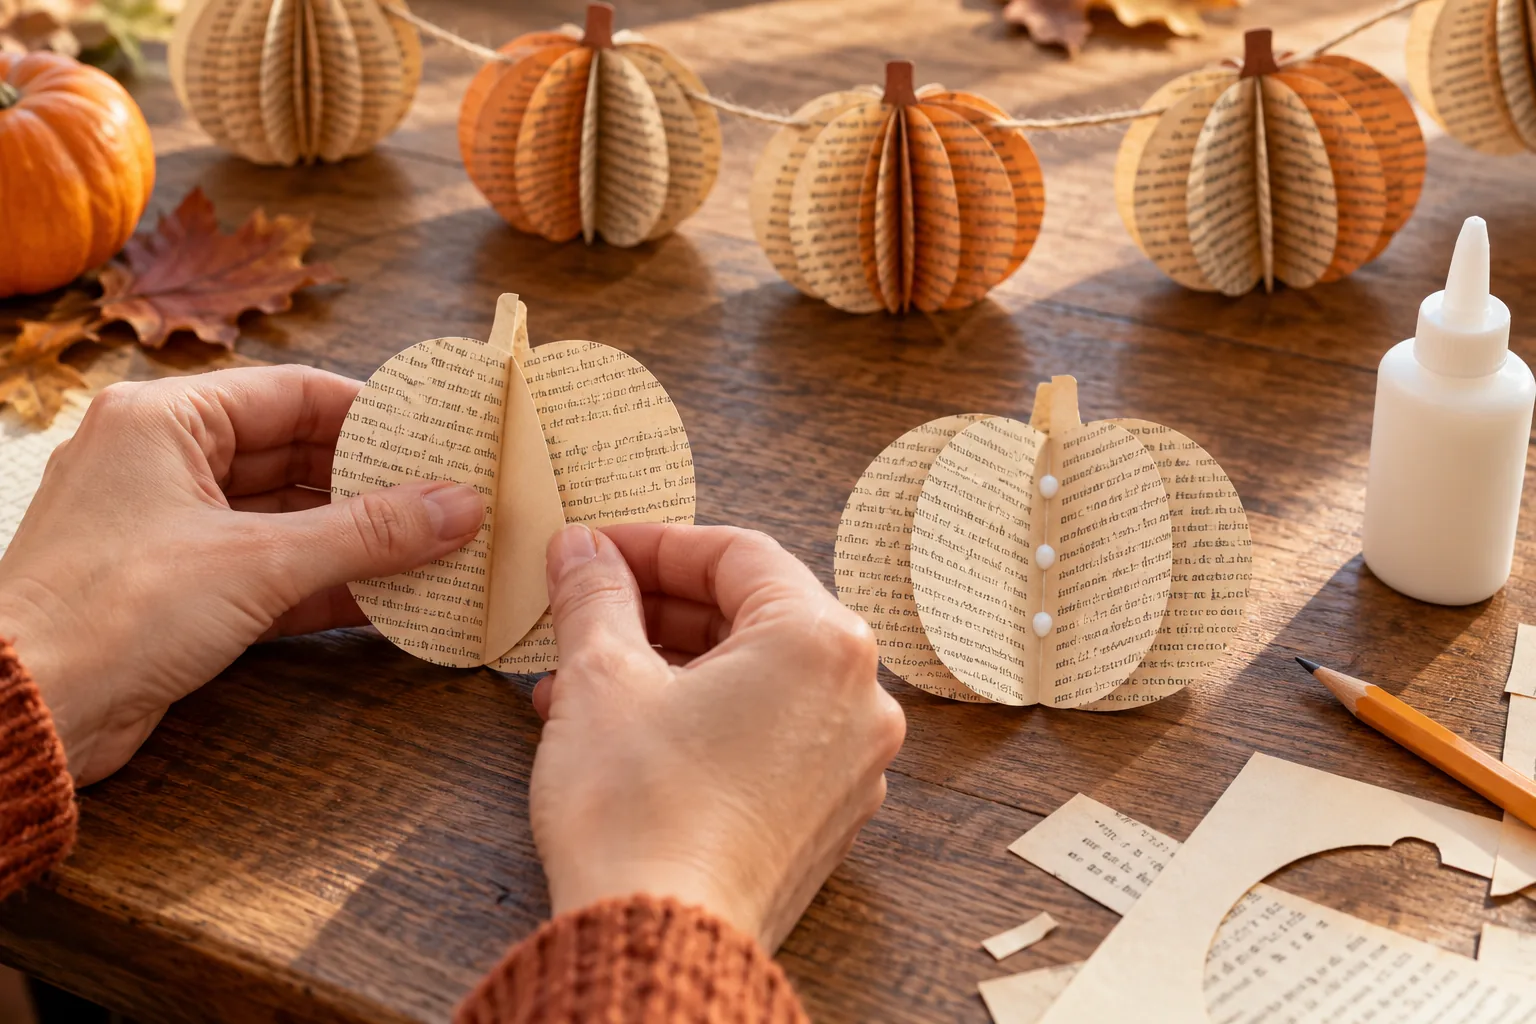
Thread the cord and hang
Make a small hole near the top fold or pass a blunt needle through the folded center, avoiding the thin outer edges. Thread each pumpkin onto cotton cord and space them evenly. Tie loops at both ends, hang from removable hooks, and adjust the curve before stepping back to check the spacing.
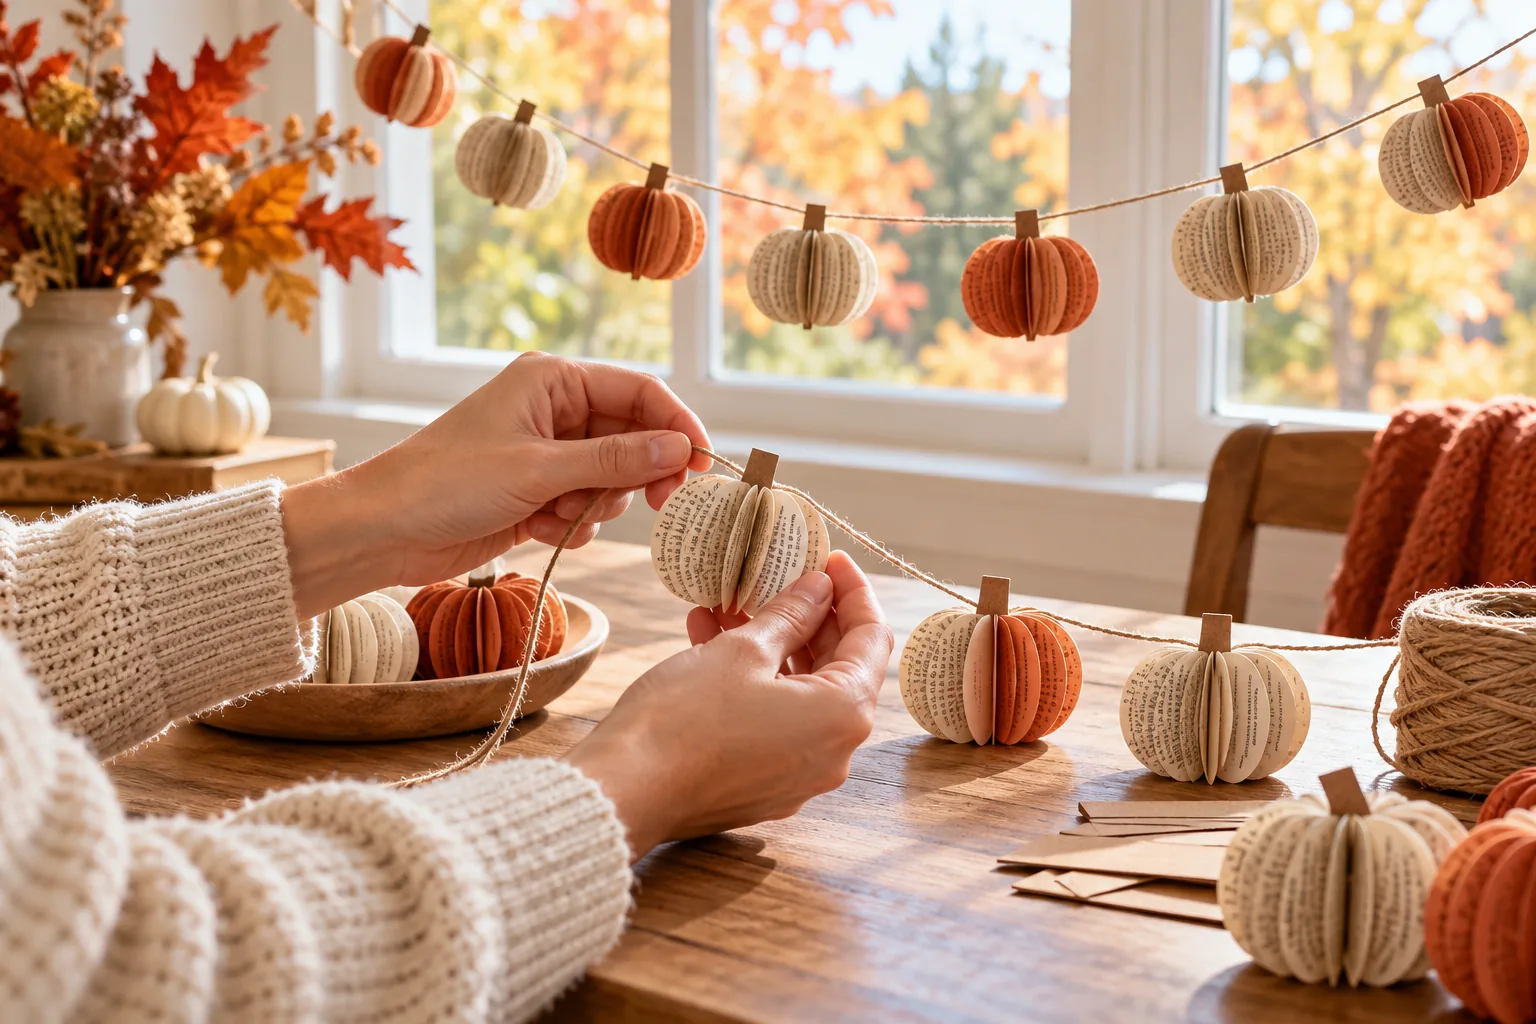
Good to know
Common questions
Can I use regular printer paper?
Yes. Printer paper folds easily and works well for small pumpkins. For a sturdier garland, use lightweight book paper or thin craft paper rather than heavy cardstock.
How many paper shapes make one pumpkin?
Start with six matching shapes for a small pumpkin. Add two more if you want a fuller fan, and test one before cutting a large batch.
How do I keep the garland from sagging?
Keep each pumpkin light, use a firm cotton cord, and add a support hook in the middle of a long span. Do not hang it from the paper shapes themselves.
Can I make this with children?
An adult can prepare the template and supervise scissors and the needle. Children can trace shapes, fold paper, and help choose the spacing.
Plan your holiday gifts
Gift ideas from Ottly
Personalized ornaments and keepsakes, selected from our Etsy shop. These are separate gift ideas, not supplies for this project.
Current seasonal edit · Halloween
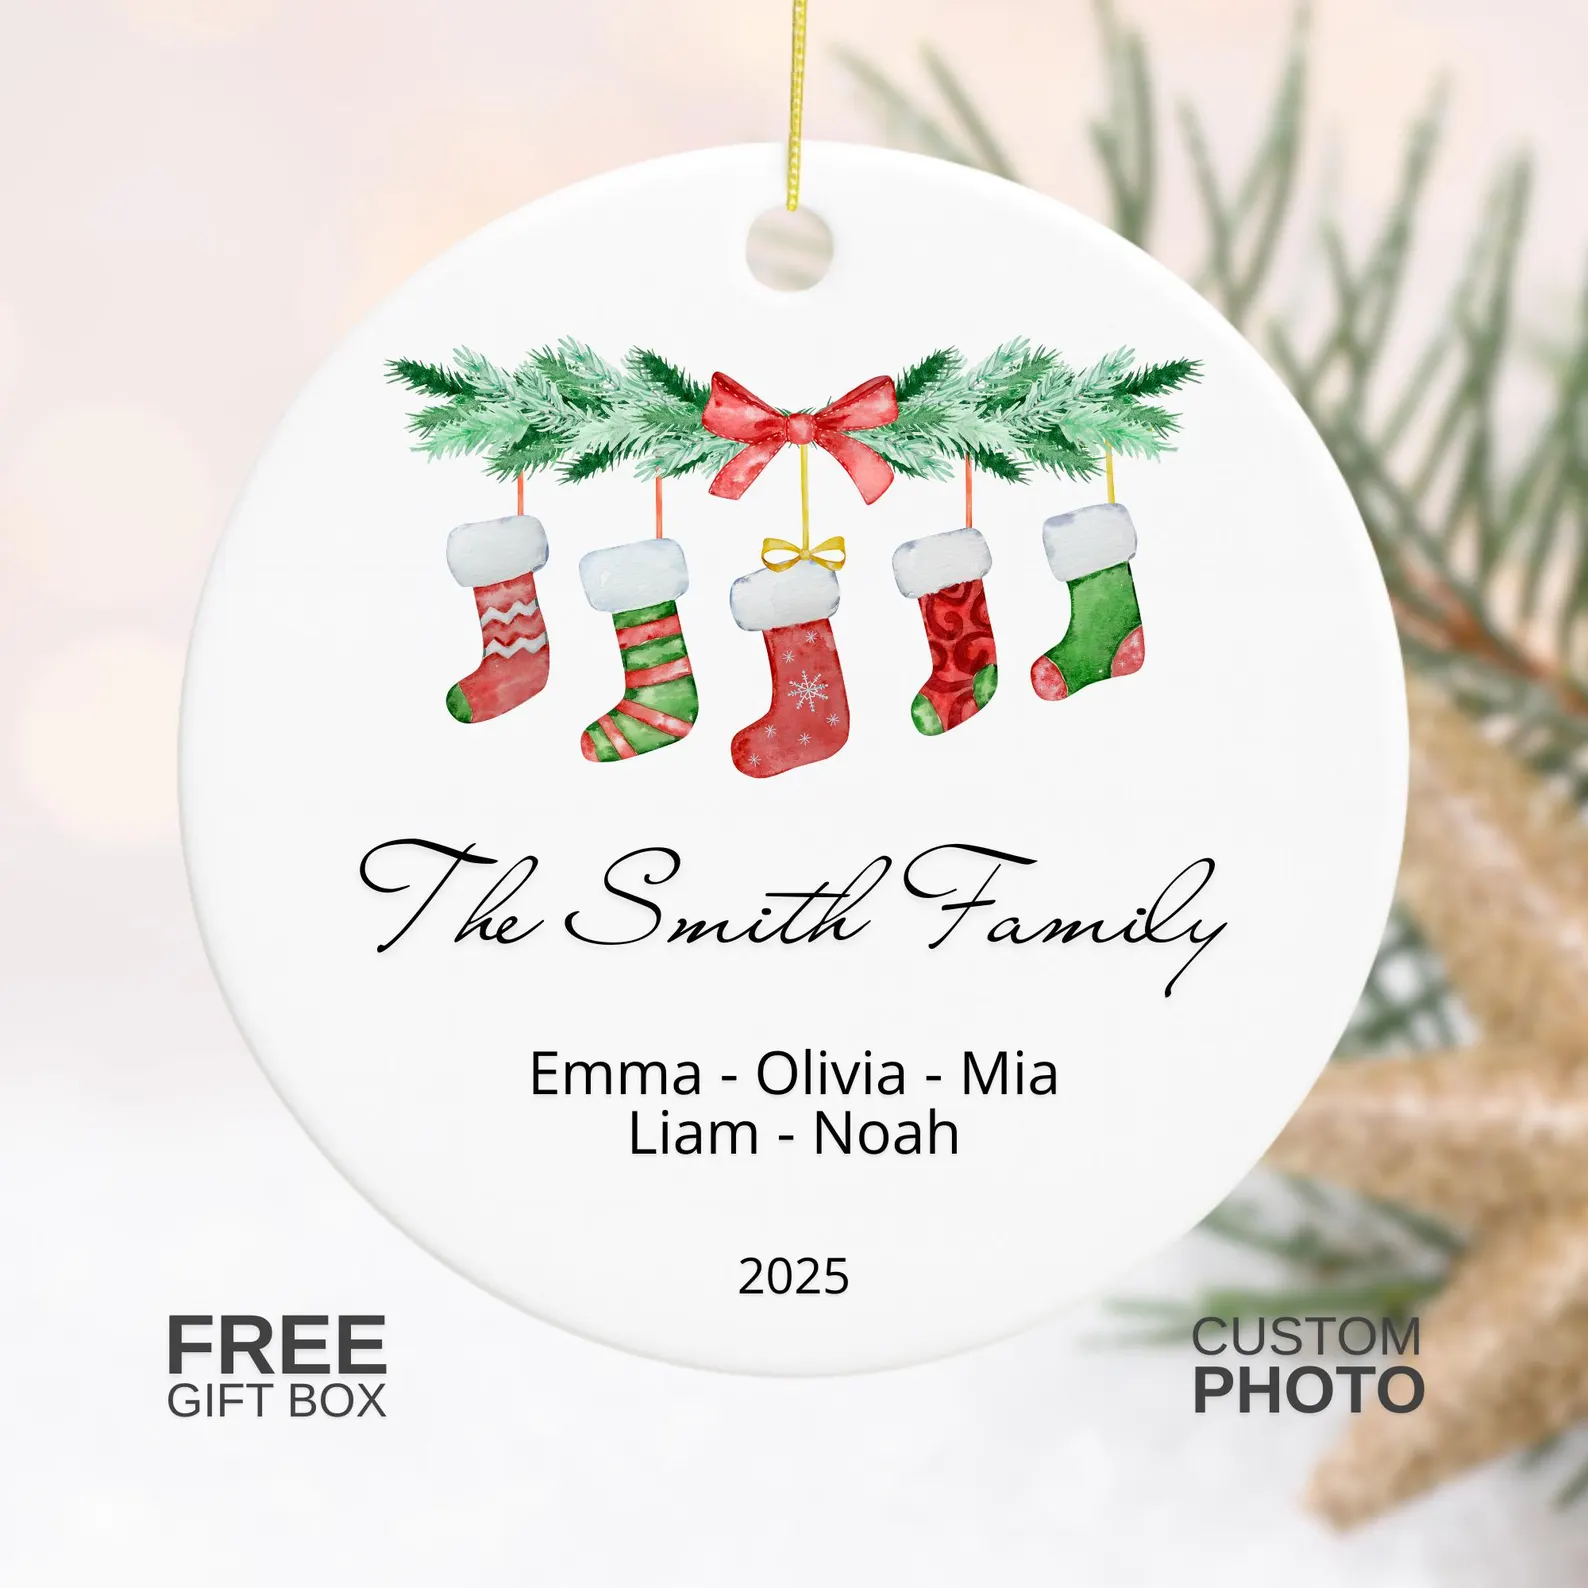 Christmas · personalizedPersonalized family ornamentA stocking keepsake made with the family's names.View on Etsy ↗
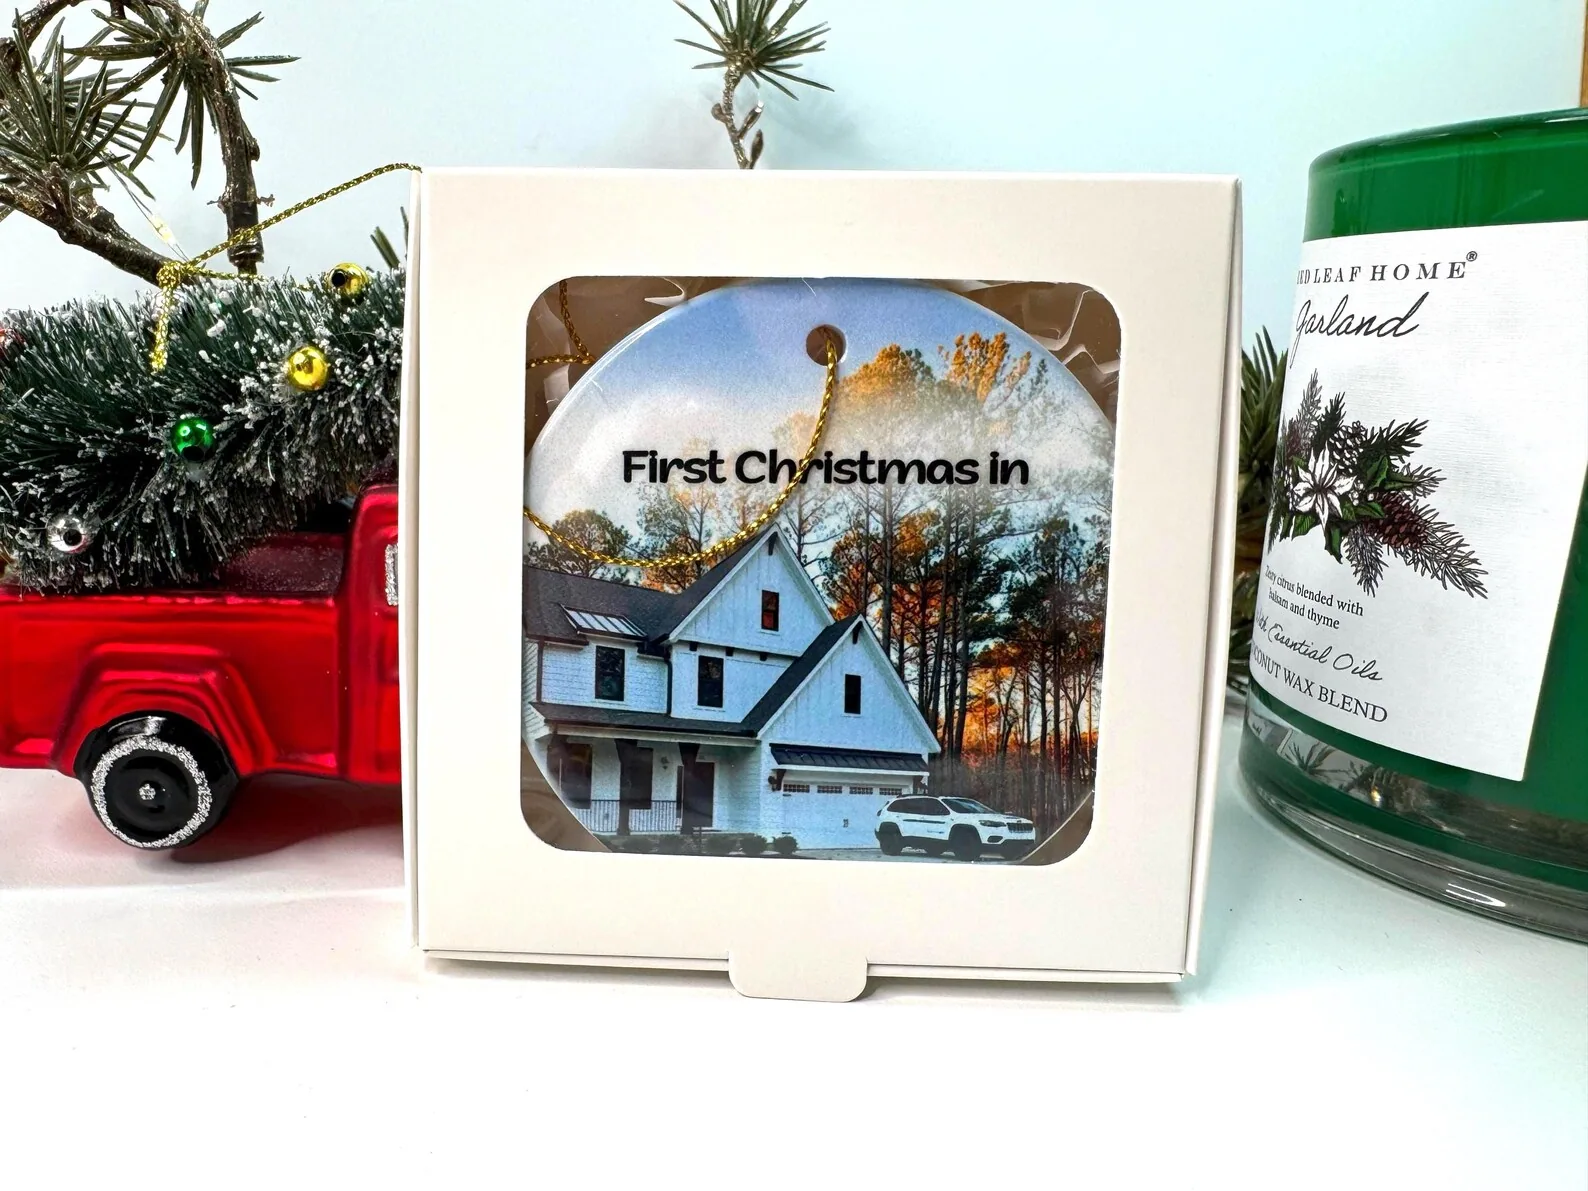 Milestone · housewarmingNew home photo ornamentA personal way to remember a first home or a move.View on Etsy ↗
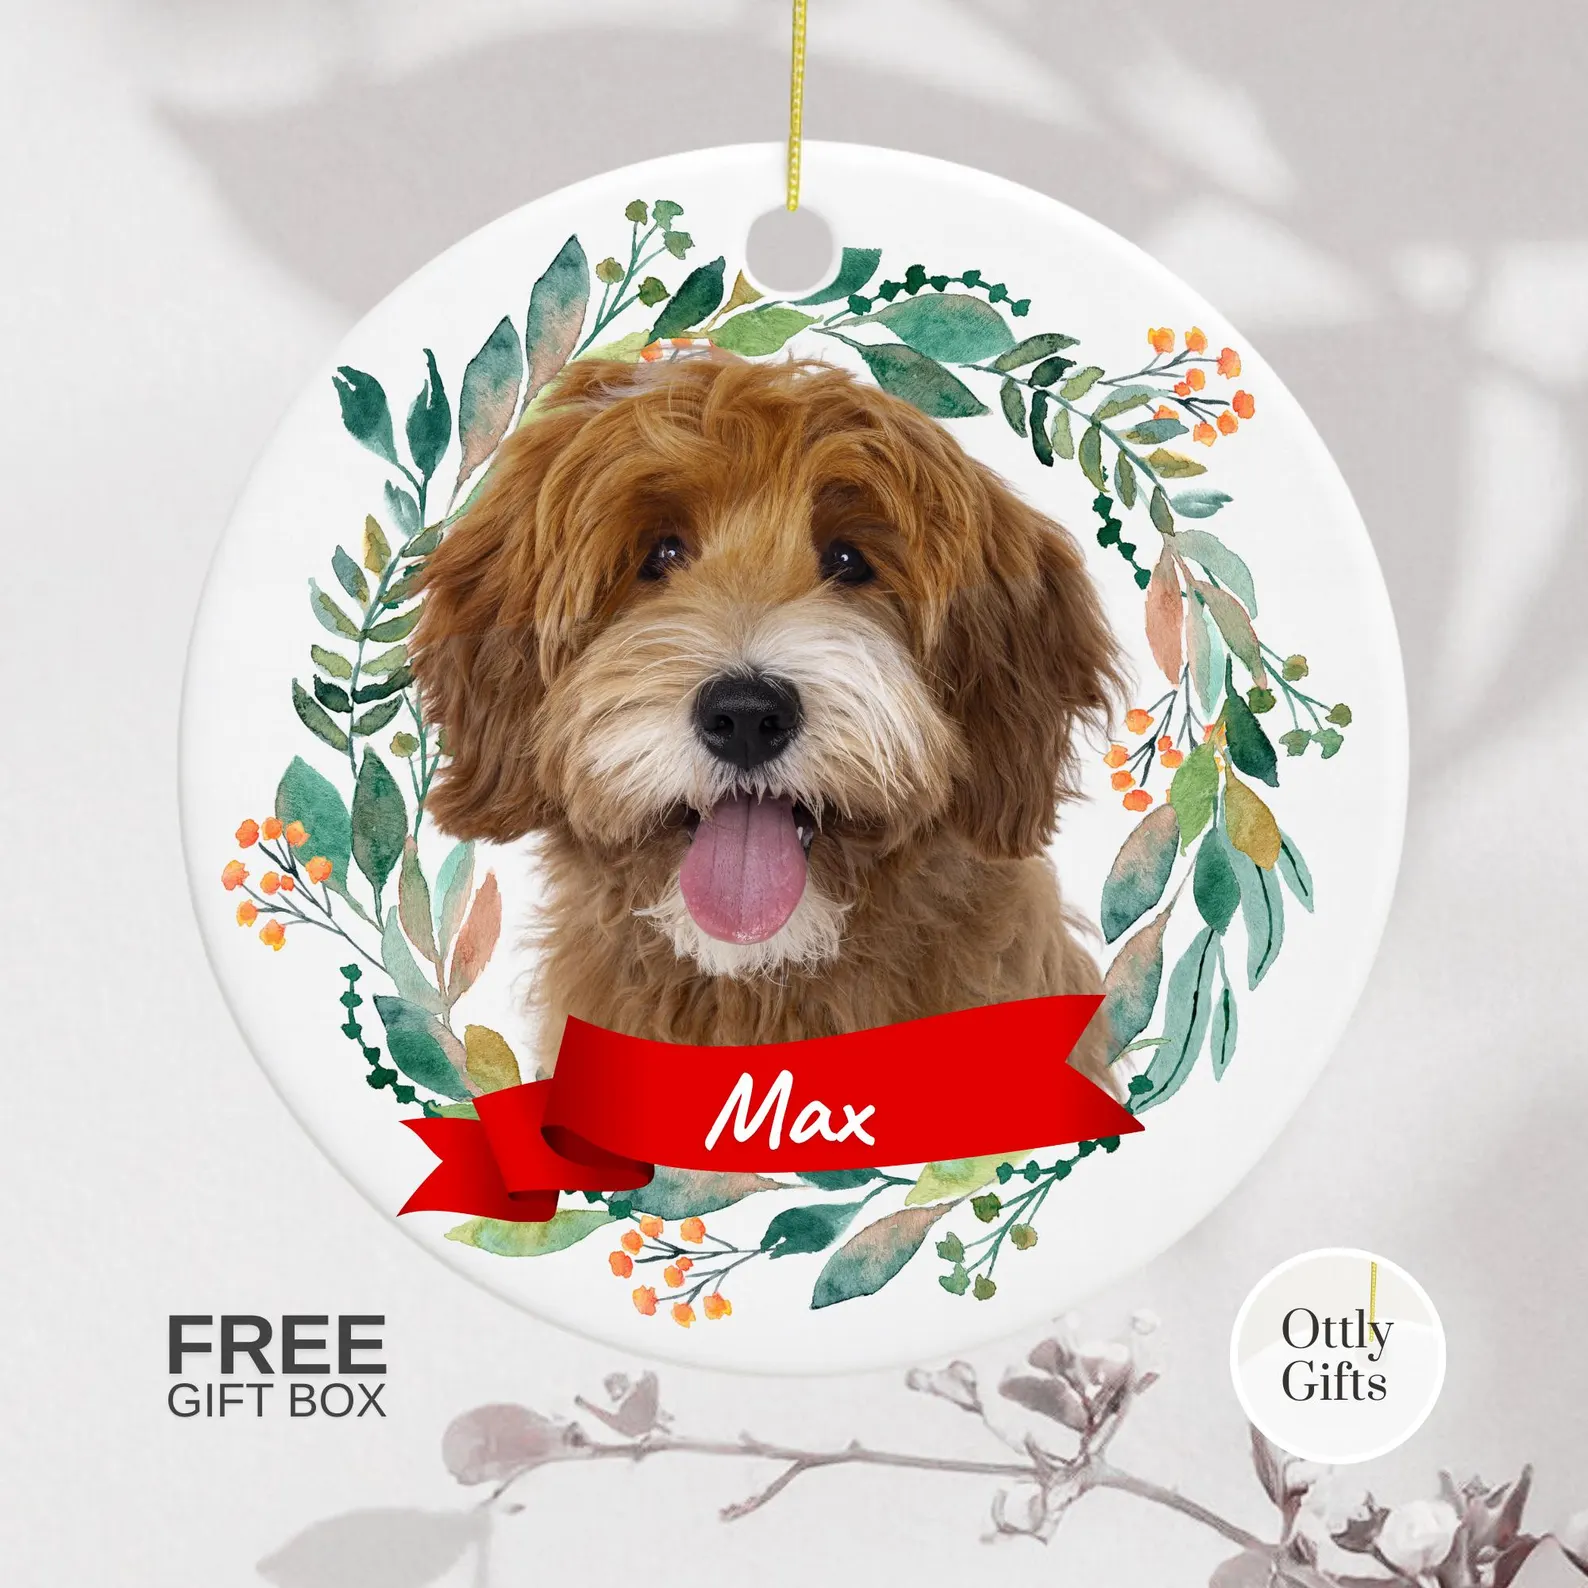 Christmas · pet giftPersonalized dog photo ornamentA photo keepsake for a much-loved dog.View on Etsy ↗
Keep exploring