In this guide6 steps
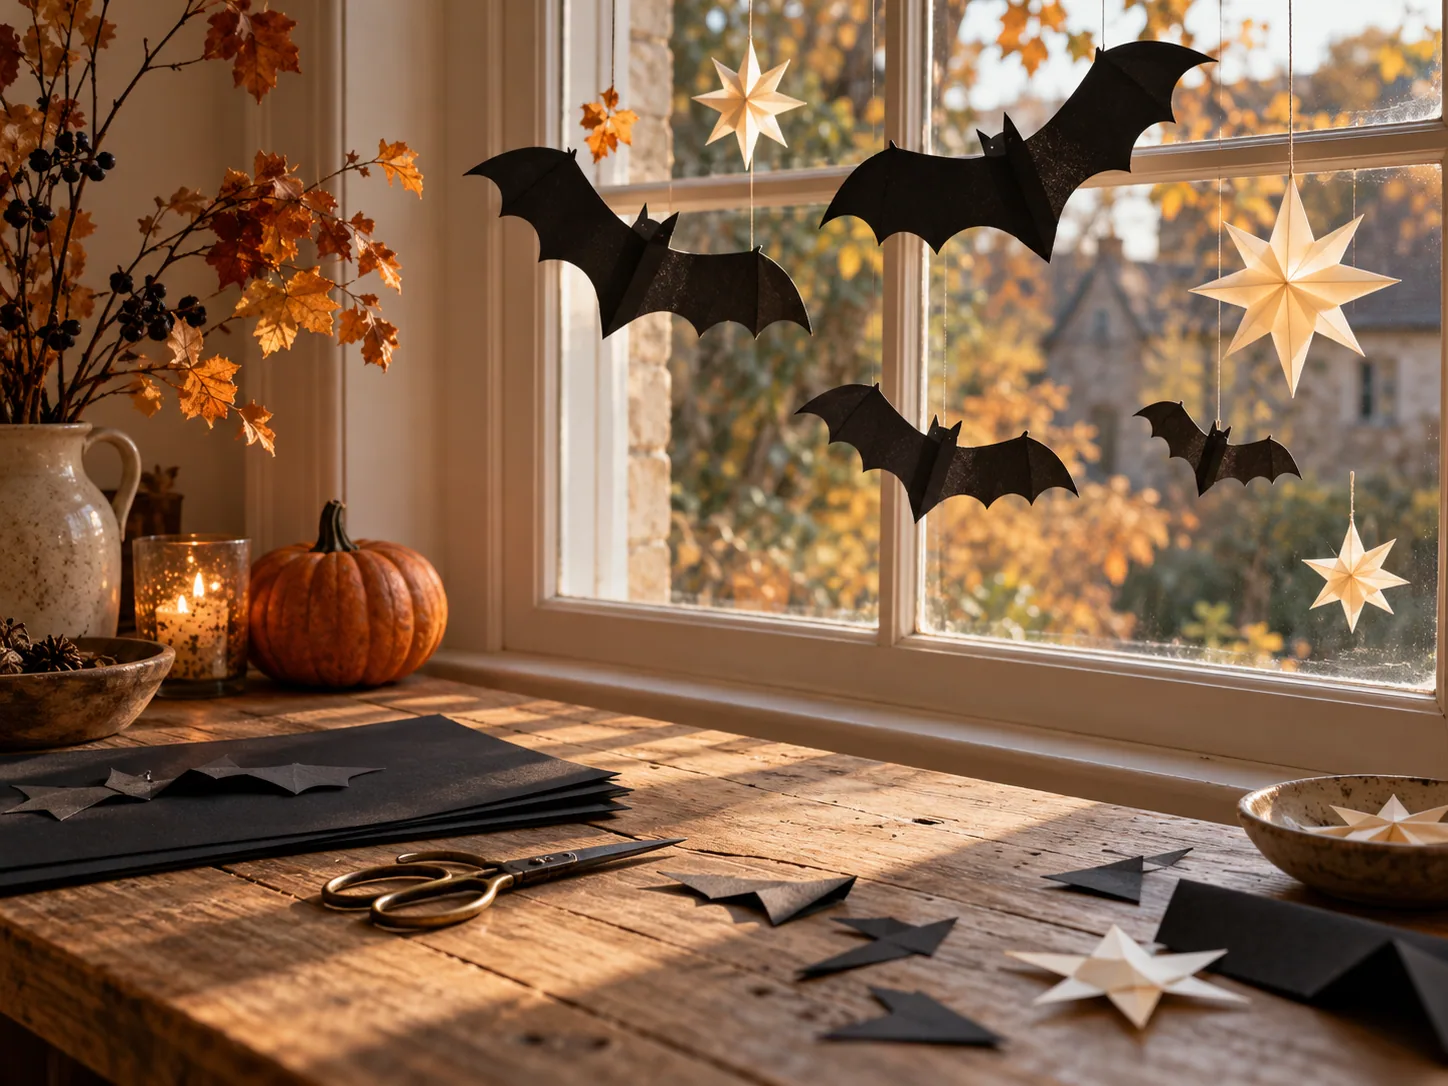
A Halloween window can feel atmospheric without plastic cobwebs or a crowded color palette. A small flock of hand-cut paper bats creates a clear silhouette in daylight and a softer, more dramatic shape after dark. The project uses ordinary cardstock and removable adhesive, stores nearly flat, and can be scaled for a narrow apartment window or a wide set of French doors.
The key is to treat the arrangement as one sweeping movement rather than a row of stickers. Three bat sizes, slightly varied wing angles, and generous empty glass help the display feel intentional. Before cutting, decide whether the flock should rise diagonally, curve around a corner, or gather near a hanging star. A quick sketch prevents overfilling the window and makes it easier to estimate how many shapes you need.
Matte black cardstock reads clearly from outside and is less reflective than glossy paper. Medium weight holds a gentle wing curve while remaining easy to cut with household scissors. Removable glue dots usually lift cleanly from glass, but every window finish is different; test one in an inconspicuous corner and follow the adhesive maker’s removal instructions.
These bats are intended for indoor decorative use. Keep the arrangement away from moving window hardware, do not block an exit or required visibility, and remove the pieces before cleaning the glass. Store the clean shapes between sheets of paper so the wings do not crease before next season.
Measure the window and plan the movement
Measure the visible glass rather than the whole frame. On a sheet of paper, sketch a loose path that begins low on one side and rises toward the opposite corner. Keep the flock inside roughly two thirds of the available space; the remaining empty glass is what makes the arrangement feel deliberate. Decide whether the bats should appear to enter the room, leave it, or circle a single point before you begin drawing templates.
Draw three useful template sizes
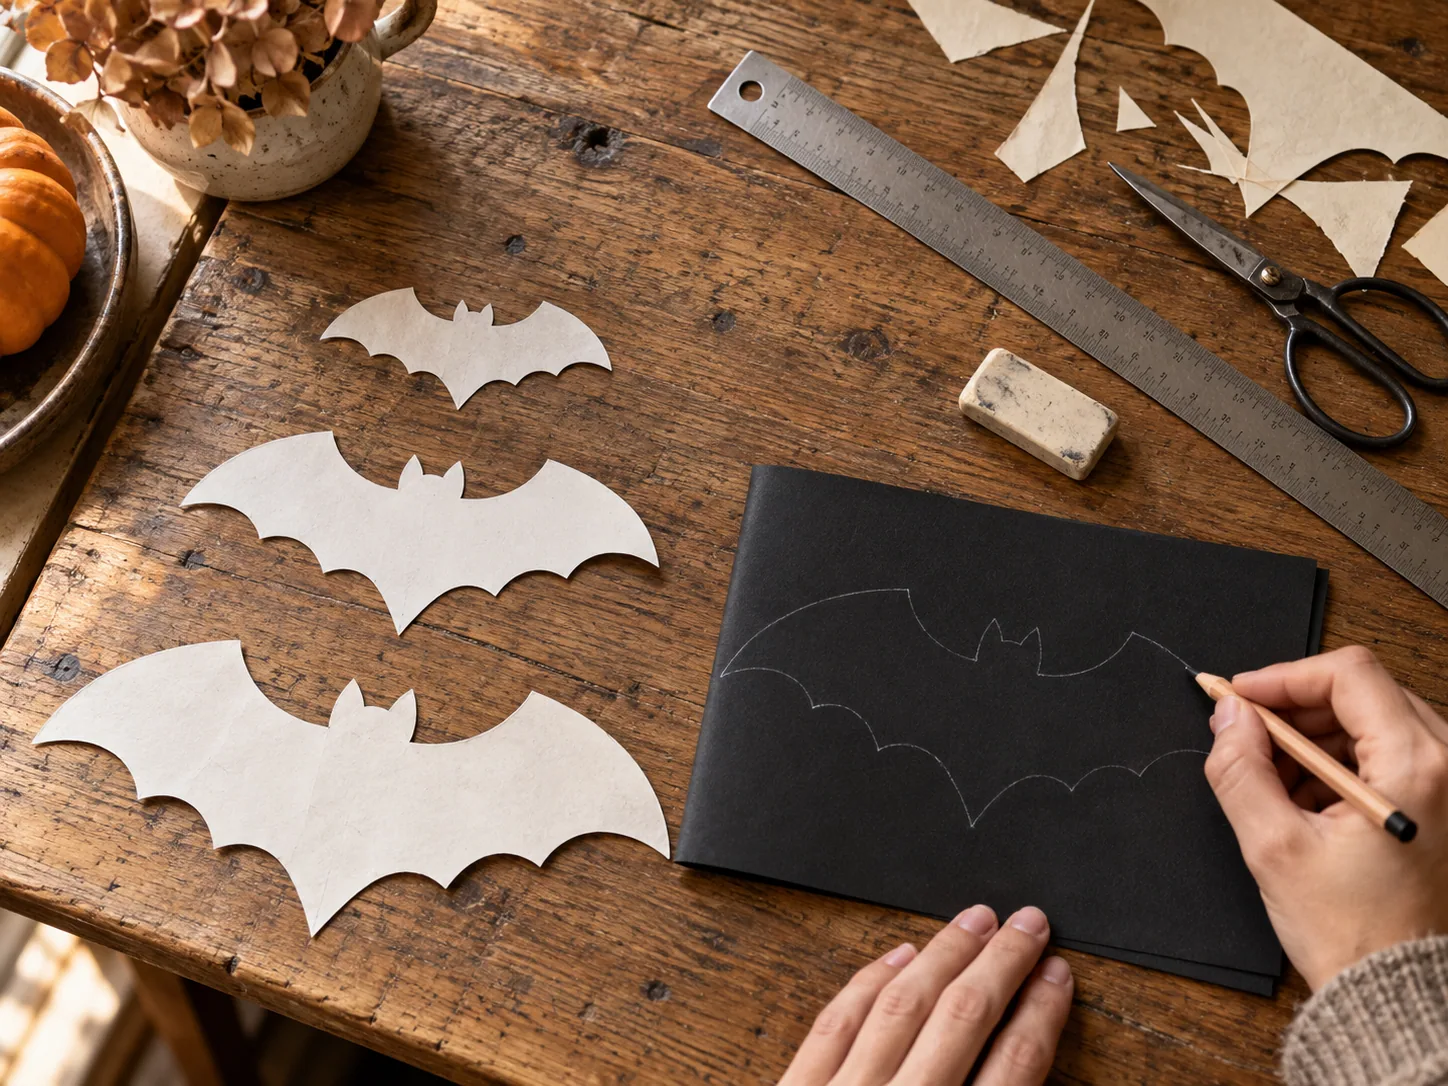
Fold scrap paper in half and draw one side of a bat against the fold. A small bat around 3 inches wide, a medium one around 5 inches, and a large one around 8 inches give enough variation for most windows. Use broad curves and avoid narrow points that tear easily. Cut the paper templates, unfold them, and check their silhouettes against the window before tracing the final cardstock.
Choose paper that holds a crease
Matte cardstock between 120 and 180 gsm is firm enough to keep a gentle wing fold but still easy to cut with small scissors. Very glossy paper reflects the room and makes the silhouettes look less natural. If only thin craft paper is available, glue two layers together before tracing and let them dry under a book so the finished bats stay flat.
Cut a varied flock
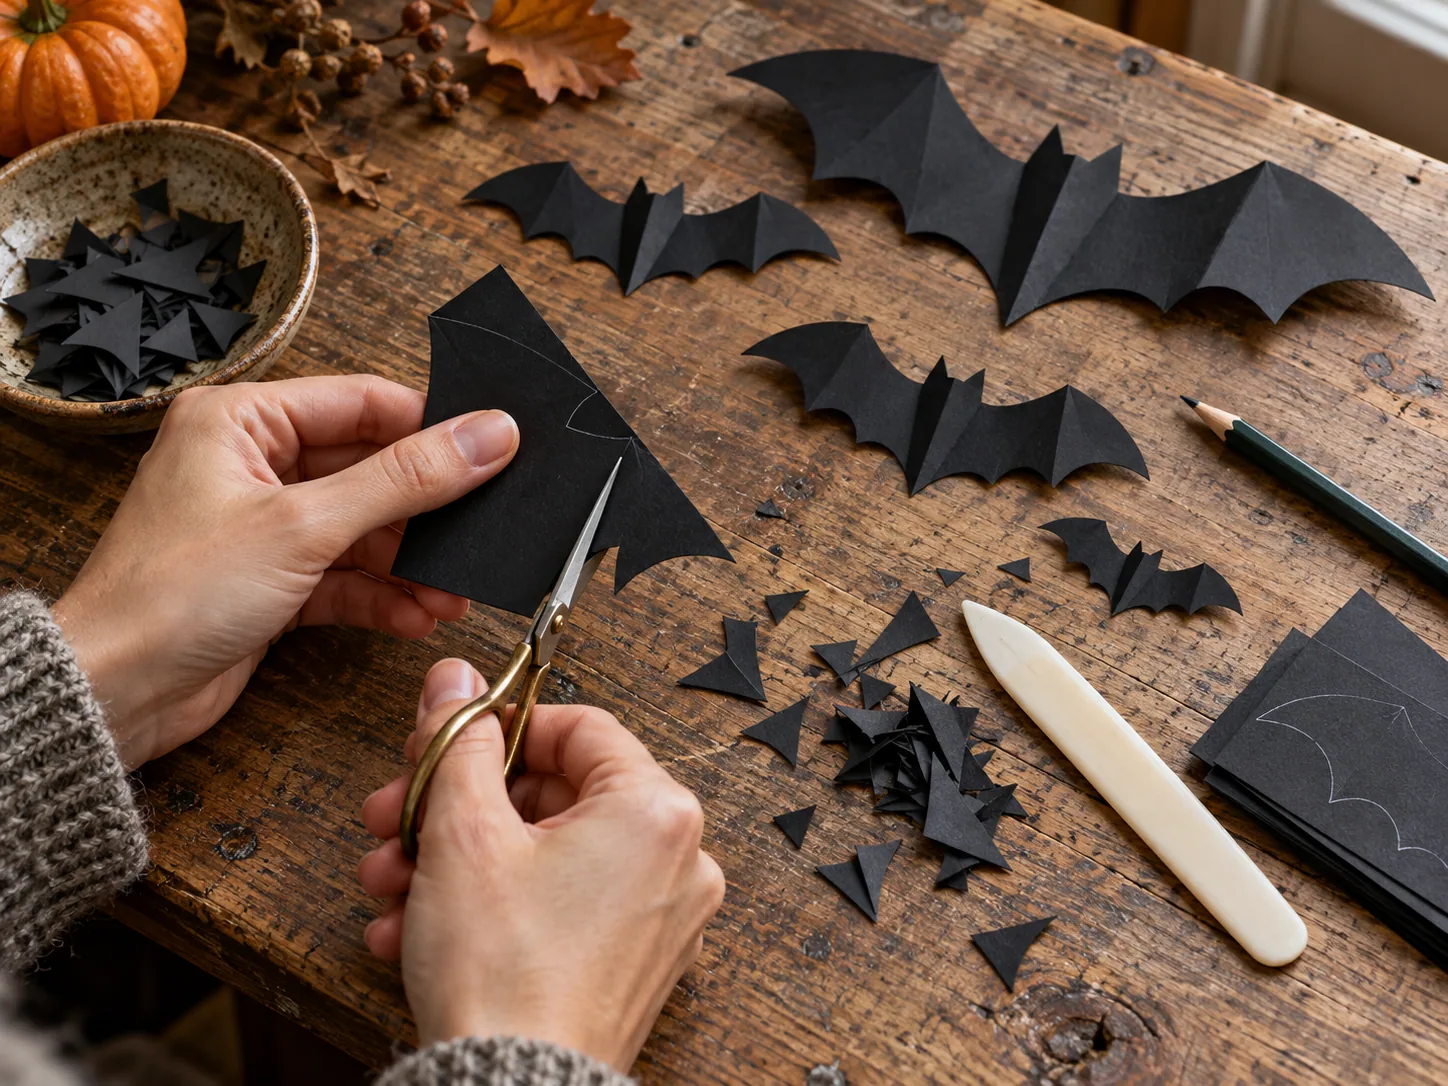
Trace the templates onto folded black cardstock, placing the bat body directly on the fold. Cut slowly from the outer wing toward the smaller inner curves. Rotate the paper instead of twisting the scissors. Begin with three bats of each size, then add more only if the window still feels sparse. Slight differences between the cuts are useful because they keep the flock from looking manufactured.
Shape the wings without hard folds
Unfold each bat and press the body flat with a bone folder or the back of a spoon. Lift both wings along the body line, making a soft bend rather than a sharp crease. Change the angle from bat to bat: some nearly flat, some lifted forward, and a few with one wing slightly higher. Those small differences create changing shadows during the day.
Arrange first, attach second
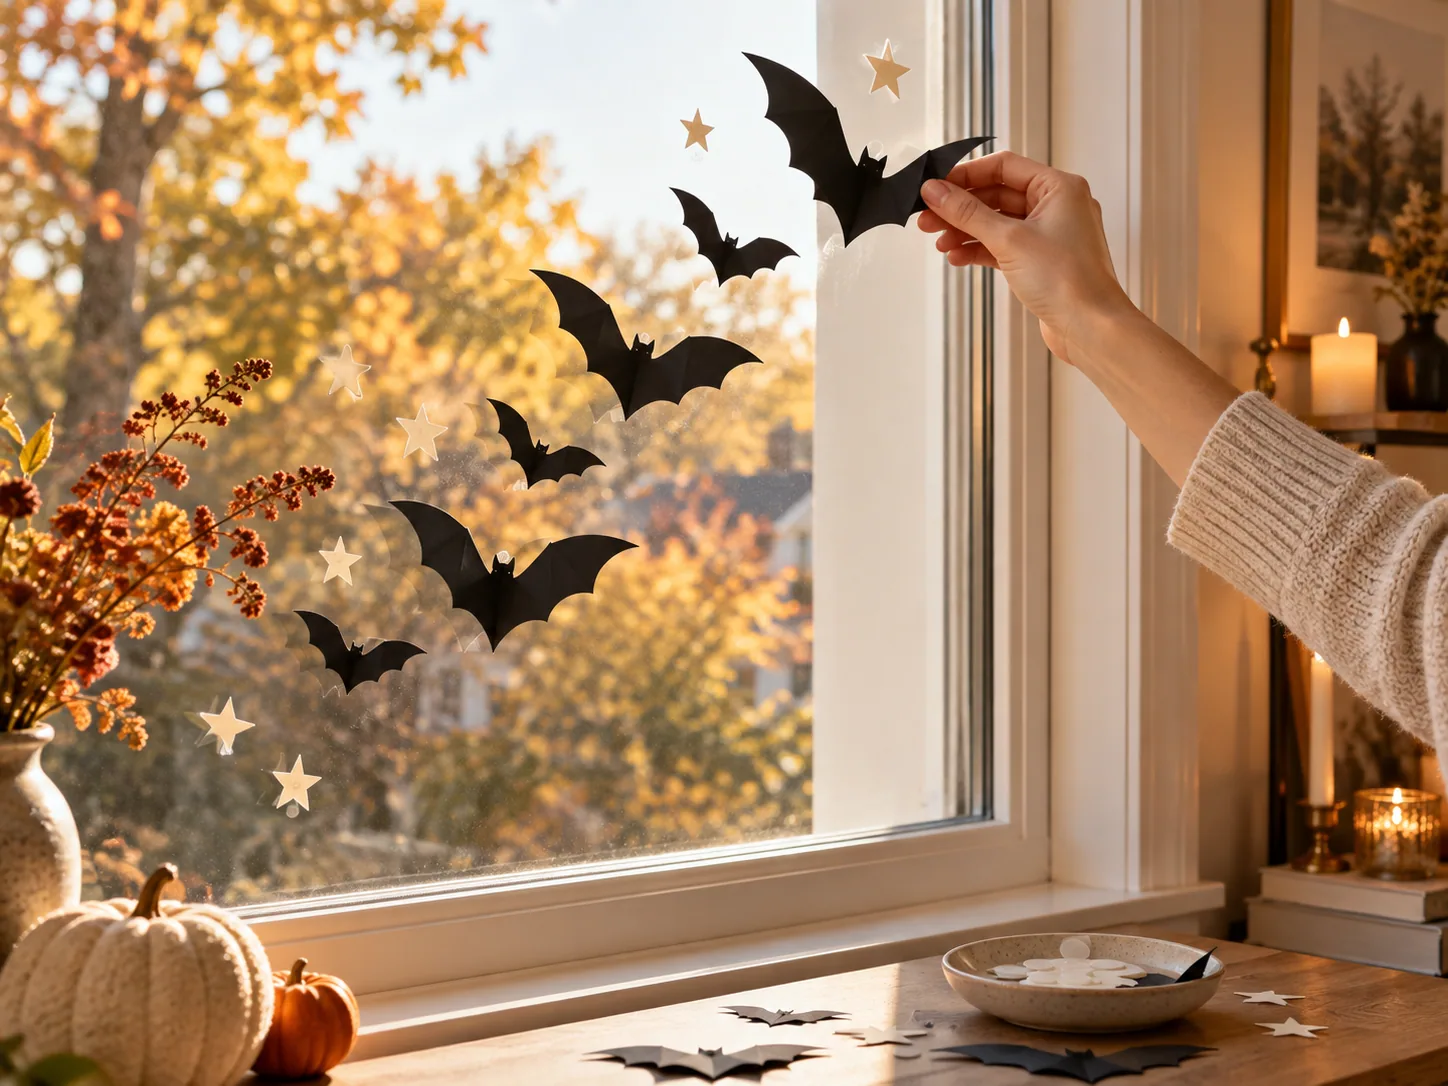
Lay the complete flock on the floor in the same proportions as the window. Start with the largest bats near the lower third, then reduce the sizes as the path rises. Photograph the arrangement on your phone so you can recreate it. Attach each bat with one or two small removable adhesive dots placed on the body, never on the wings. Step back after every three bats and adjust the direction before continuing.
Good to know
Common questions
How many bats do I need for one window?
Nine to fifteen bats are usually enough for a standard window. Begin with fewer and add only where the flight path feels broken.
What adhesive is safest for glass?
Use removable glue dots or tiny pieces of low-tack transparent tape. Test one piece in an inconspicuous corner and remove everything after the season.
Can the bats be reused?
Yes. Remove the adhesive, flatten the bats between clean sheets of paper, and store them in a rigid envelope or shallow box.
Plan your holiday gifts
Personal keepsakes from Ottly
Christmas gifts to plan ahead, picked from our Etsy shop. Each card opens the actual listing. These are separate gift ideas, not supplies for this project.
Current seasonal edit · Halloween
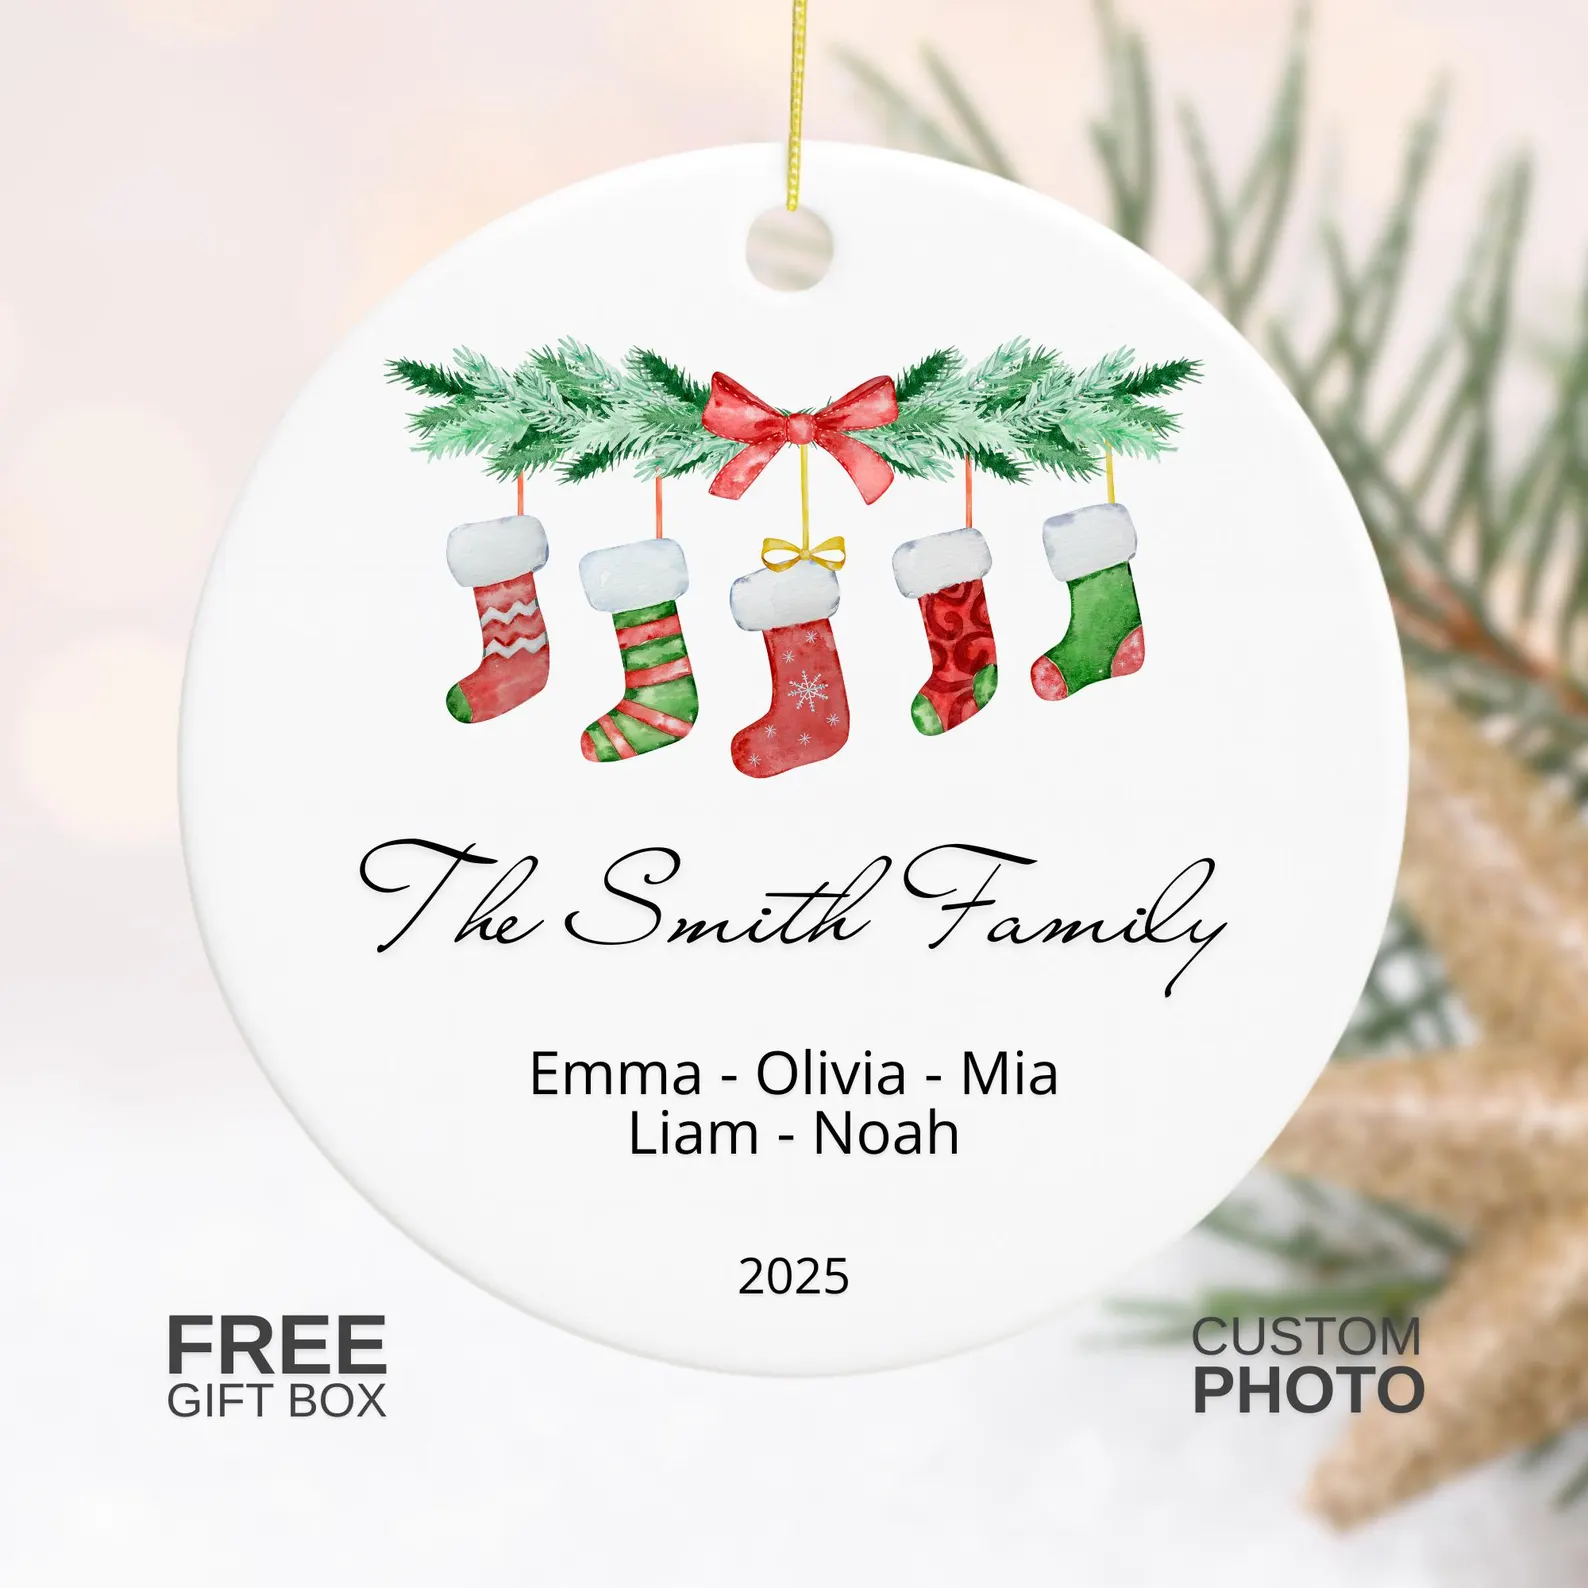 Christmas · personalizedPersonalized family ornamentA stocking keepsake made with the family's names.View on Etsy ↗
 Christmas · cat giftPersonalized cat photo ornamentA Christmas wreath keepsake featuring a favorite cat.View on Etsy ↗
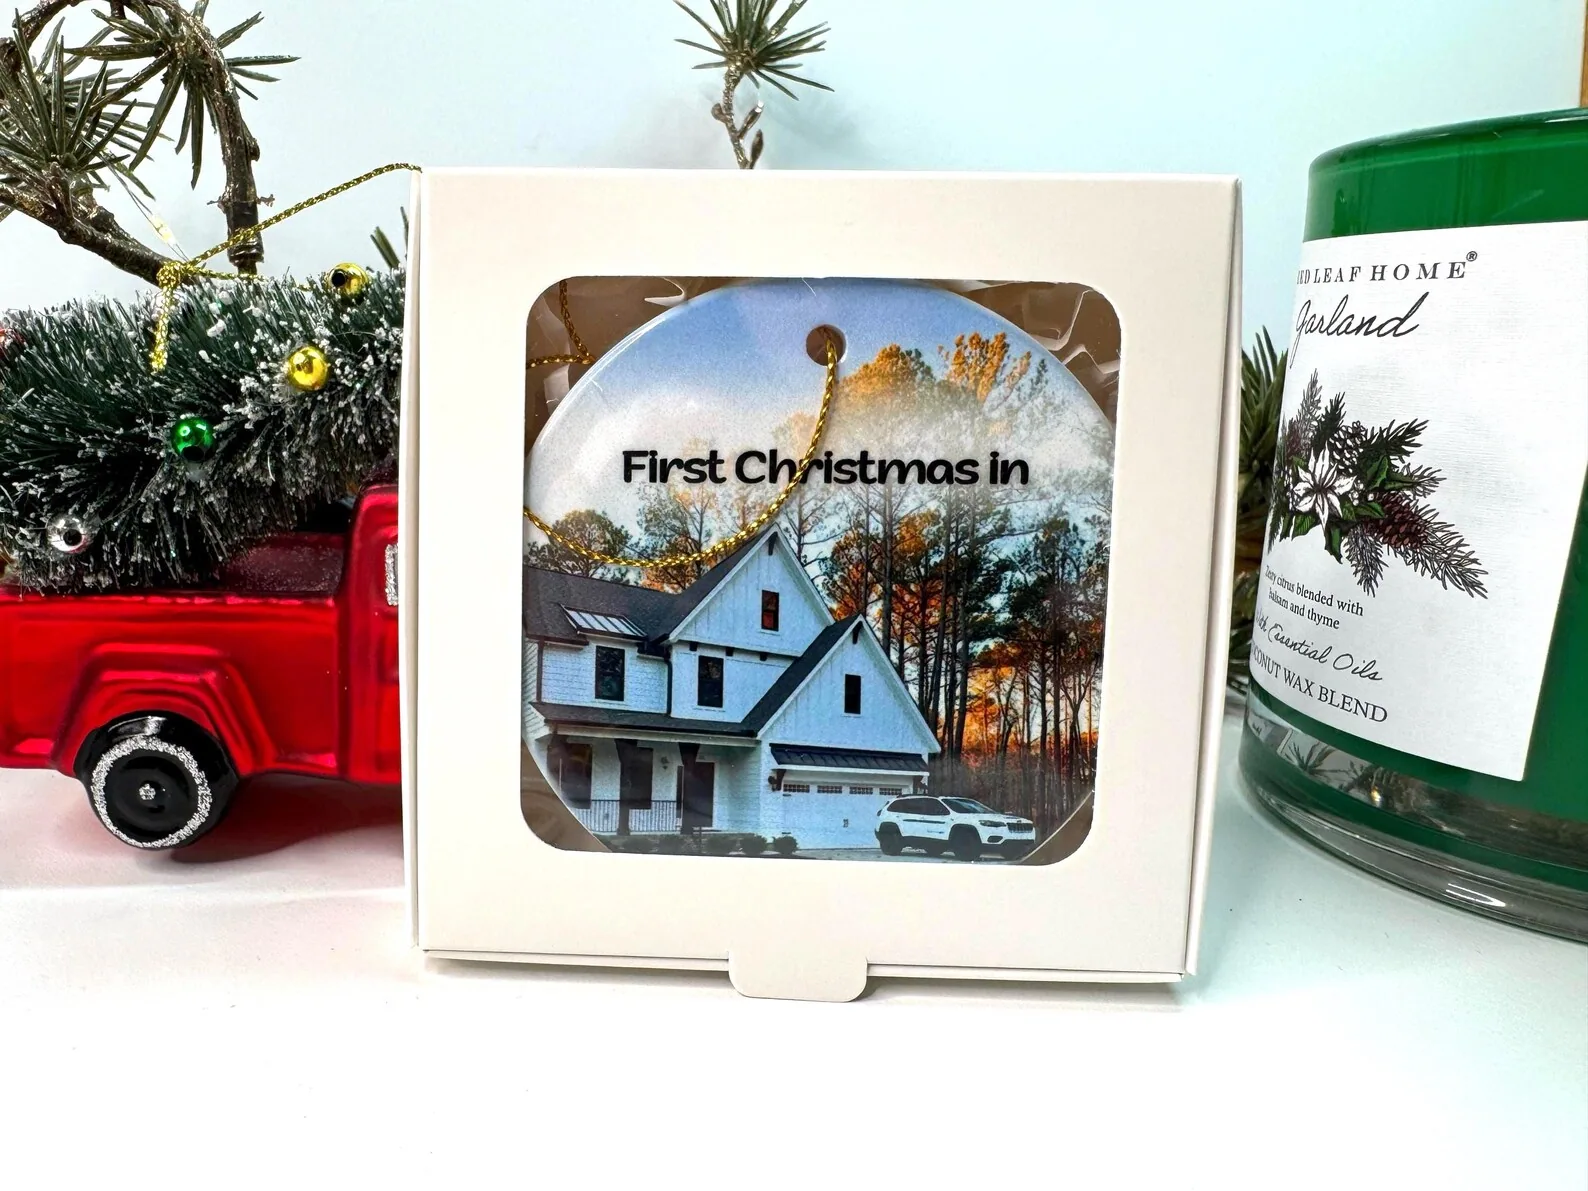 Milestone · housewarmingNew home photo ornamentA personal way to remember a first home or a move.View on Etsy ↗
Keep exploring