In this guide4 steps
A few matte black cat silhouettes make a clear Halloween window display without filling the glass with stickers. This version uses a folded-paper template for a balanced shape and removable adhesive dots that can be taken down after the season. One larger cat with two smaller companions gives the window movement while leaving plenty of daylight visible.
Plan the size and shape
Measure the usable part of the window and sketch a simple sitting cat on folded scrap paper. Keep the ears broad, the body connected, and the tail thick enough that it will not tear. A silhouette around 6–8 inches tall works for many windows; make a smaller test first and hold it against the glass to check the scale.
If you are unsure about the outline, draw one side of the cat against the fold, cut it out, and open the template. The folded method gives you a matching silhouette on both sides and makes it easy to create several cats from the same pattern.
Cut and attach the silhouettes
Trace the template onto matte black cardstock and cut slowly with small scissors. Turn the paper as you work around curves rather than twisting the scissors. Before attaching, clean the inside glass and let it dry. Use removable adhesive dots designed for windows, and place them on the body where they will be hidden from a normal viewing angle.
Arrange for a crisp display
Place the largest cat lower in the window and the smaller ones at different heights. Step back from both inside and outside to check the balance. Leave clear space around the ears, tail, and paws so the silhouettes read immediately. At the end of the season, peel off the adhesive slowly and store the cardstock flat between clean sheets.
Always test removable adhesive on a small inconspicuous area first, especially on older, tinted, or treated glass. Do not use blades or scrapers on the window; lift residue with the adhesive maker’s recommended method.
Measure the window and sketch a template
Measure the clear area where the silhouettes will sit. Fold scrap paper in half and draw one side of a sitting cat along the fold; keep the ears, body, and tail connected in a simple outline. Cut and open the template, then test its scale against the window.

Trace and cut the cardstock cats
Trace the template onto matte black cardstock. Cut slowly around the outline with small scissors, turning the paper to follow curves. Make one large cat and two smaller ones, and keep the cardstock flat so the silhouettes do not crease.

Clean the glass and attach the cats
Clean the inside of the window and let it dry. Test a removable window-safe adhesive dot in an inconspicuous corner first. Place one or two dots on the back of each cat’s body, press gently against the glass, and avoid adhesive on the thin tail or ear tips.

Adjust the arrangement and store
Place the larger cat lower and the smaller shapes at varied heights, leaving open glass around each silhouette. Check the view from indoors and outdoors. After Halloween, peel the shapes away slowly and store them flat between clean sheets of paper.

Good to know
Common questions
What cardstock weight works best?
Medium-weight cardstock around 180–250 gsm is sturdy enough to hold a clean outline but still easy to cut with scissors.
How do I make symmetrical cat silhouettes?
Fold scrap paper in half, draw one side of the cat along the fold, and cut through both layers. Open the paper to reveal a balanced template.
Will removable adhesive damage a window?
Use adhesive labeled for windows and test it in a small hidden spot first. Follow the product instructions, especially on treated, tinted, or older glass.
How should I store the cutouts?
Peel them away slowly, remove any adhesive as directed, and store the cardstock flat between clean sheets in a dry folder.
Plan your holiday gifts
Gift ideas from Ottly
Personalized ornaments and keepsakes, selected from our Etsy shop. These are separate gift ideas, not supplies for this project.
Current seasonal edit · Halloween
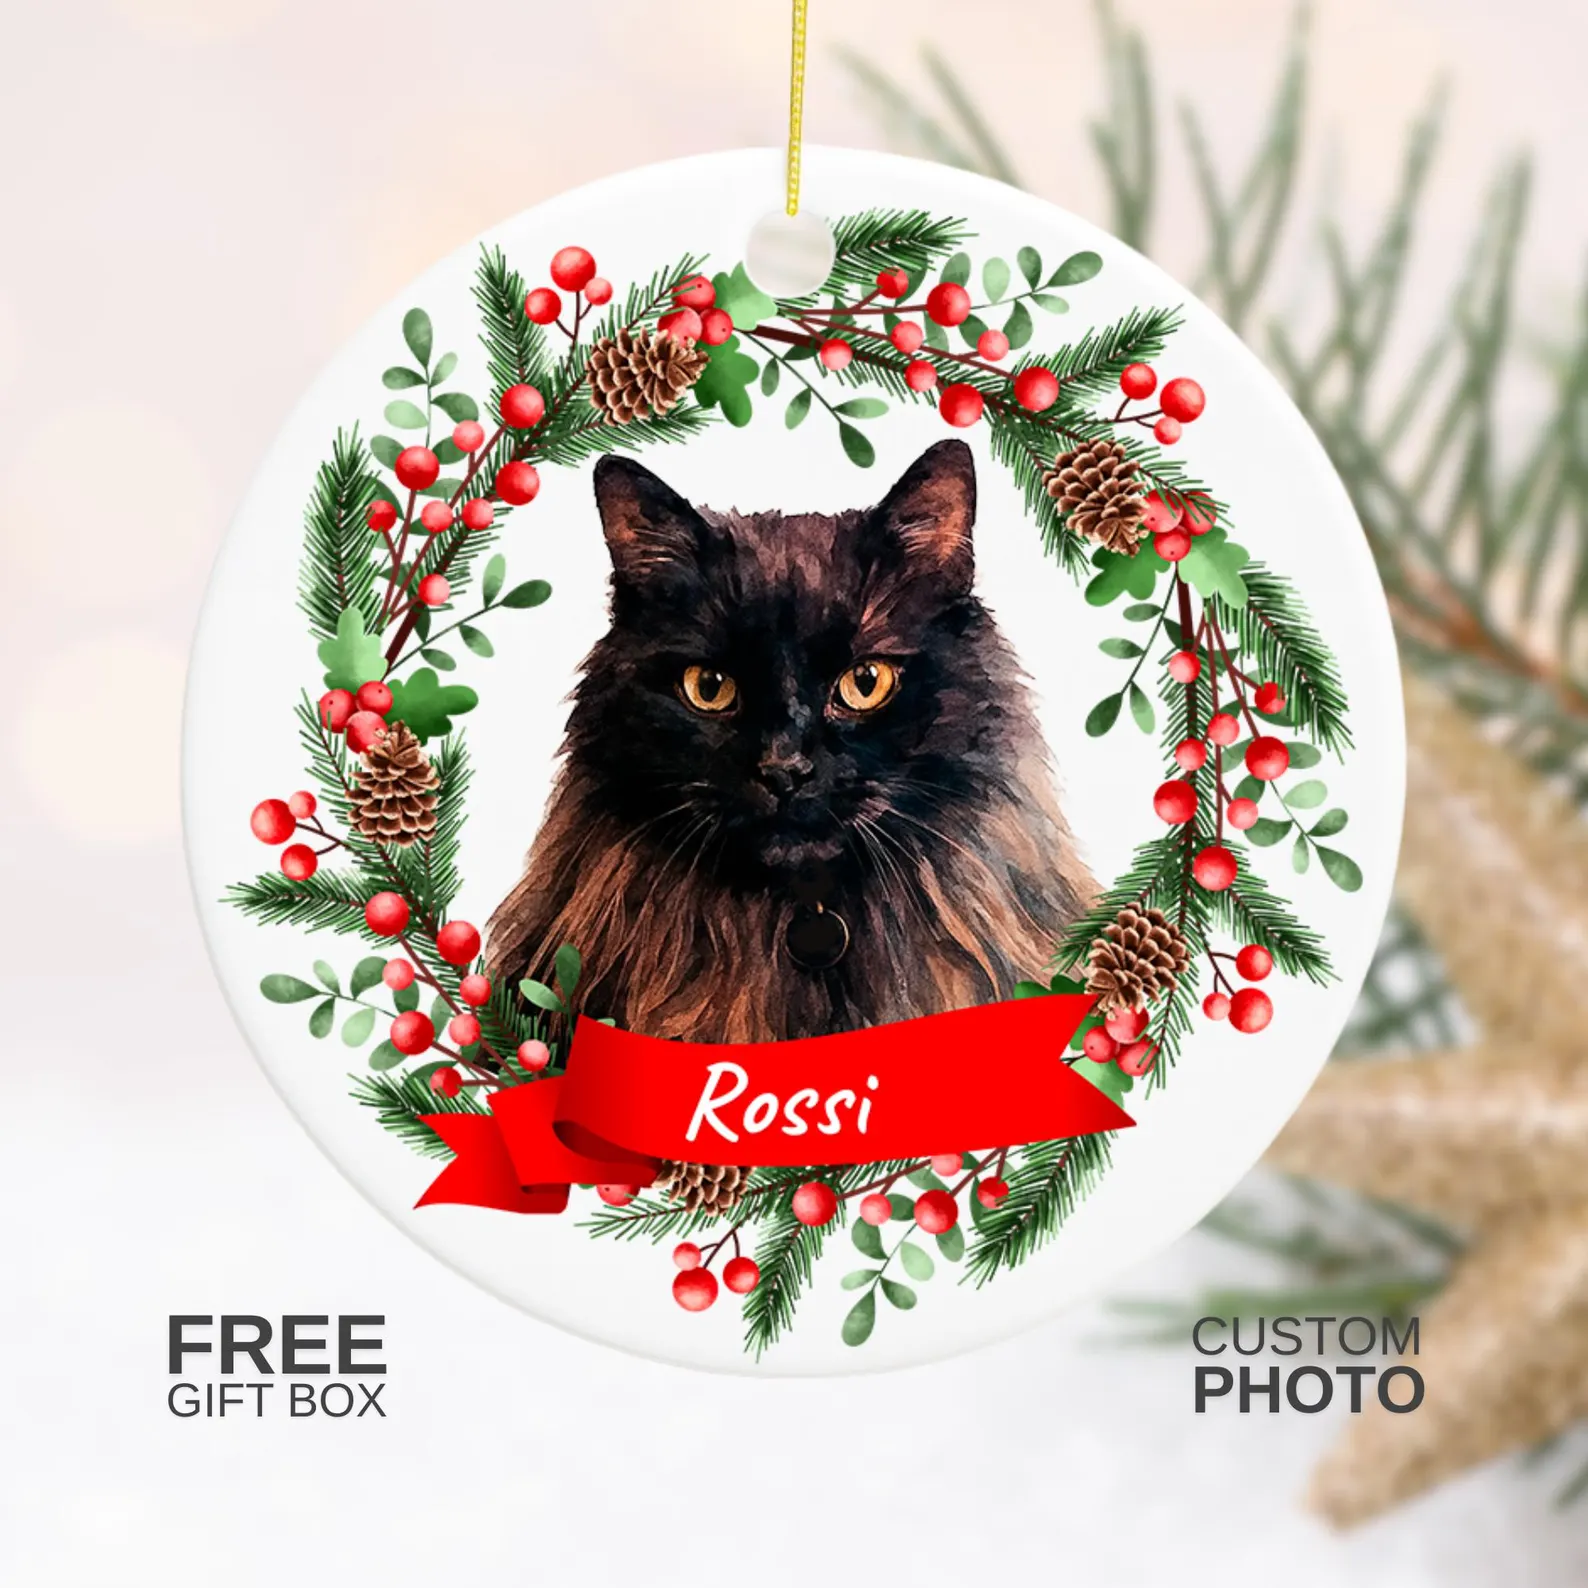 Christmas · cat giftPersonalized cat photo ornamentA Christmas wreath keepsake featuring a favorite cat.View on Etsy ↗
 Christmas · pet giftPersonalized dog photo ornamentA photo keepsake for a much-loved dog.View on Etsy ↗
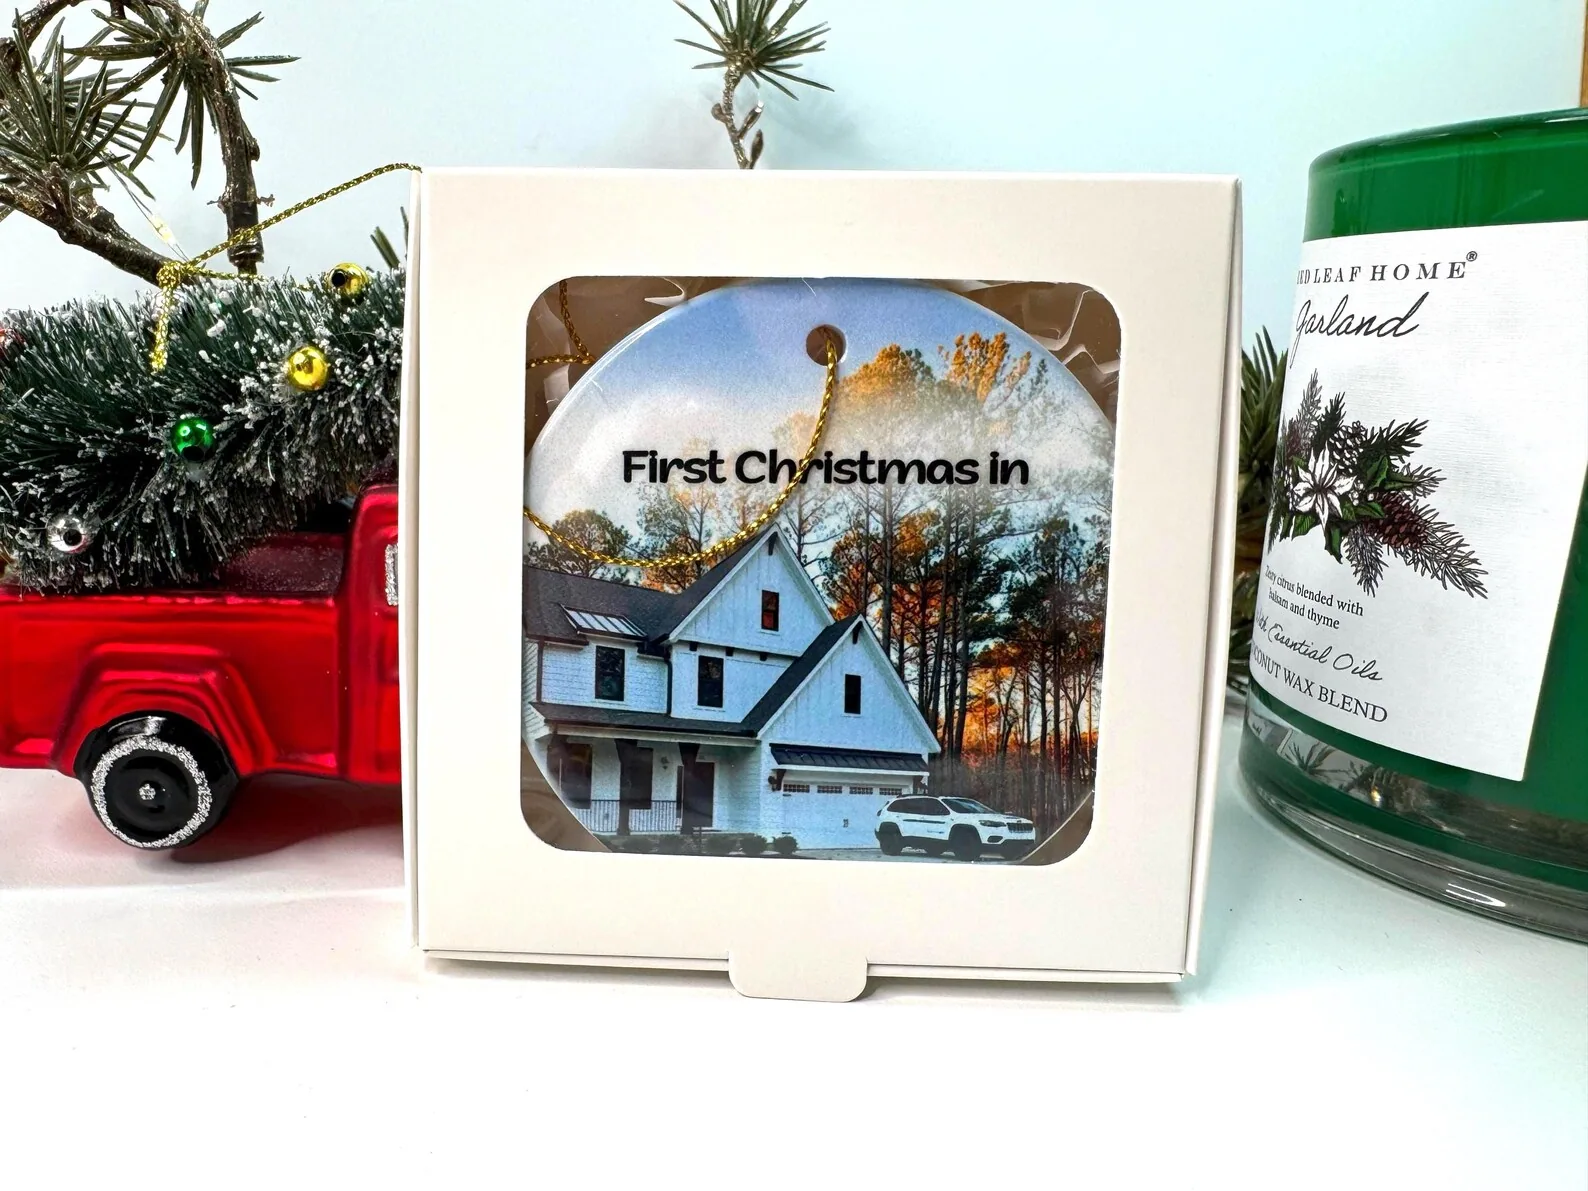 Milestone · housewarmingNew home photo ornamentA personal way to remember a first home or a move.View on Etsy ↗
Keep exploring