In this guide5 steps
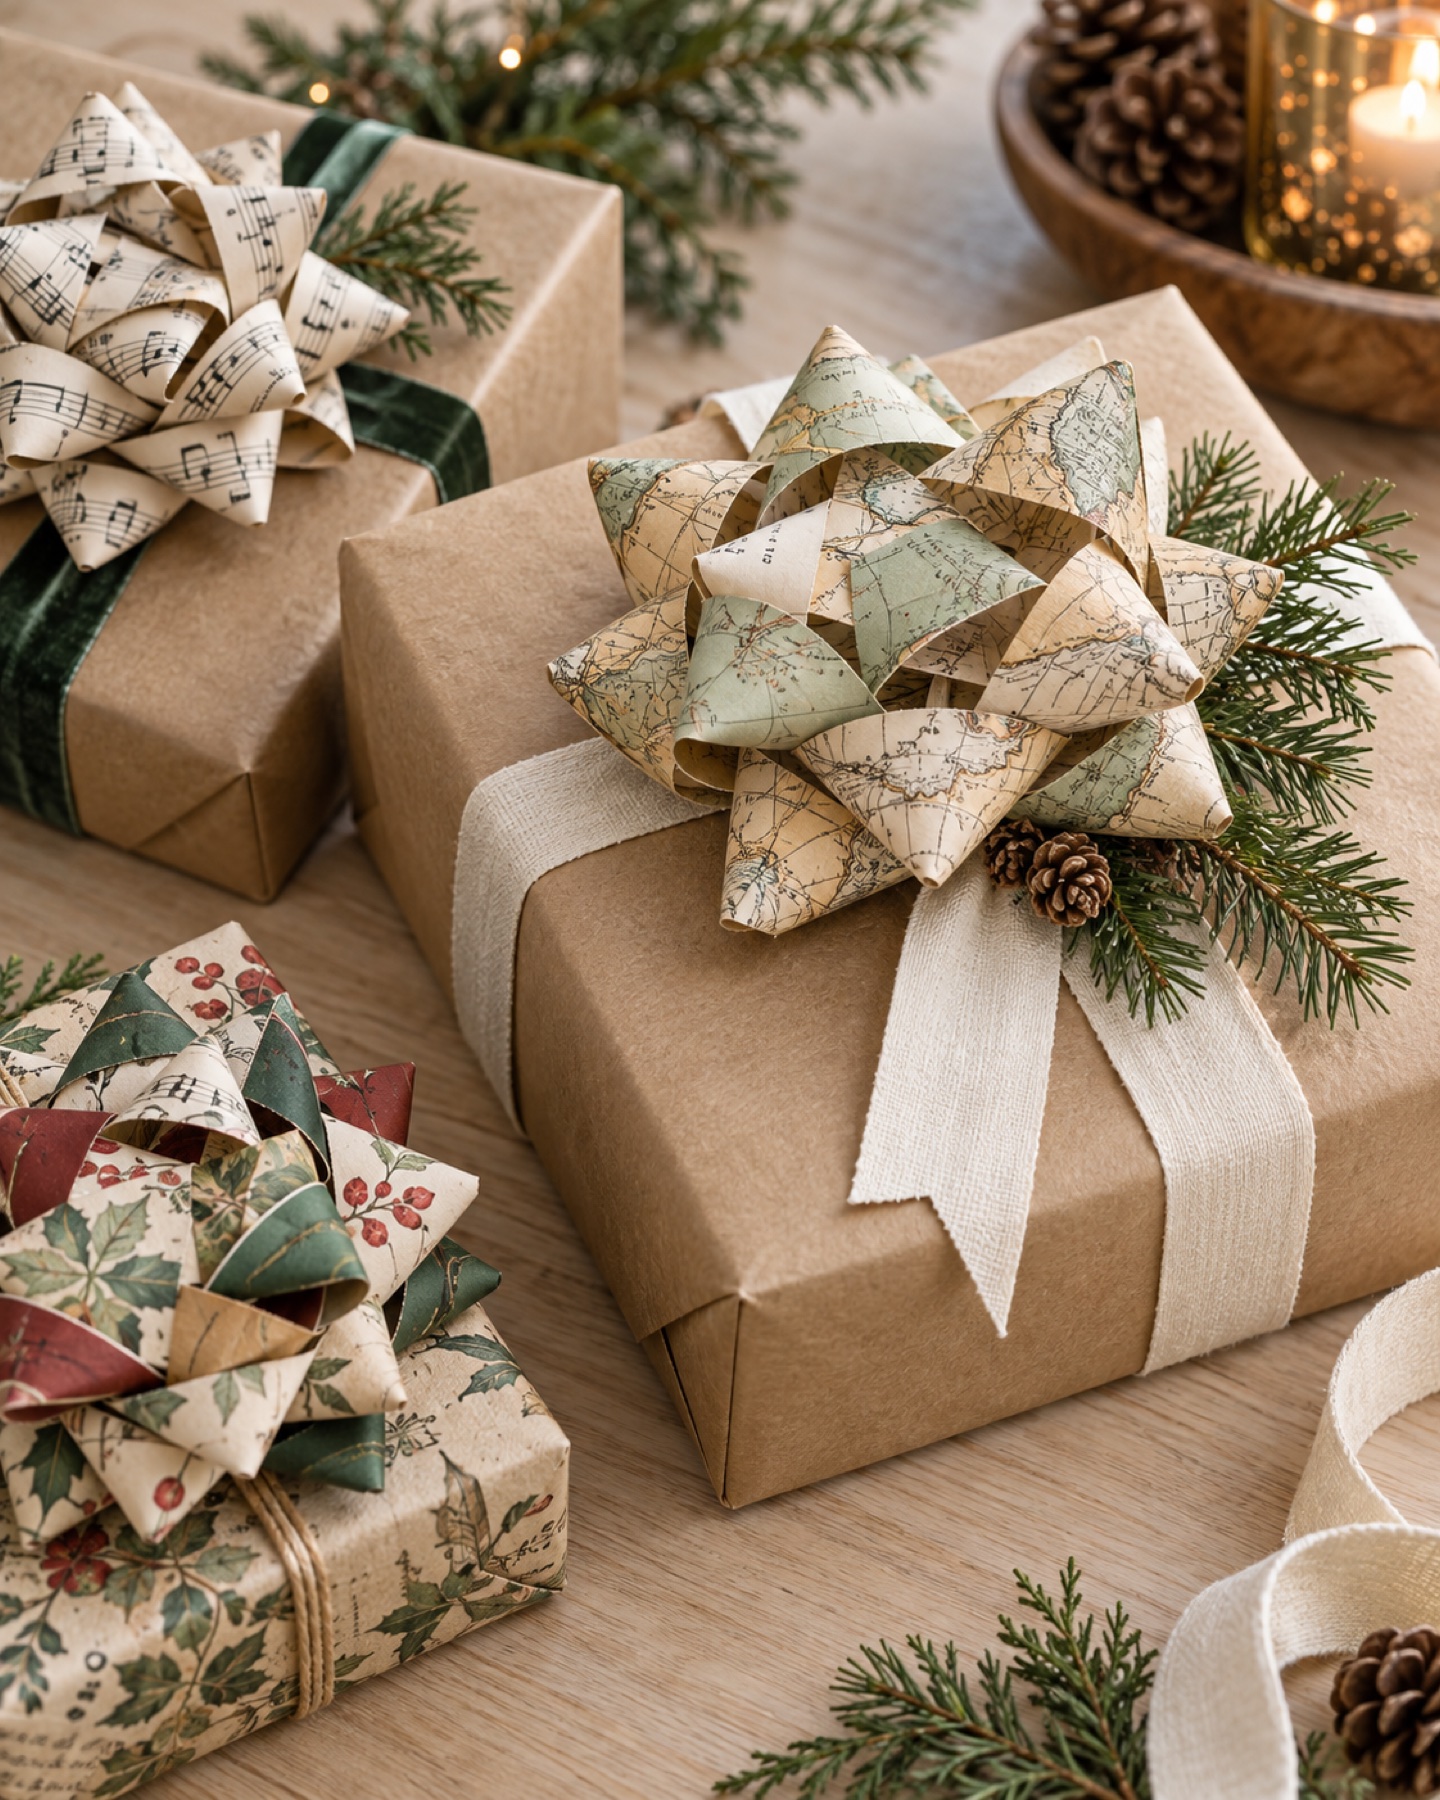
A dimensional paper bow makes a simple parcel feel finished while using material that might otherwise be trimmed away. Leftover cardstock, an old map, or a sturdy piece of patterned wrapping paper can become a set of curled loops with a small center band. The same method works for gift toppers, place settings, and paper garlands.
Paper weight changes the result. Medium-weight paper holds a curve and stays crisp; thin wrapping paper can be backed with a second layer, while very heavy board may crack when curled. Test one loop before cutting every strip. For a tidy bow, keep the strip widths consistent and vary only the lengths.
This project uses scissors, paper glue, and a ruler. Work on a protected surface, keep the paper grain in mind if the sheet has a visible texture, and avoid forcing a tight curl. If the paper begins to crease sharply, loosen the curve and make a softer loop instead.
Materials and tools
- Scrap cardstock or sturdy decorative paper
- Optional old map or reused wrapping paper
- Ruler and pencil
- Sharp scissors or paper trimmer
- Paper glue or double-sided tape
- Removable glue dot or ribbon
- Optional bone folder or smooth marker barrel
Choose paper and cut a test strip
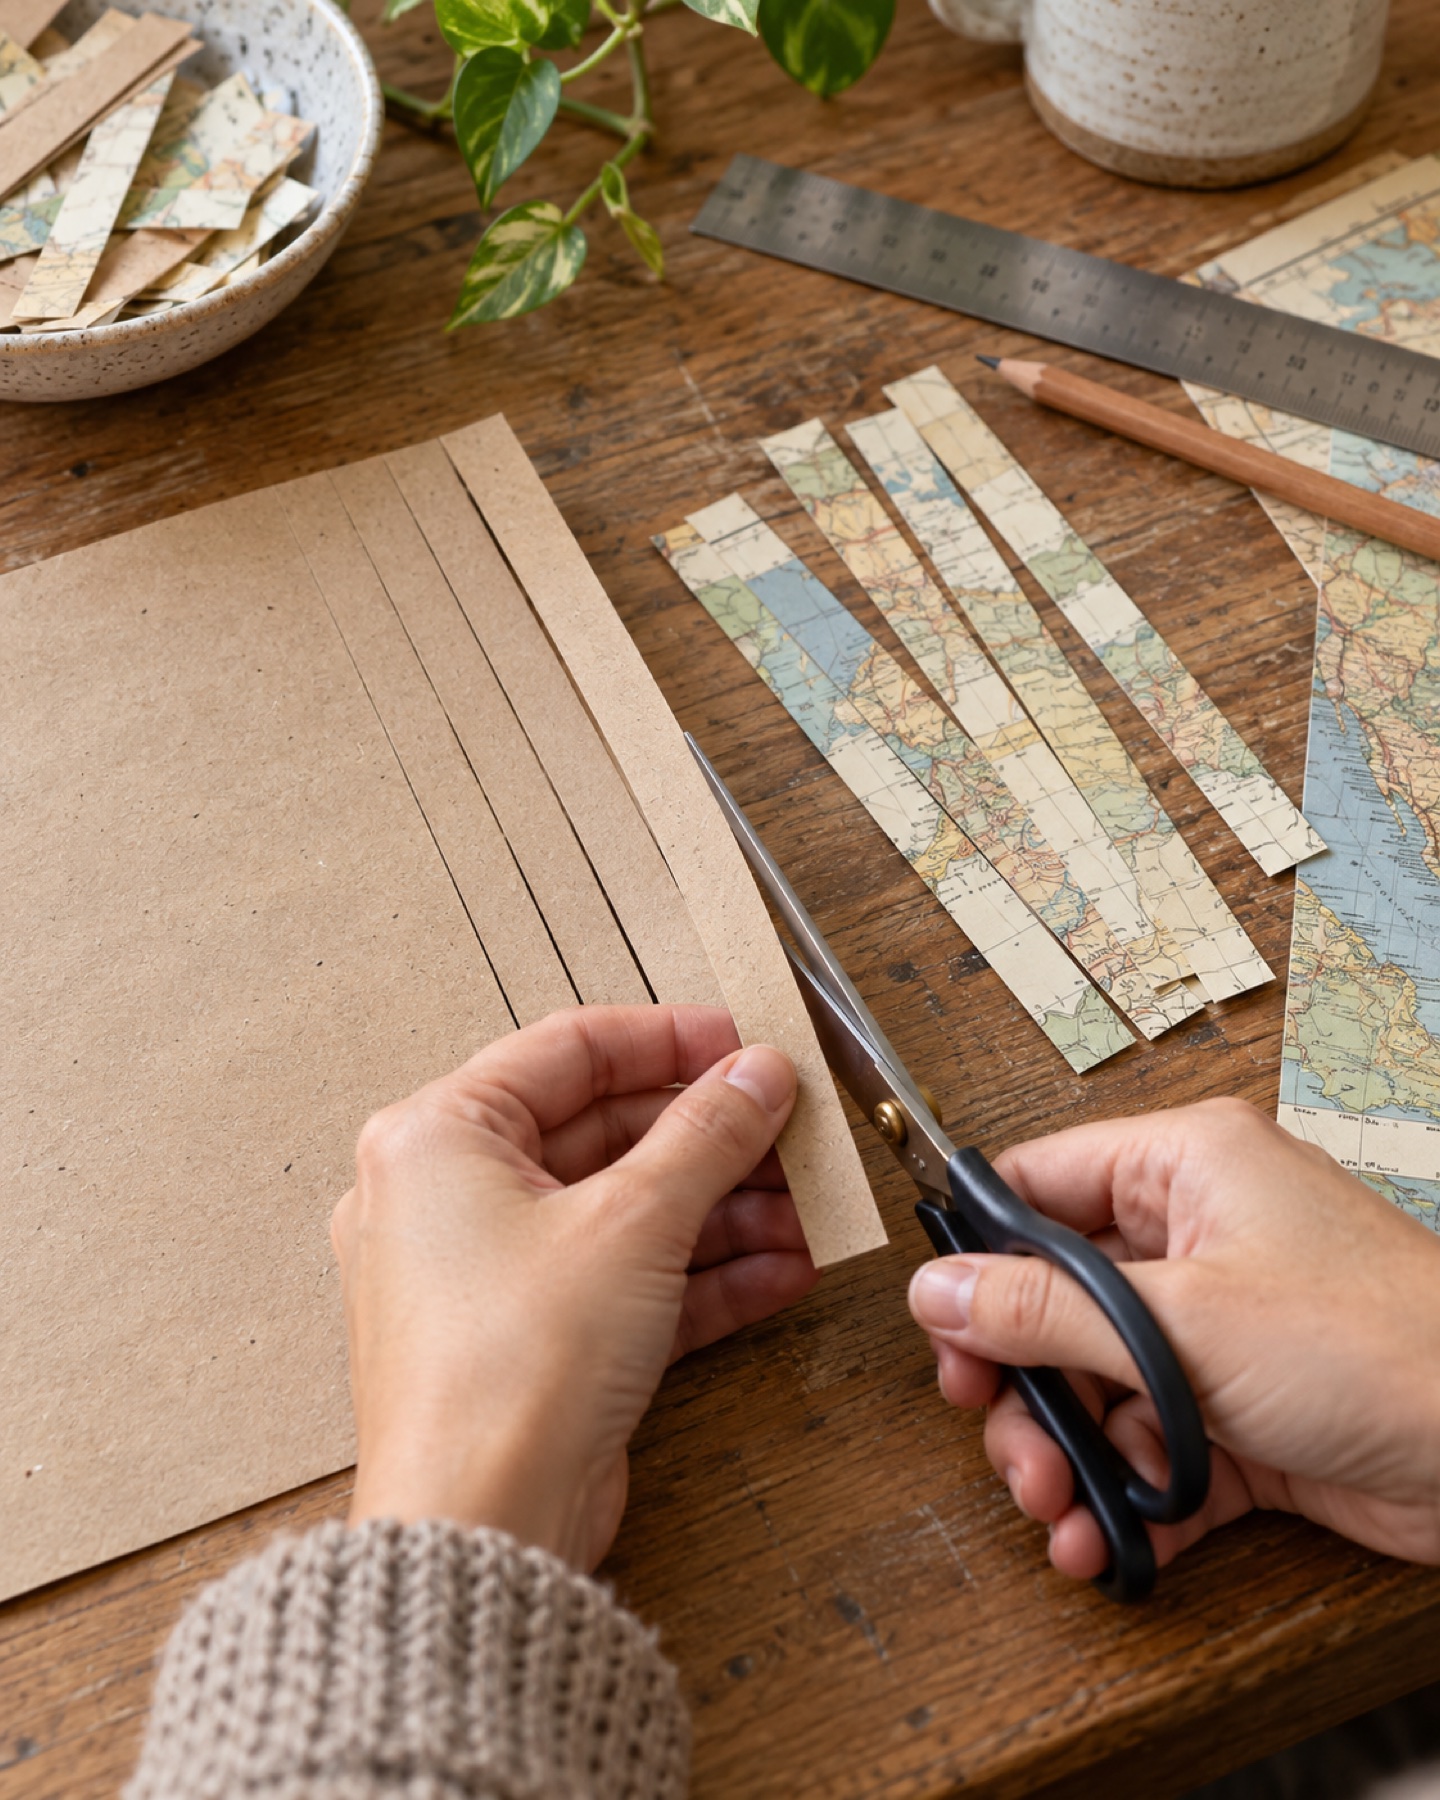
Choose paper that bends without cracking and is wide enough for the bow size you want. A useful starting template is three strips about ¾ inch wide in lengths of 8, 7, and 6 inches, plus one short strip about 3 inches long for the center band. Reduce every measurement for a small package. Cut one test strip first and curl it around a smooth marker barrel; if it springs flat or splits, switch to a slightly lighter paper or make a gentler curve.
Curl the long strips into loops
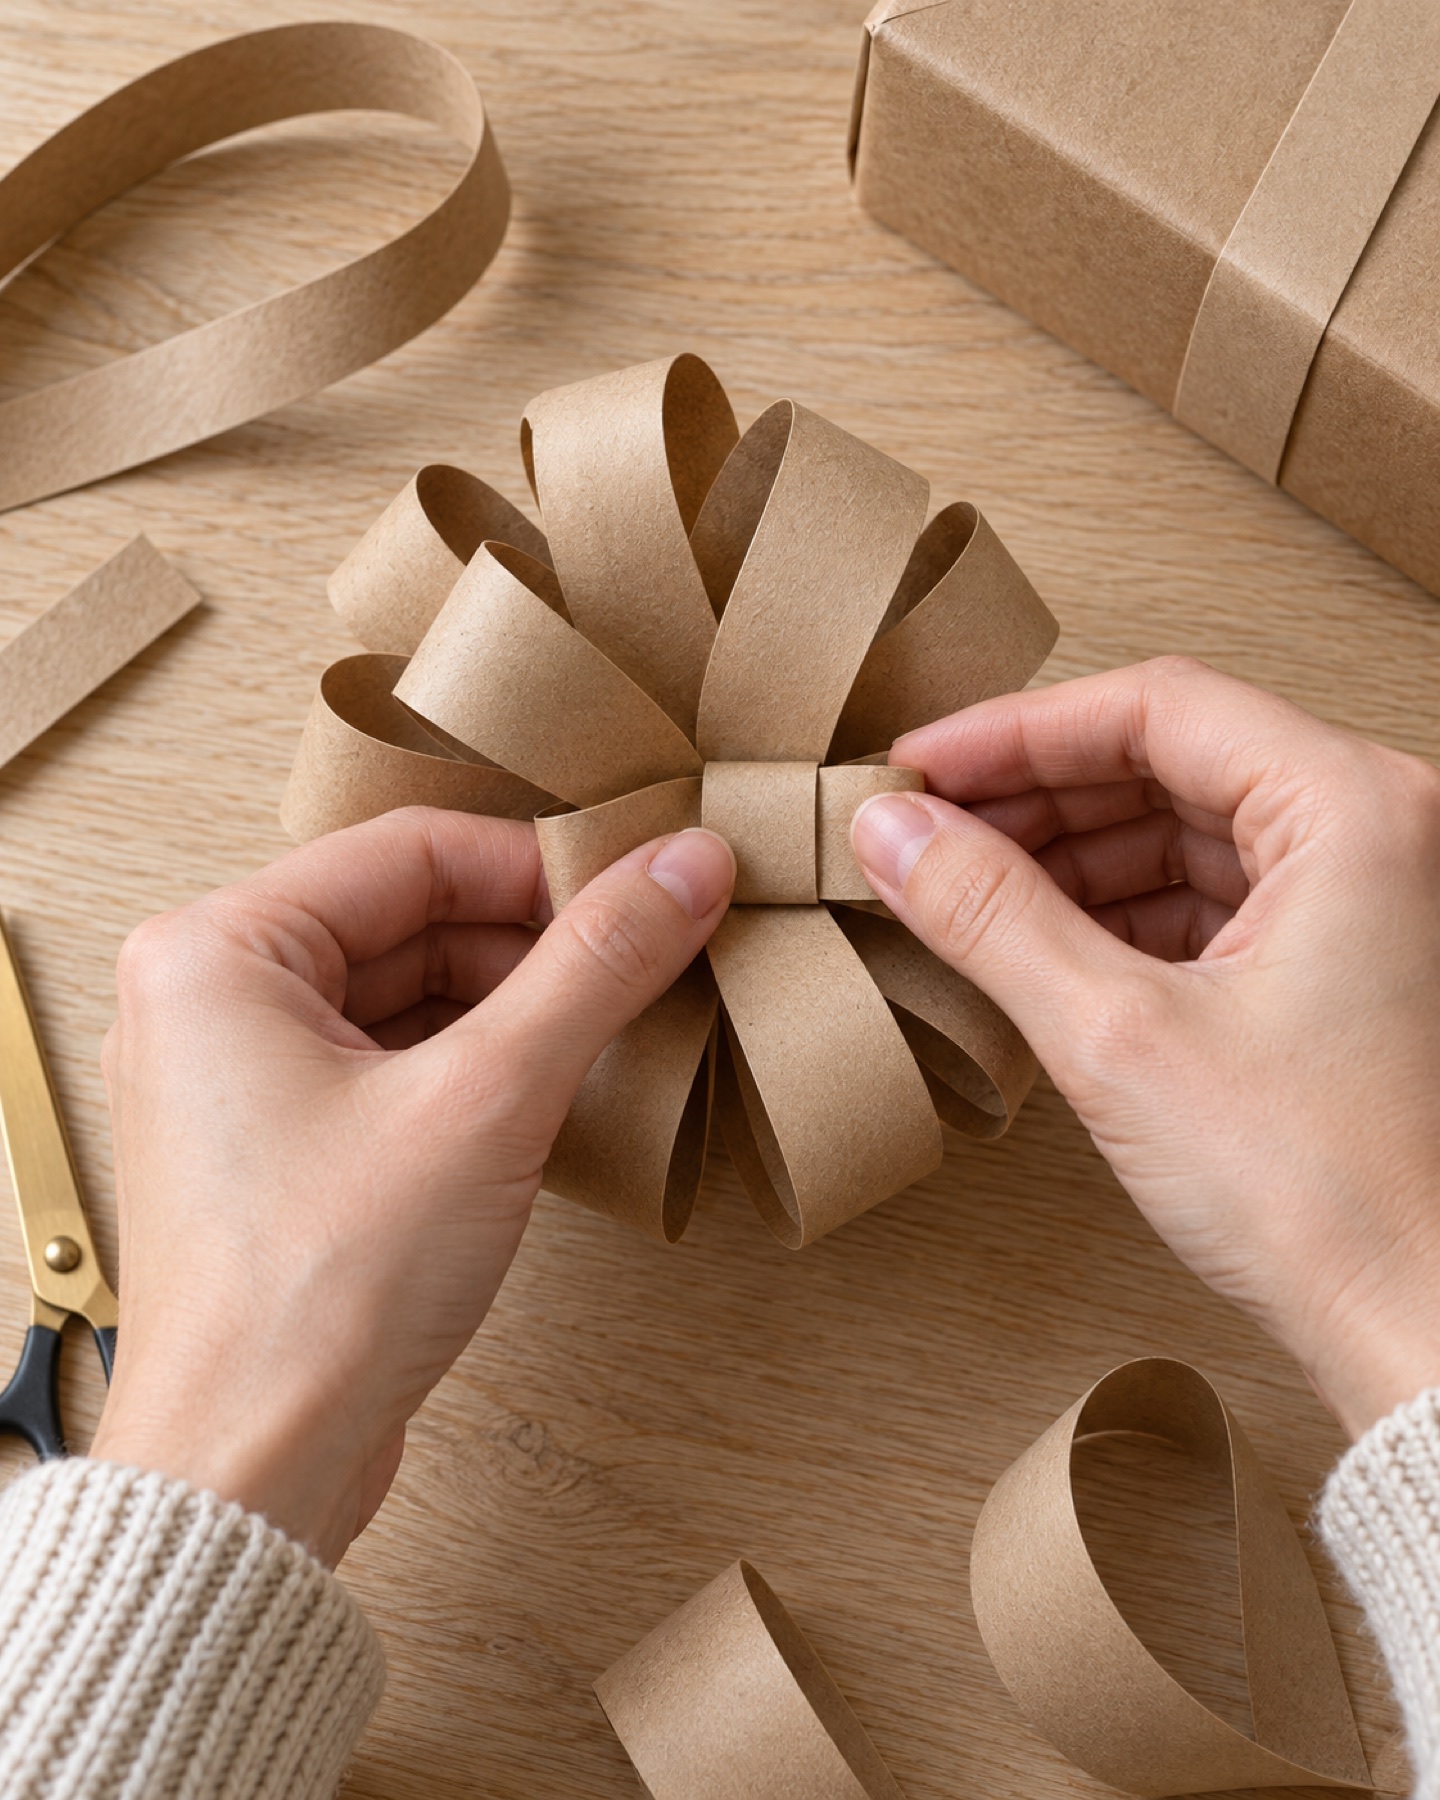
Turn each long strip printed-side down if you want the pattern to show on the outside. Bring both ends toward the center and overlap them by about half an inch, forming a loop with a pointed or rounded end. Secure the overlap with a small amount of paper glue or double-sided tape. Avoid folding a sharp crease down the strip; the bow looks fuller when the loop stays rounded. Repeat with the remaining long strips and let the adhesive grip before stacking them.
Layer the loops into a bow
Place the largest loop flat, then rotate the middle loop so its ends sit between the first pair. Add the smallest loop on top, turning it again to fill the open spaces. Press the center lightly while the layers are still adjustable. If the bow looks lopsided, reposition a loop before adding the center band. A small stack of three or four loops is usually enough; more layers can make a small package feel crowded.
Wrap the center and attach the bow
Wrap the short strip around the center of the stacked loops and secure it at the back. Trim any extra length only after checking that the band is snug, not tight enough to crush the loops. Attach the bow to a parcel with a removable glue dot, a short length of double-sided tape, or a narrow ribbon threaded under the package wrap. For a reusable topper, attach a small paper tab at the back and use a removable fastener.
Make variations and store the bows
Use map paper for one loop and a plain neutral for the others, or alternate a printed strip with two solid colors. Keep the paper pattern low contrast if the gift wrap is already busy. Store finished bows in a shallow box with tissue between layers so the loops do not flatten. If a loop becomes compressed, reshape it gently around a marker barrel rather than pressing a hard crease into it.
Good to know
Common questions
What paper is best for paper gift bows?
Medium-weight cardstock or sturdy decorative paper holds a rounded loop well. Thin wrapping paper can work when doubled, while very heavy board may crack during curling. Test a single strip before cutting the full set.
How do I keep the bow from coming apart?
Use a small amount of paper glue or double-sided tape at each overlap and let it grip before stacking. The center band helps hold the layers together, but it should not be so tight that it crushes the loops.
Can I make the bow from old maps or magazine pages?
Yes, if the paper is clean and sturdy enough to hold a curl. Thin pages can be glued to a second sheet or used for smaller bows. Avoid glossy coated paper that does not accept paper glue well unless you test it first.
How can I attach the bow so I can reuse it?
Use a removable glue dot or secure a small paper tab at the back and tie it to the package ribbon. Avoid permanent glue directly on reusable wrapping paper.
Plan your holiday gifts
Gift ideas from Ottly
Personalized ornaments and keepsakes, selected from our Etsy shop. These are separate gift ideas, not supplies for this project.
Current seasonal edit · Halloween
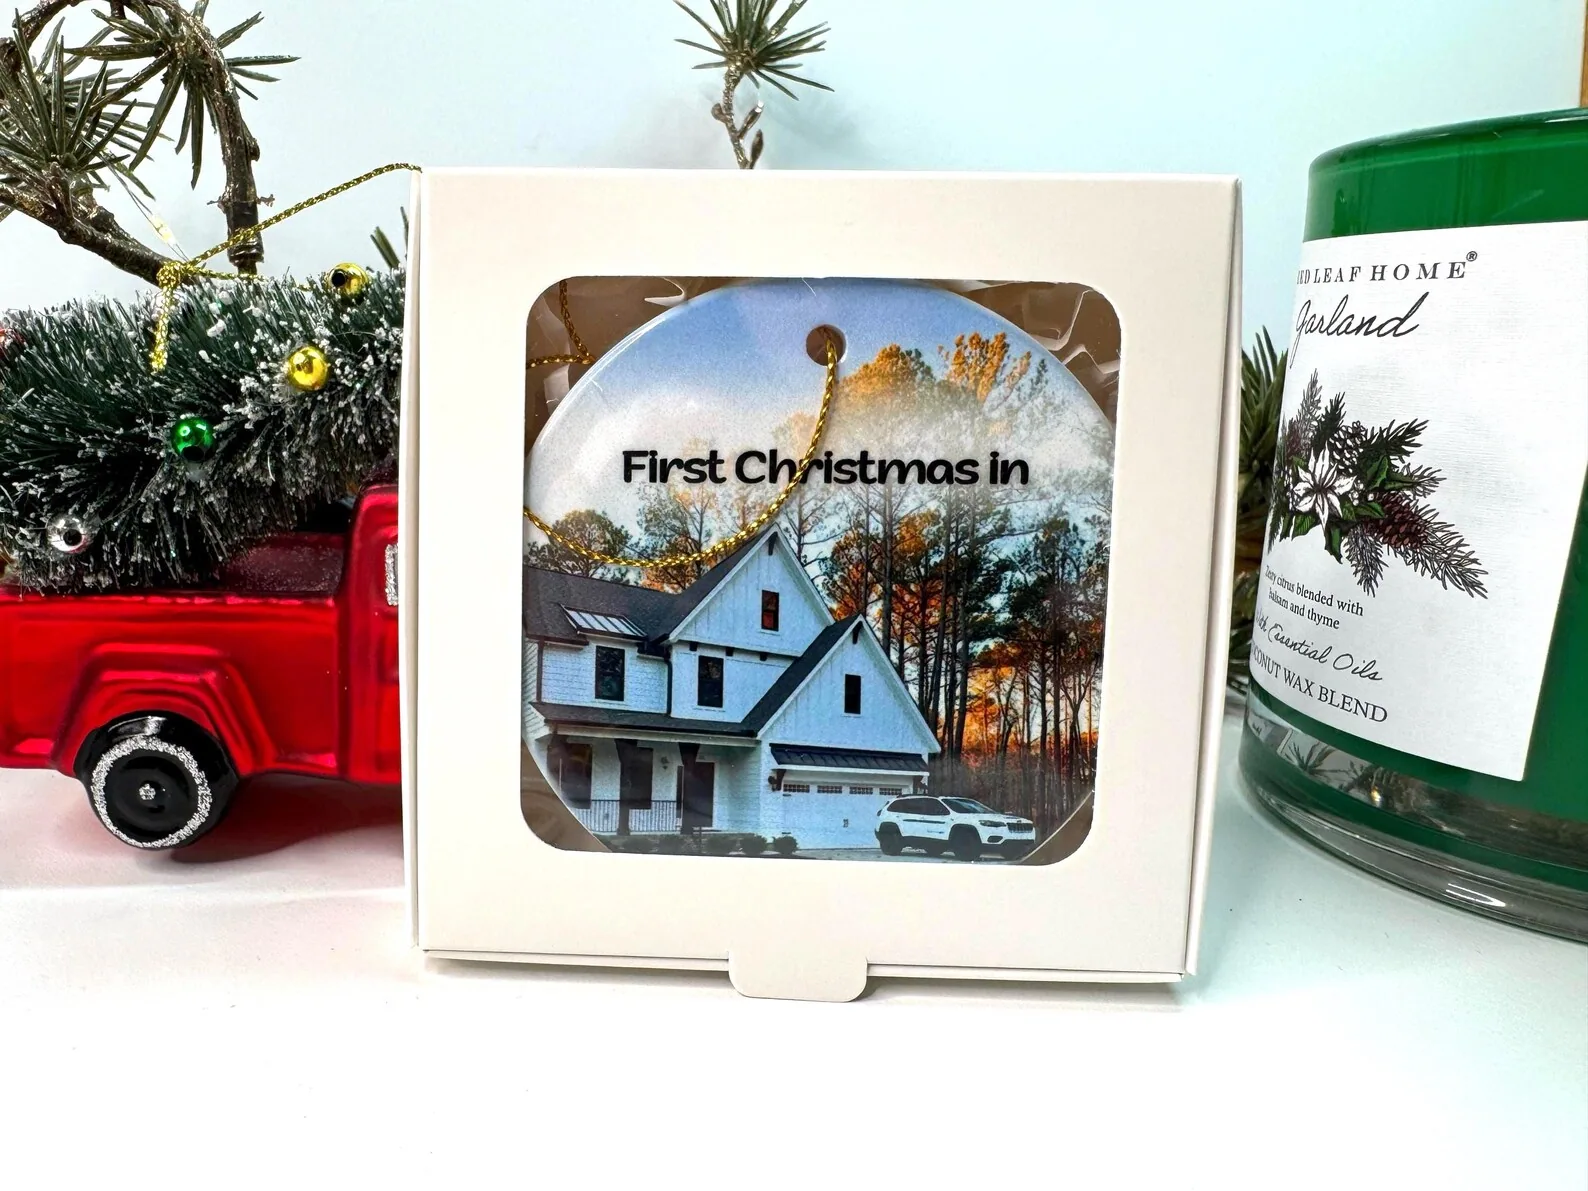 Milestone · housewarmingNew home photo ornamentA personal way to remember a first home or a move.View on Etsy ↗
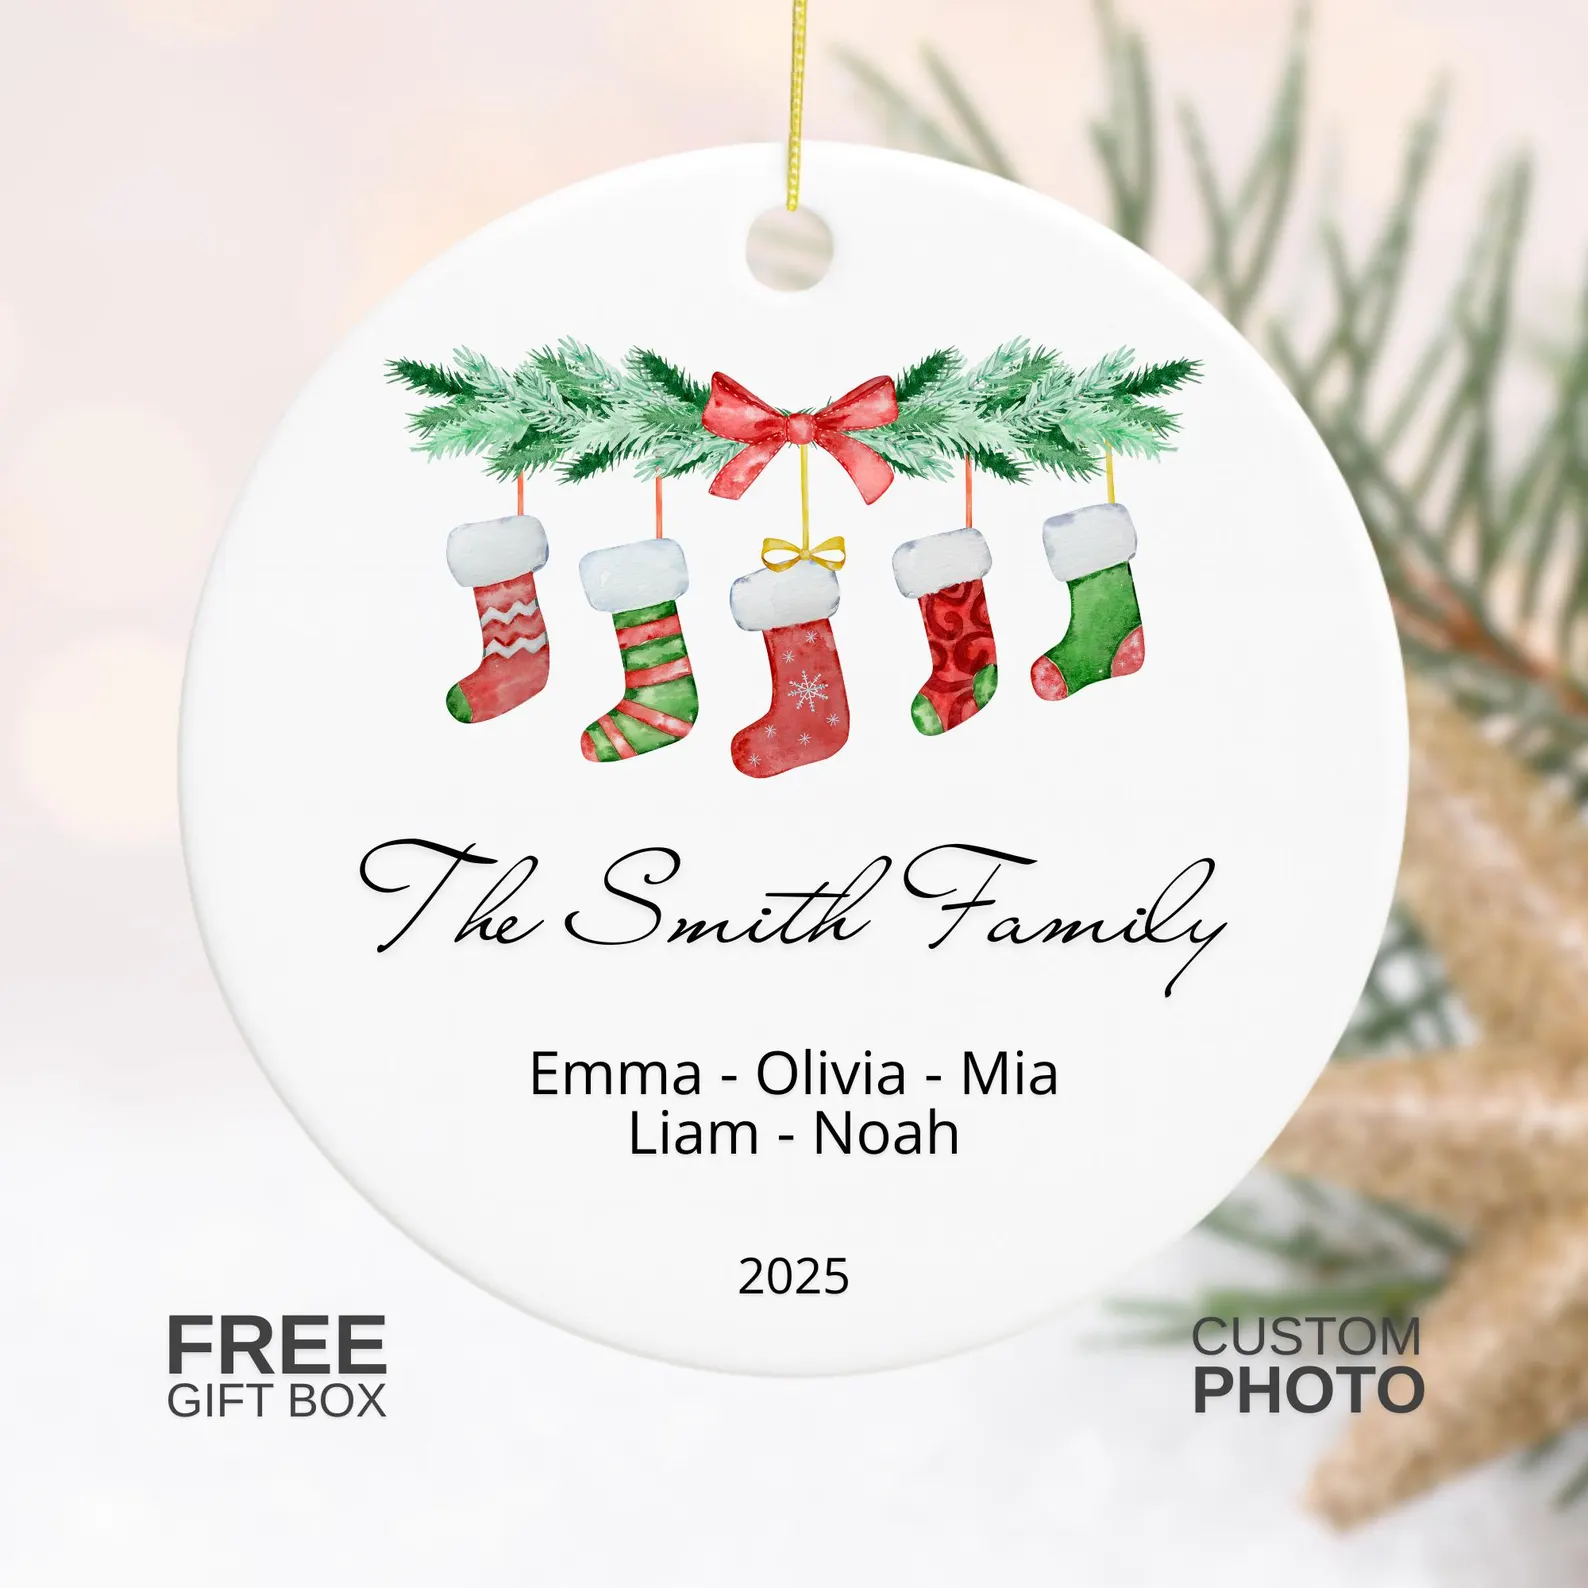 Christmas · personalizedPersonalized family ornamentA stocking keepsake made with the family's names.View on Etsy ↗
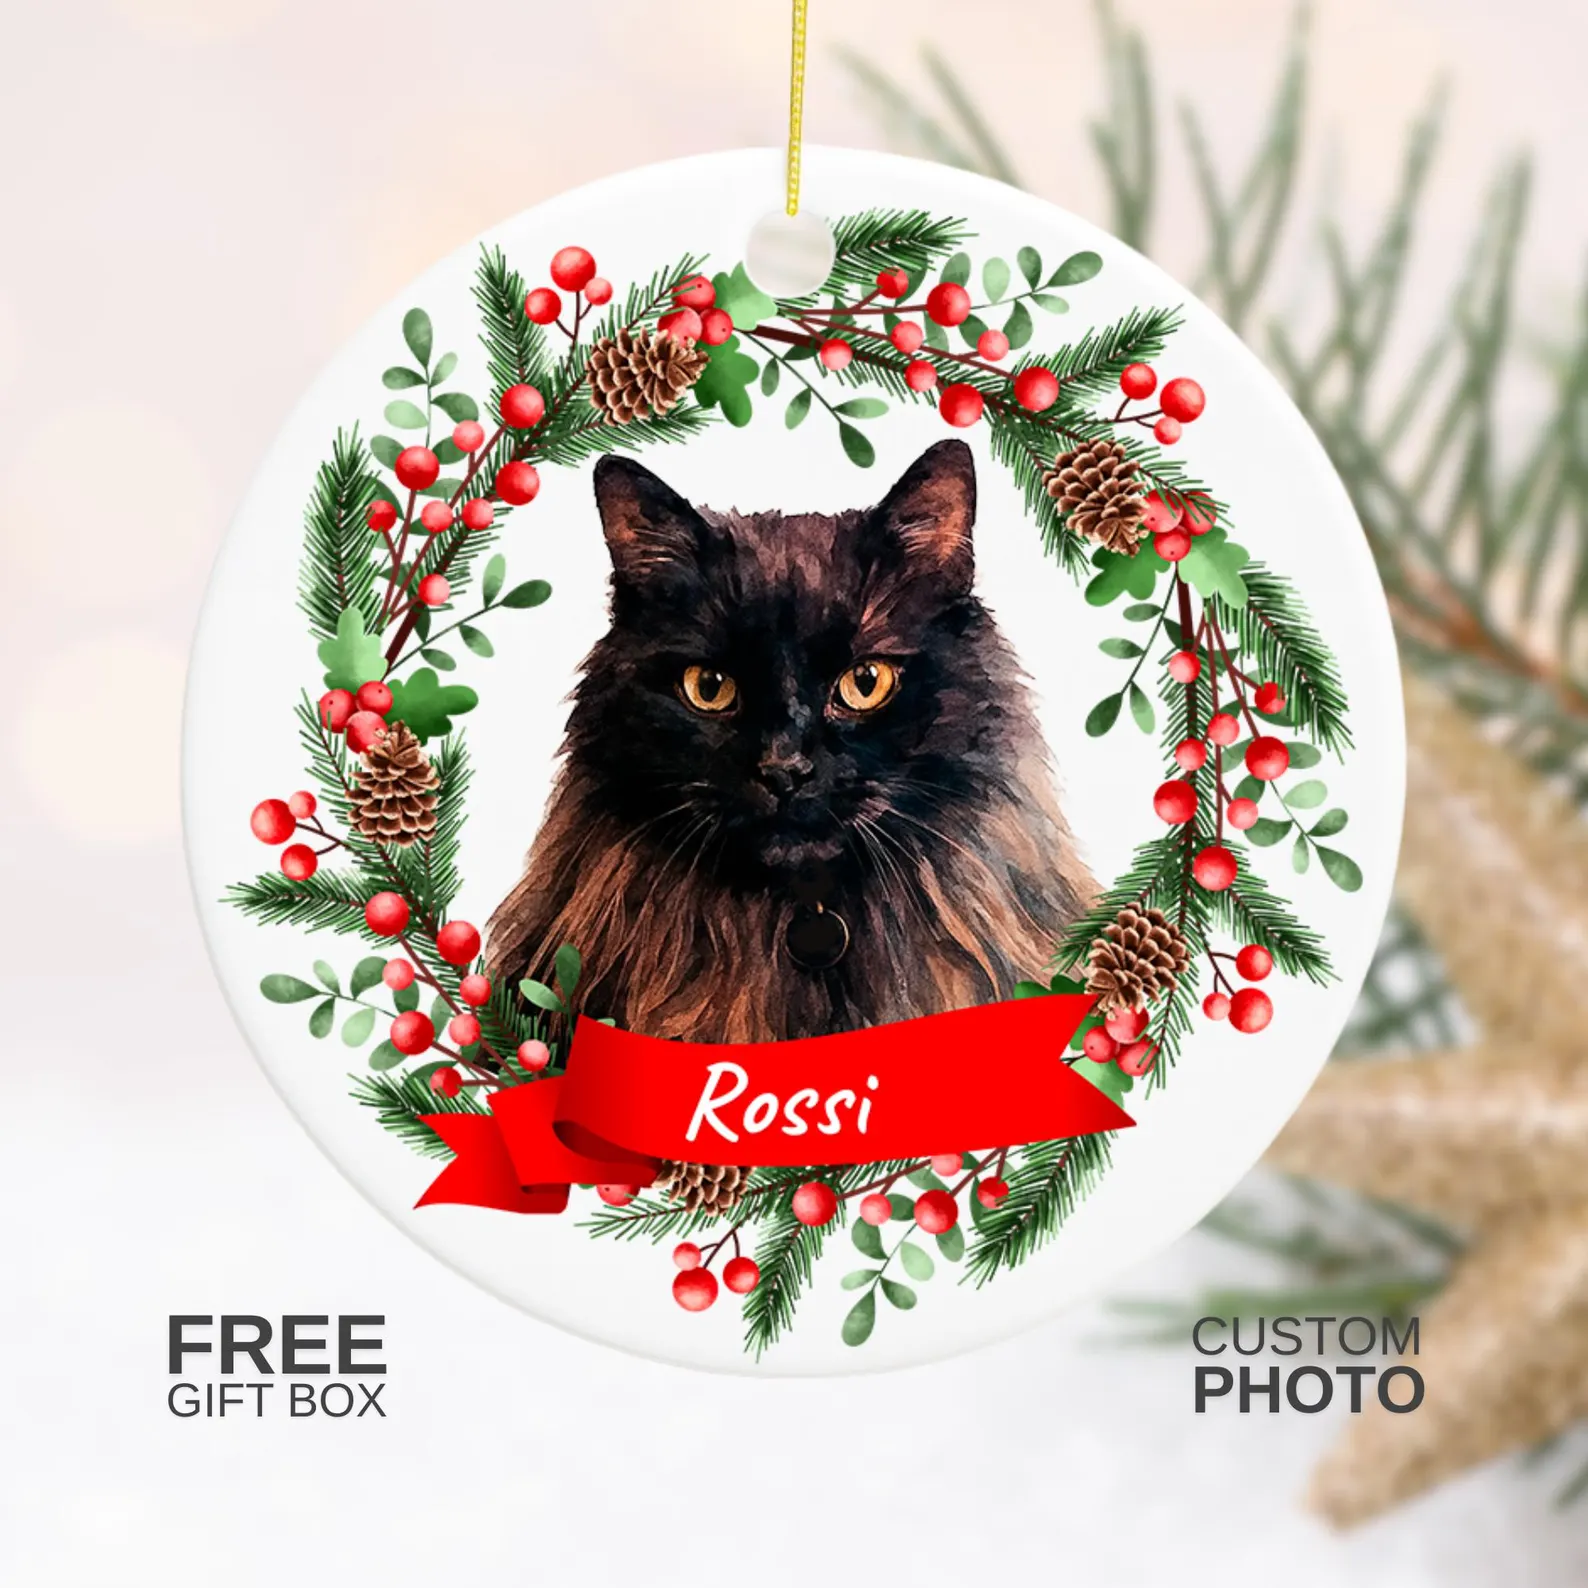 Christmas · cat giftPersonalized cat photo ornamentA Christmas wreath keepsake featuring a favorite cat.View on Etsy ↗
Keep exploring