In this guide5 steps
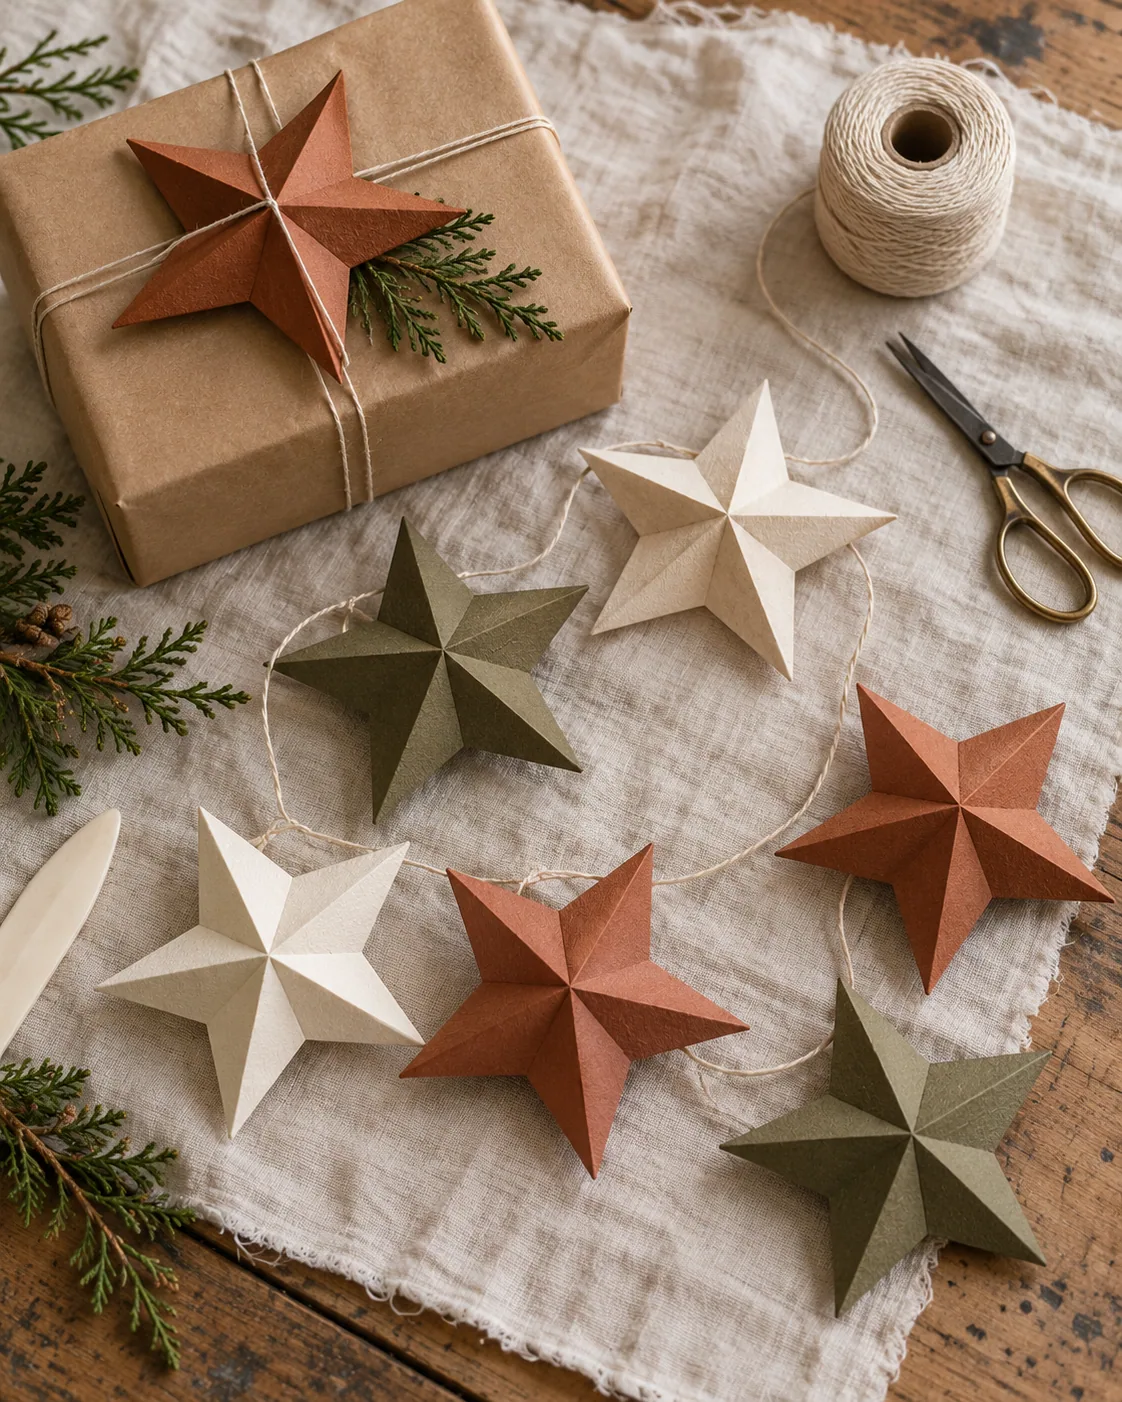
Dimensional paper stars are a useful way to turn a single sheet of cardstock into a gift detail that can be kept and reused. Their alternating ridges catch light from the side, while the flatter back sits neatly against a parcel or wall. Make one as a topper, a small group in several sizes for a garland, or a pair that can be hung in a window.
The method is easiest when the outline is symmetrical and the folds are scored before they are pressed. A ready-made star template is perfectly suitable; the important part is that the long points and inner notches are evenly spaced. Use the same template for two cutouts when you want a two-sided ornament, and use one cutout when the star will lie flat on a wrapped gift.
Medium-weight cardstock between 120 and 180 gsm makes crisp folds without fighting your hands. Thin paper can work for a small star, but it may sag when suspended. Very heavy board is difficult to crease and may split at the points. Test one small piece first, especially if the paper has a coated or metallic surface.
Allow a few minutes for the glue to set before hanging the finished star. The project uses ordinary scissors and a blunt scoring tool; no knife is needed. Keep the points broad rather than needle-sharp, which makes the star easier to cut, safer to handle, and less likely to bend during storage.
Choose paper and size
Select cardstock that bends cleanly without cracking, then decide whether the star will sit on a parcel or hang freely. A 6-inch star is large enough to show its folds but still light enough for a small garland. If you plan to make a pair, trace two outlines from the same template so their points line up when joined.
Trace and cut the stars
Trace one outline for a flat gift topper or two matching outlines for a two-sided ornament. Cut slowly with sharp scissors, turning the paper as you work instead of twisting your wrist. Keep the inner notches rounded rather than cutting to a needle point; this reduces tearing where the folds meet at the center. Erase visible pencil marks before folding.
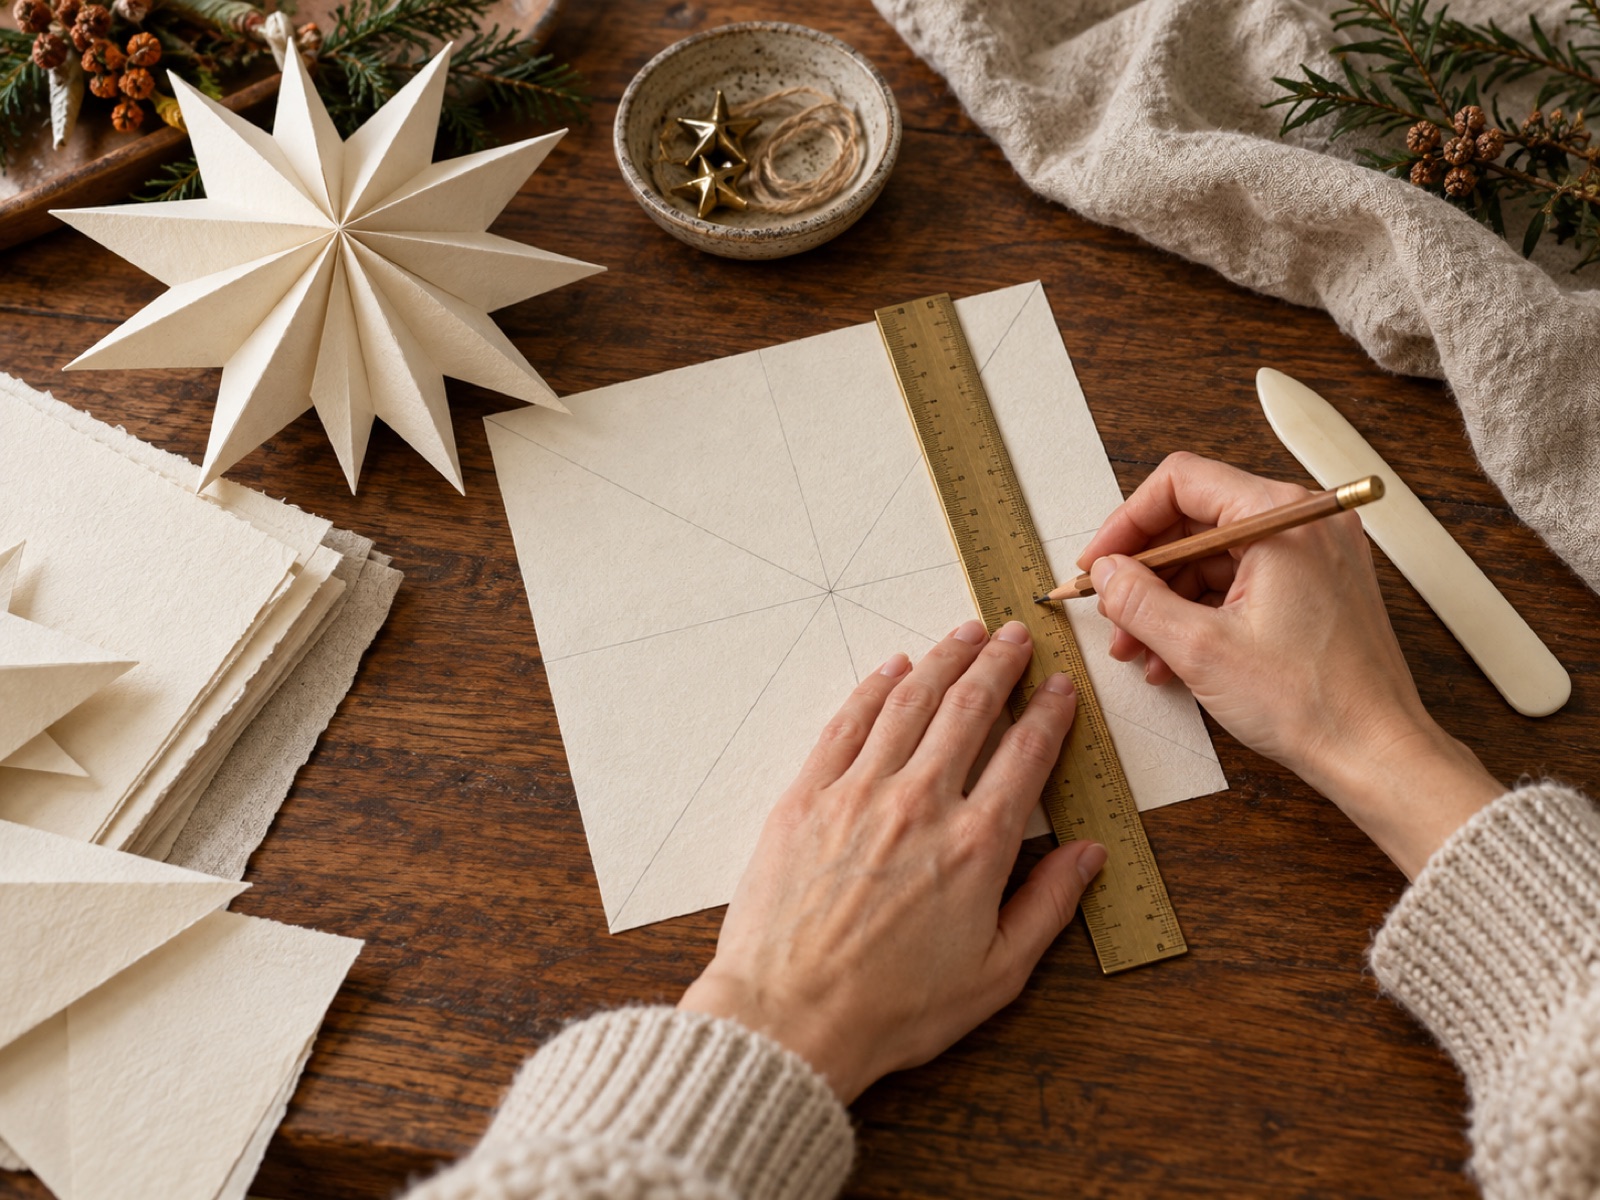
Score the radial fold lines
Mark the center of the star and draw a light line from the center to every outer point and every inner notch. These lines create the raised and recessed ridges. Use a ruler and a blunt bone folder or the back of a spoon to score each line; do not cut through the cardstock. Test one crease on a scrap piece first, especially on coated paper.
Shape the dimensional star
Fold each outer point line into a raised ridge and each inner-notch line into a recessed valley. Work around the star in order, pressing from the center toward each tip so the folds stay straight. Turn the star over and gently push the center forward until the points rise evenly. If one point buckles, flatten that section and re-crease it rather than forcing the paper.
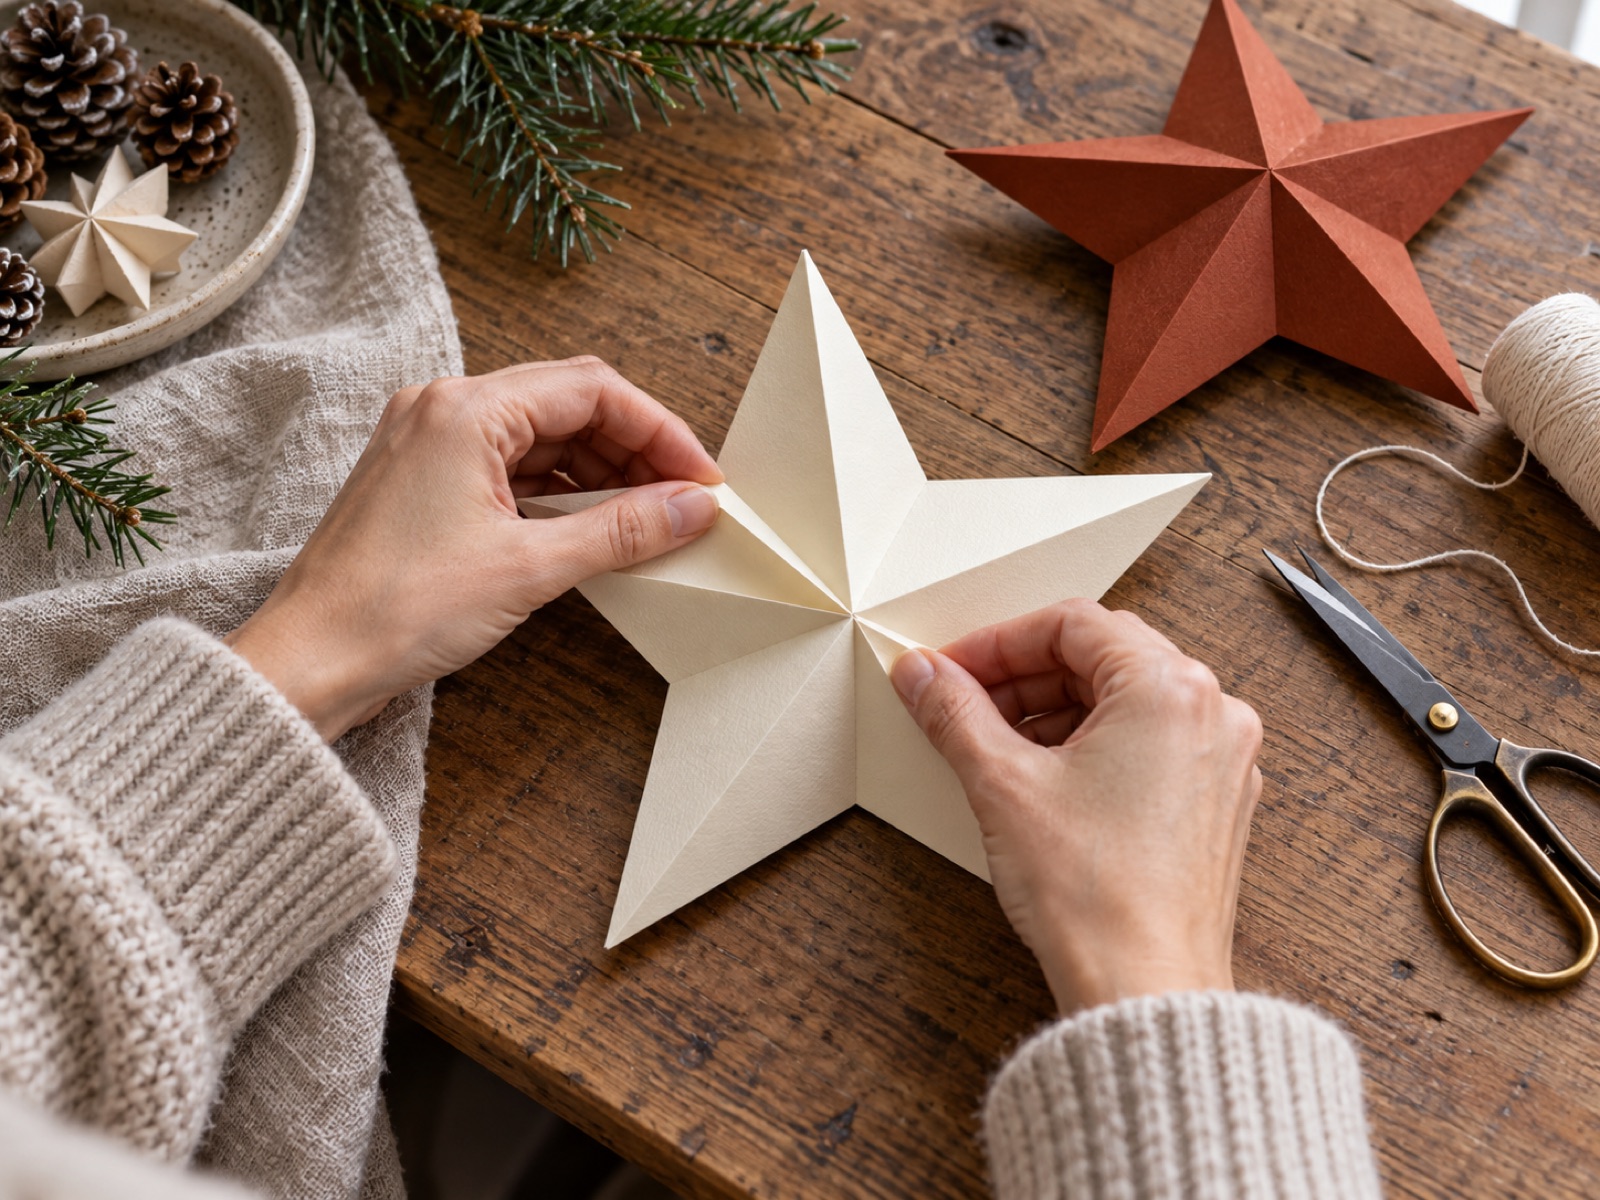
Join, hang, and store
For a gift topper, use one star and attach it with a small removable dot or a piece of ribbon. For a two-sided ornament, add a thin line of paper glue to the back of both stars and align the points; place a cotton thread loop between the top points before pressing them together. Let the star dry under a light book with a scrap sheet between the surface and paper. Store finished stars flat in a rigid box.
Good to know
Common questions
What paper weight works best for folded paper stars?
Cardstock around 120–180 gsm is firm enough to hold the ridges and still easy to crease. Make one test fold if the paper is coated or textured.
How do I attach a paper star to a gift?
Use a removable glue dot or thread a narrow ribbon through a small hole near one point. Avoid heavy glue on reusable wrapping paper.
Can I make the stars smaller or larger?
Yes. Keep the template symmetrical and scale every point together. For very small stars, use lighter paper so the folds do not become bulky.
Plan your holiday gifts
Personal keepsakes from Ottly
Christmas gifts to plan ahead, picked from our Etsy shop. Each card opens the actual listing. These are separate gift ideas, not supplies for this project.
Current seasonal edit · Halloween
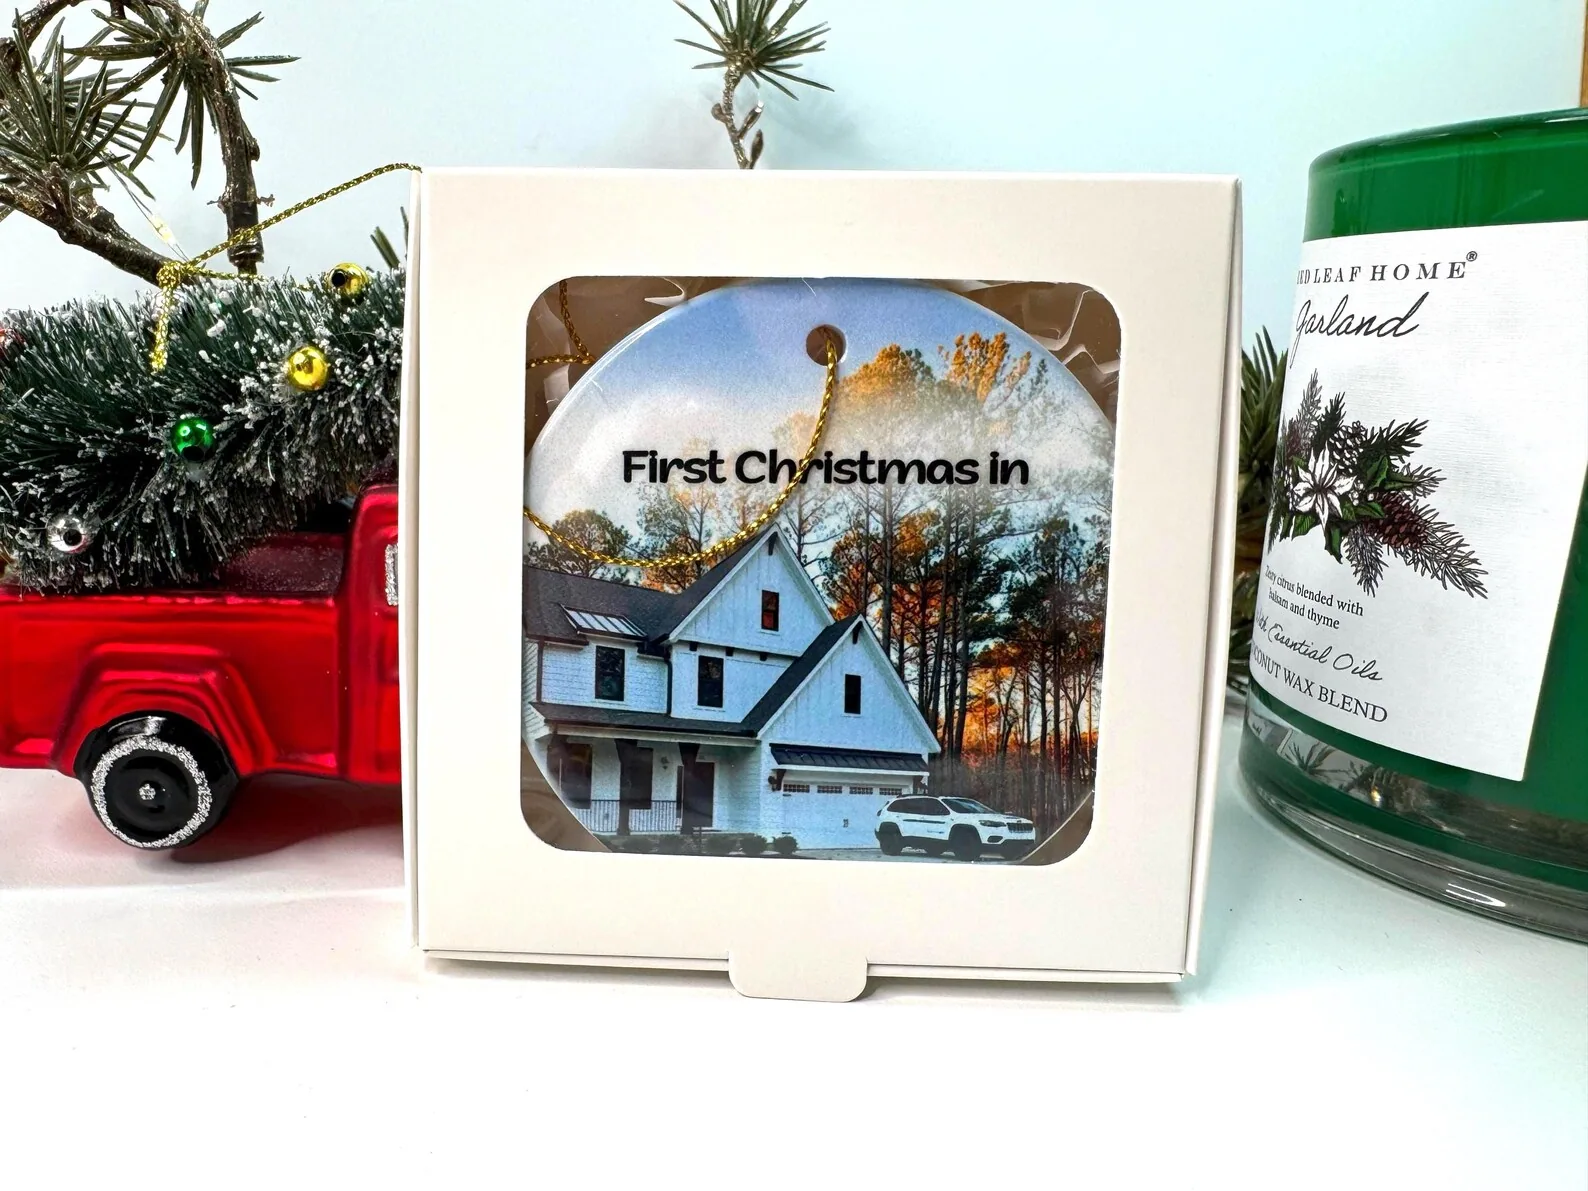 Milestone · housewarmingNew home photo ornamentA personal way to remember a first home or a move.View on Etsy ↗
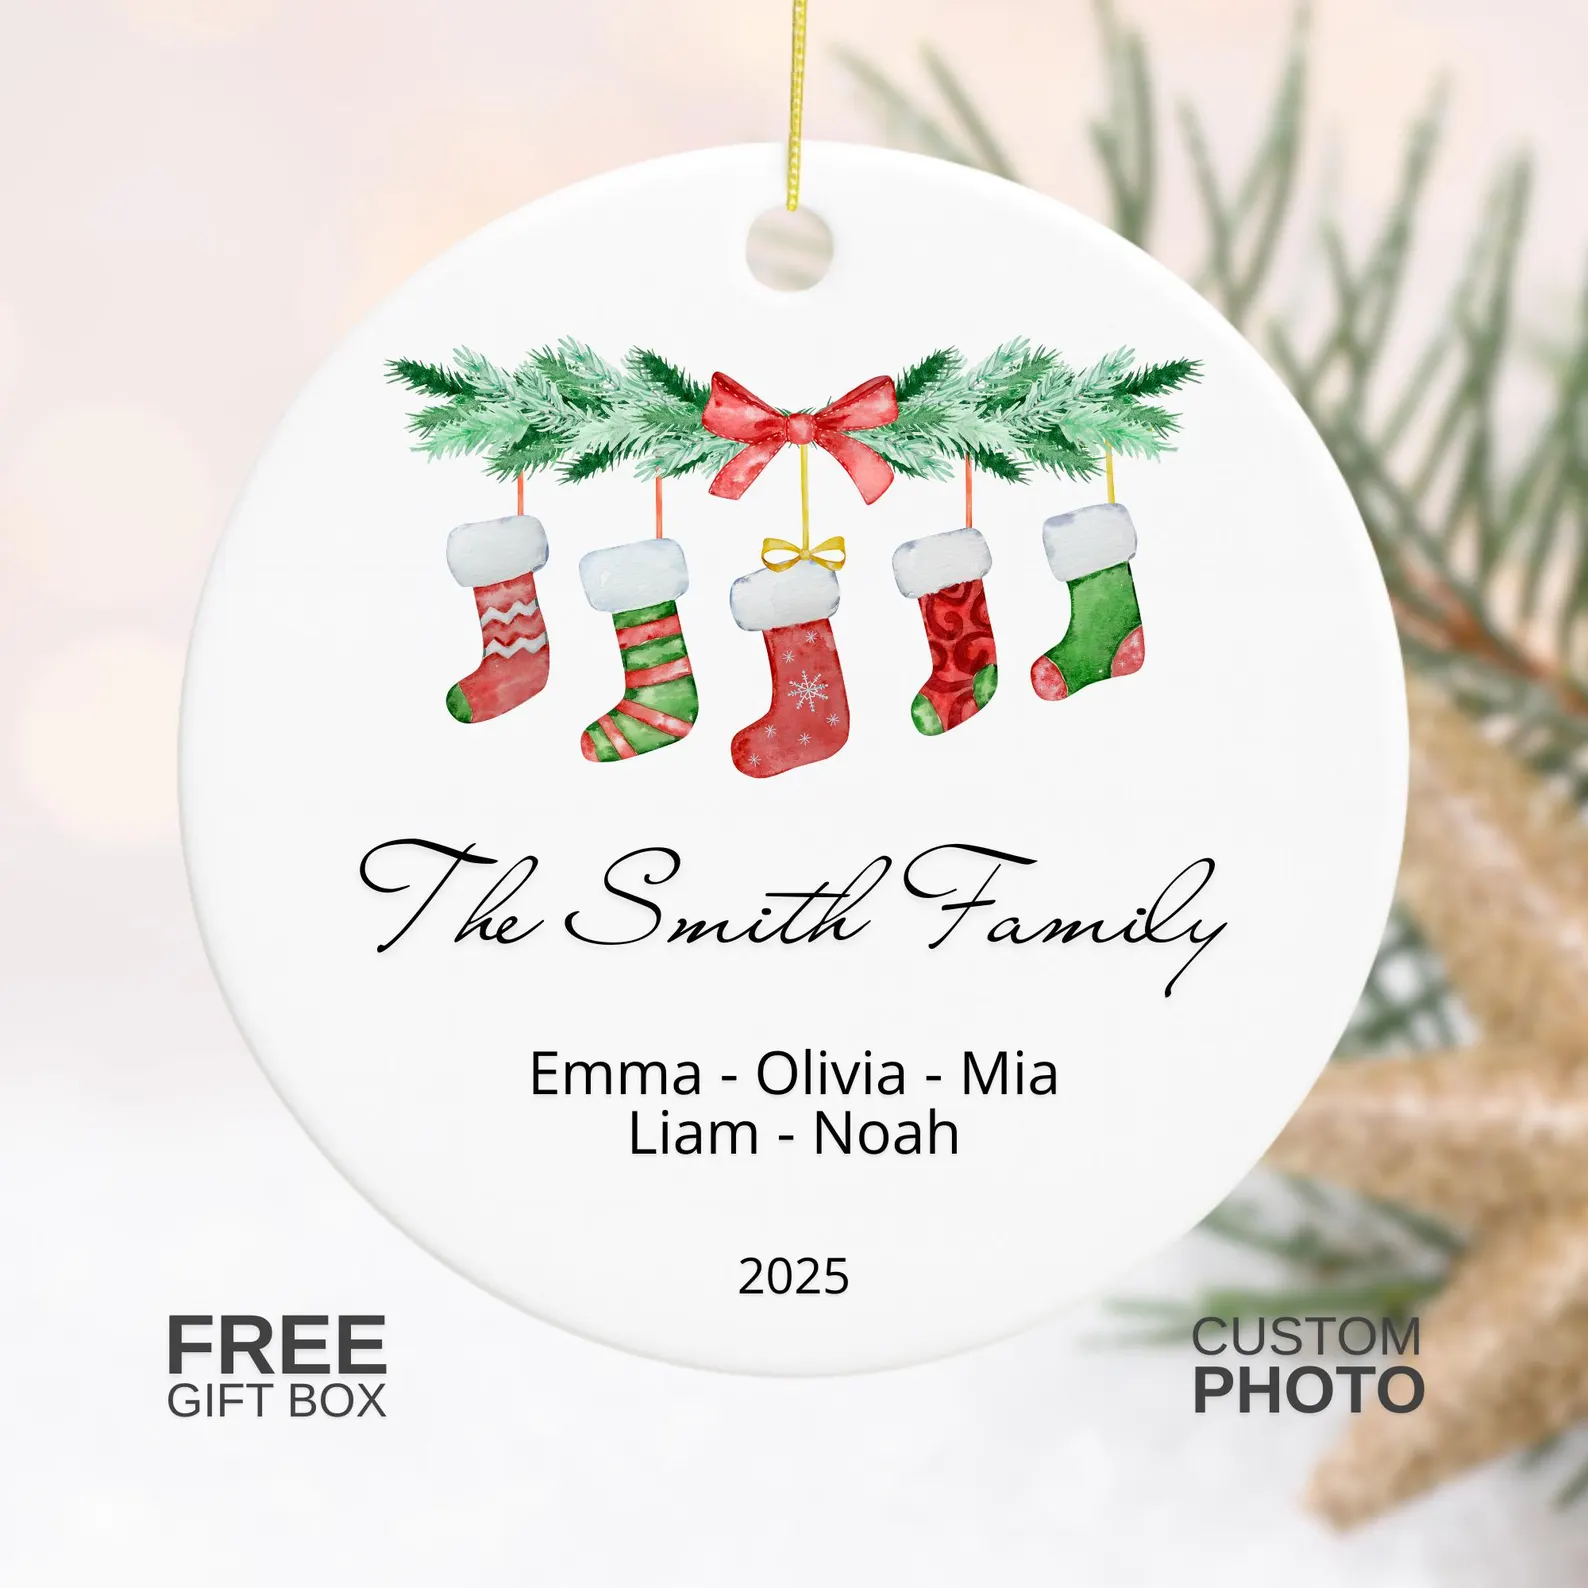 Christmas · personalizedPersonalized family ornamentA stocking keepsake made with the family's names.View on Etsy ↗
 Christmas · pet giftPersonalized dog photo ornamentA photo keepsake for a much-loved dog.View on Etsy ↗
Keep exploring