In this guide6 steps
A window of paper snowflakes can feel bright and seasonal without filling every pane. A handful of crisp white shapes catches the daylight, and a little variation in scale makes the display feel collected rather than overly matched. Use them on a living-room window, a kitchen pane, or a glass door where the paper can be seen from both sides.
The project relies on a repeatable fold and careful cuts. You do not need a printed template: fold a square into a compact wedge, trim the top into a rounded or pointed outline, and remove small shapes from the folded edges. Open each piece slowly so delicate bridges do not tear. Layer two snowflakes with a small offset to create more depth, or keep every design single-layered for a lighter look.
Plain copy paper is easiest to fold and cut for beginners. Lightweight vellum or tracing paper makes a softer, translucent effect, while heavier paper holds its shape better but can become difficult to cut through several layers. Test one small snowflake before making a full set. Keep scissors pointed away from your hand, and ask an adult to help children with the cutting.
Before hanging anything, clean and dry the glass. Use removable adhesive dots or a small loop of low-tack tape, test the adhesive on an inconspicuous area, and avoid placing paper where it can touch a heater or collect condensation. The display is easy to remove at the end of the season and the paper shapes can be stored flat in an envelope.
Materials and tools
- White copy paper or lightweight craft paper
- Optional tracing paper or vellum
- Sharp paper scissors, pencil and ruler
- Removable adhesive dots or low-tack painter’s tape
- Optional hole punch and cotton thread
- Envelope or folder for storage
Choose paper and plan the display
Decide how many snowflakes you need by looking at the window from a few steps away. A group of five to nine pieces in three sizes is a useful starting point for a single pane; a wide window may need more. Choose ordinary copy paper for the first attempt because it folds cleanly and is easy to trim. Cut squares in several sizes from the same sheet, such as 4, 6, and 8 inches across. Keep a few inches of open glass between the shapes so the arrangement stays airy.
Fold each square into a compact wedge
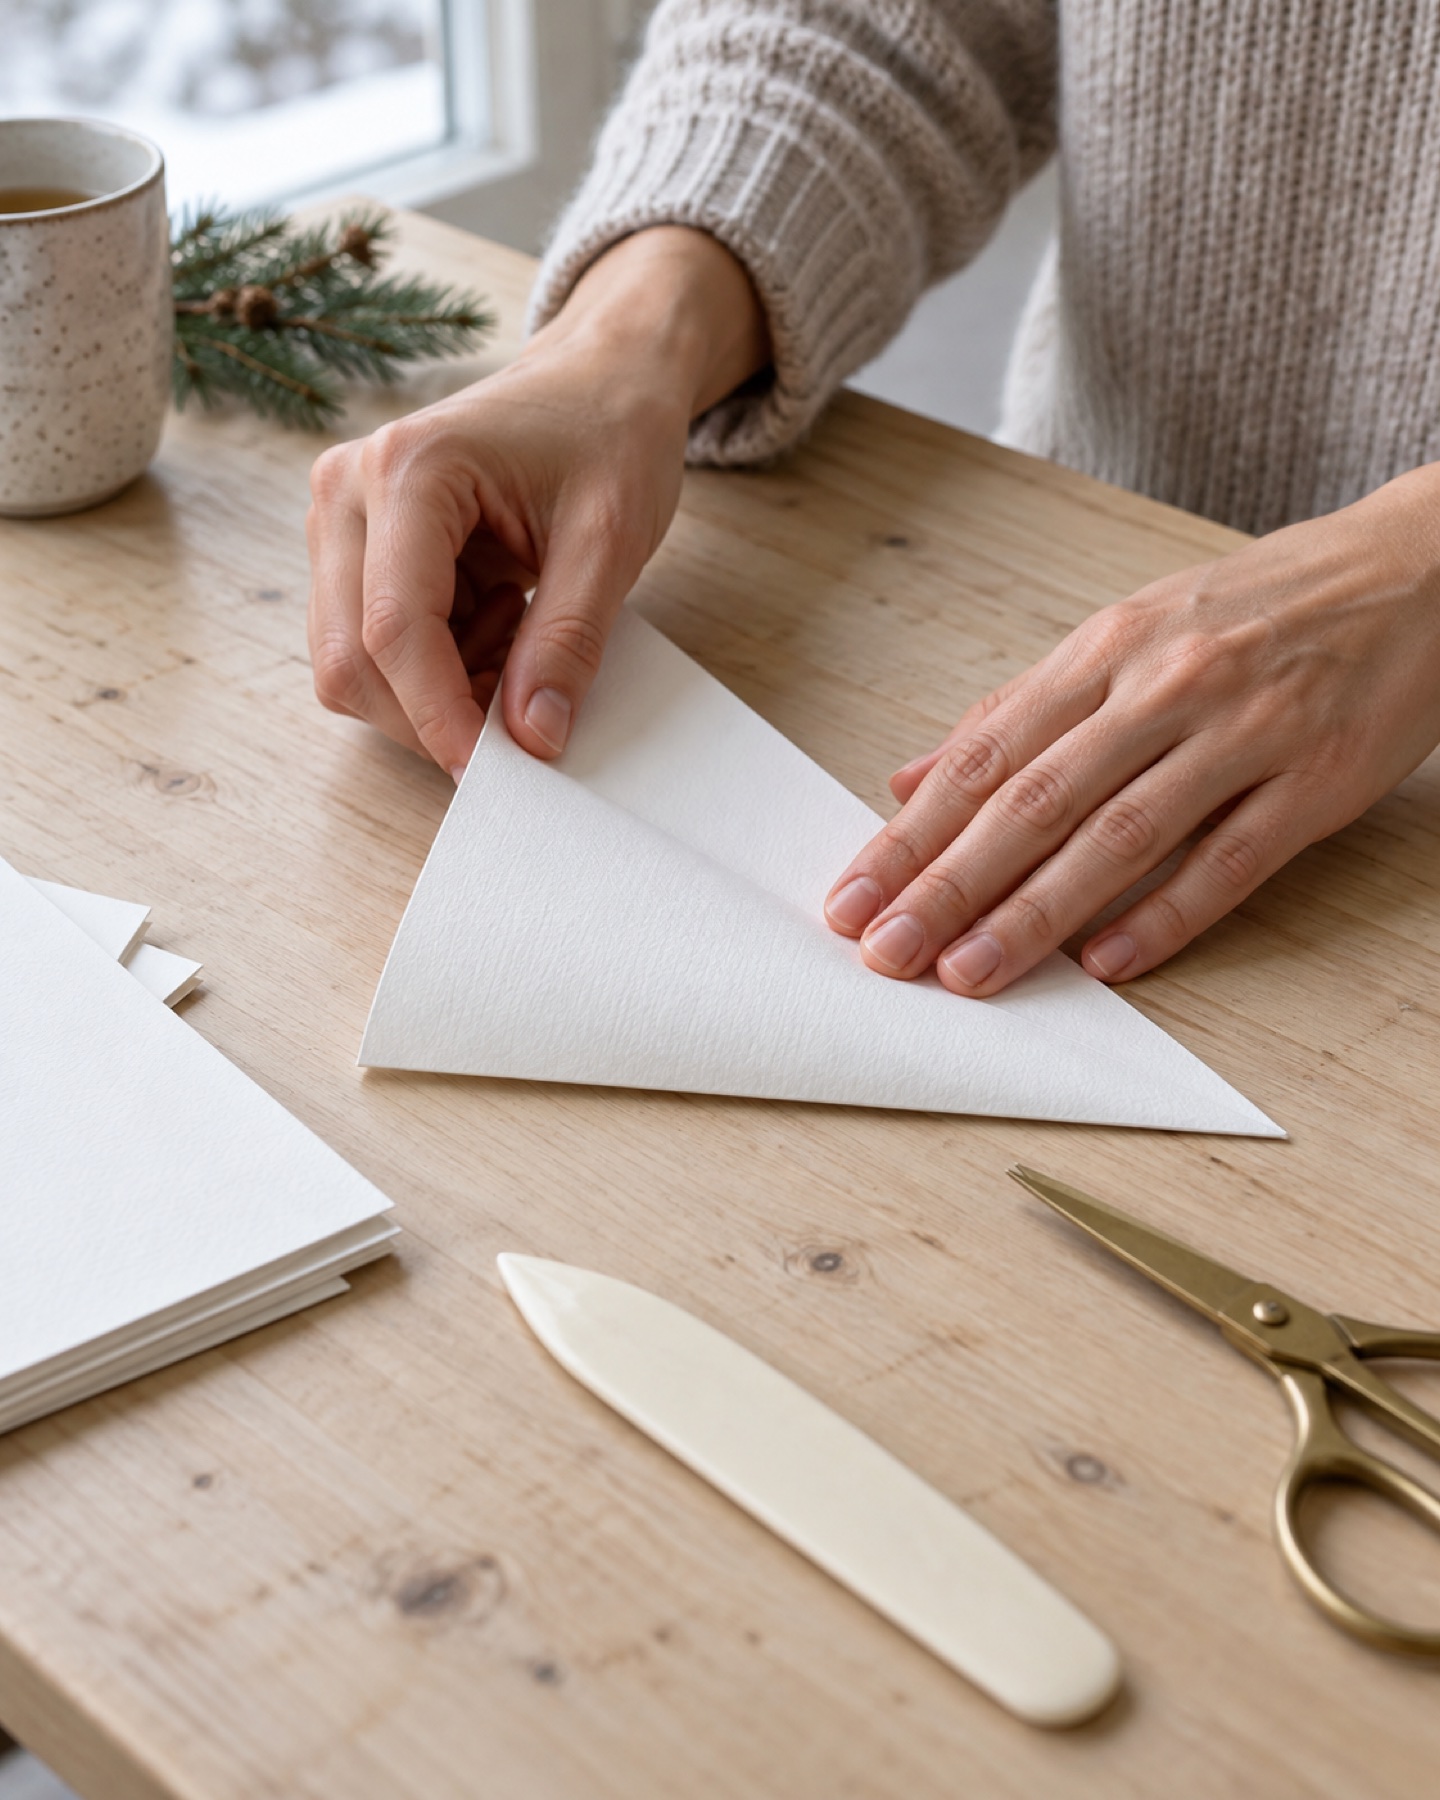
Fold a square diagonally into a triangle, then fold it in half again to make a smaller triangle. Fold the triangle into thirds by bringing one side toward the center and wrapping the other side over it. Trim the uneven points across the top to create a rounded edge, a shallow point, or a gentle curve. The exact fold matters less than keeping the layers aligned and pressing each crease firmly. Use a bone folder or the back of a spoon if you want sharper creases.
Cut a balanced pattern
Cut small triangles, half-circles, or short slits from the folded edges, leaving sturdy paper bridges between each opening. Do not cut all the way through the narrow spine or remove every point; the remaining connections hold the snowflake together when it opens. Mix small and medium openings rather than making one large cut near the center. Try a pattern on scrap paper first, and keep the scissors moving slowly through the thickest part of the fold. Round off a sharp outer corner if the paper begins to split.
Open and layer the snowflakes
Unfold the paper one crease at a time, supporting the center with your fingers. If an edge catches, stop and ease the fold open instead of pulling. Flatten the snowflake under a light book for a few minutes. To make a layered version, place a smaller design over a larger one and rotate it until the openings alternate. Secure the centers with a tiny adhesive dot or a small amount of removable paper tape. Keep the adhesive away from the tips so the edges remain visible.
Arrange and hang the window display
Lay the snowflakes on a table in the rough arrangement you want, changing the size and spacing until the group feels balanced. Clean and dry the glass, then test a removable adhesive on a discreet corner. Attach a small dot near the center or on a sturdy folded area; press gently rather than flattening every delicate point. For hanging drops, punch one small hole near the top and use cotton thread, keeping the knot loose enough not to tear the paper. Avoid placing paper over vents, heaters, or damp glass.

Remove and store the pieces
When the season ends, peel the adhesive away slowly and support the paper with your other hand. Remove any residue using a method suitable for the glass surface, following the cleaner label. Store the snowflakes flat in a labeled envelope or folder, with a sheet of plain paper between layered designs. Discard pieces that are damp, stained, or torn rather than trying to press them flat while wet.
Good to know
Common questions
What paper is easiest for paper snowflakes?
Standard copy paper is a good first choice because it folds easily and is simple to cut through several layers. Very heavy cardstock can be tiring to cut and may split at narrow points; use it only for large, uncomplicated patterns.
How do I keep paper snowflakes from tearing when I open them?
Leave broad bridges between the cutouts and keep the central spine intact. Open one fold at a time, supporting the center rather than pulling on the tips. If a cut is close to the edge, unfold that section especially slowly.
How can I hang snowflakes without damaging the window?
Try removable adhesive dots or low-tack painter’s tape after testing on a discreet area. For a hanging strand, punch a hole near a sturdy top point and use light cotton thread. Follow the adhesive manufacturer’s instructions and check it periodically.
Can I reuse the snowflakes next year?
Yes, if they stay dry and are removed gently. Store them flat in an envelope or folder and place a sheet of plain paper between layered pieces to protect the cut edges.
Plan your holiday gifts
Gift ideas from Ottly
Personalized ornaments and keepsakes, selected from our Etsy shop. These are separate gift ideas, not supplies for this project.
Current seasonal edit · Halloween
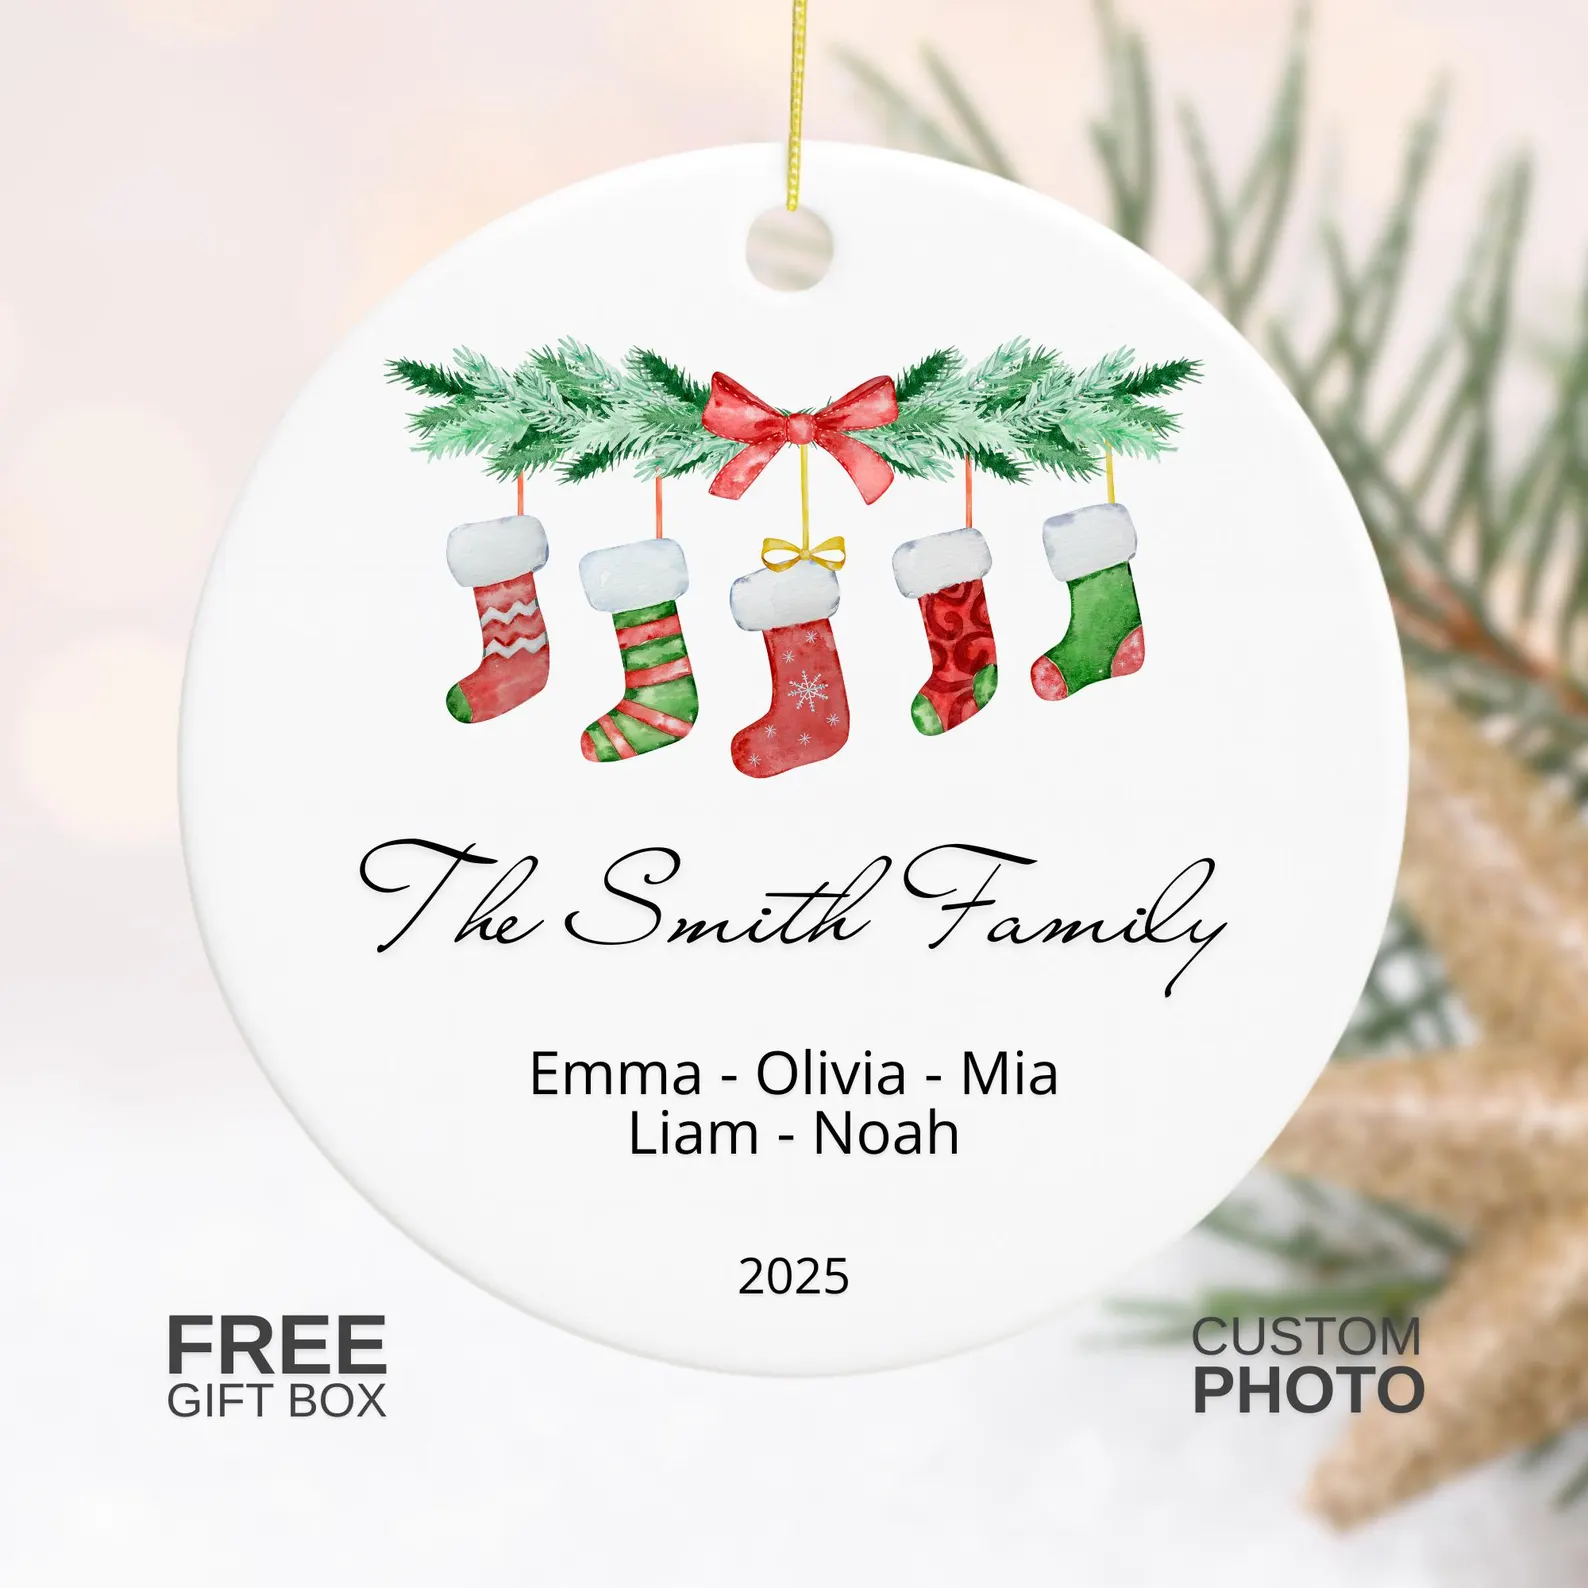 Christmas · personalizedPersonalized family ornamentA stocking keepsake made with the family's names.View on Etsy ↗
 Christmas · cat giftPersonalized cat photo ornamentA Christmas wreath keepsake featuring a favorite cat.View on Etsy ↗
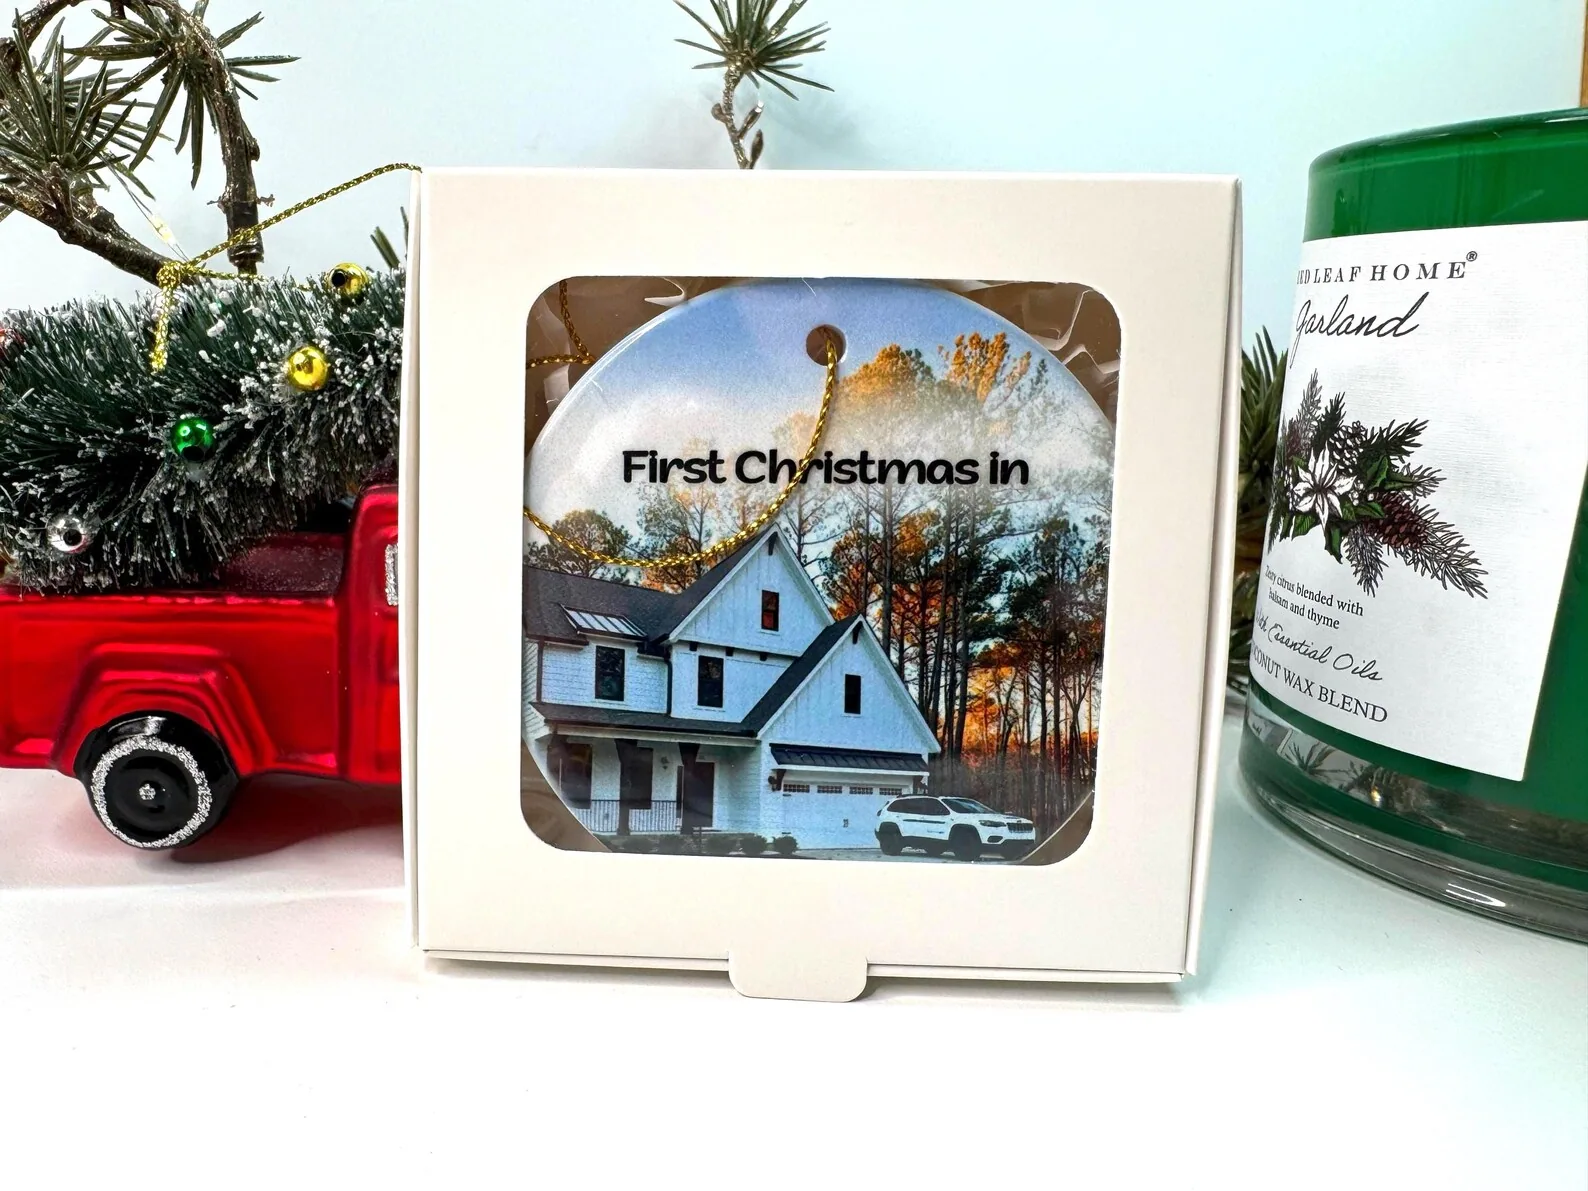 Milestone · housewarmingNew home photo ornamentA personal way to remember a first home or a move.View on Etsy ↗
Keep exploring