In this guide5 steps
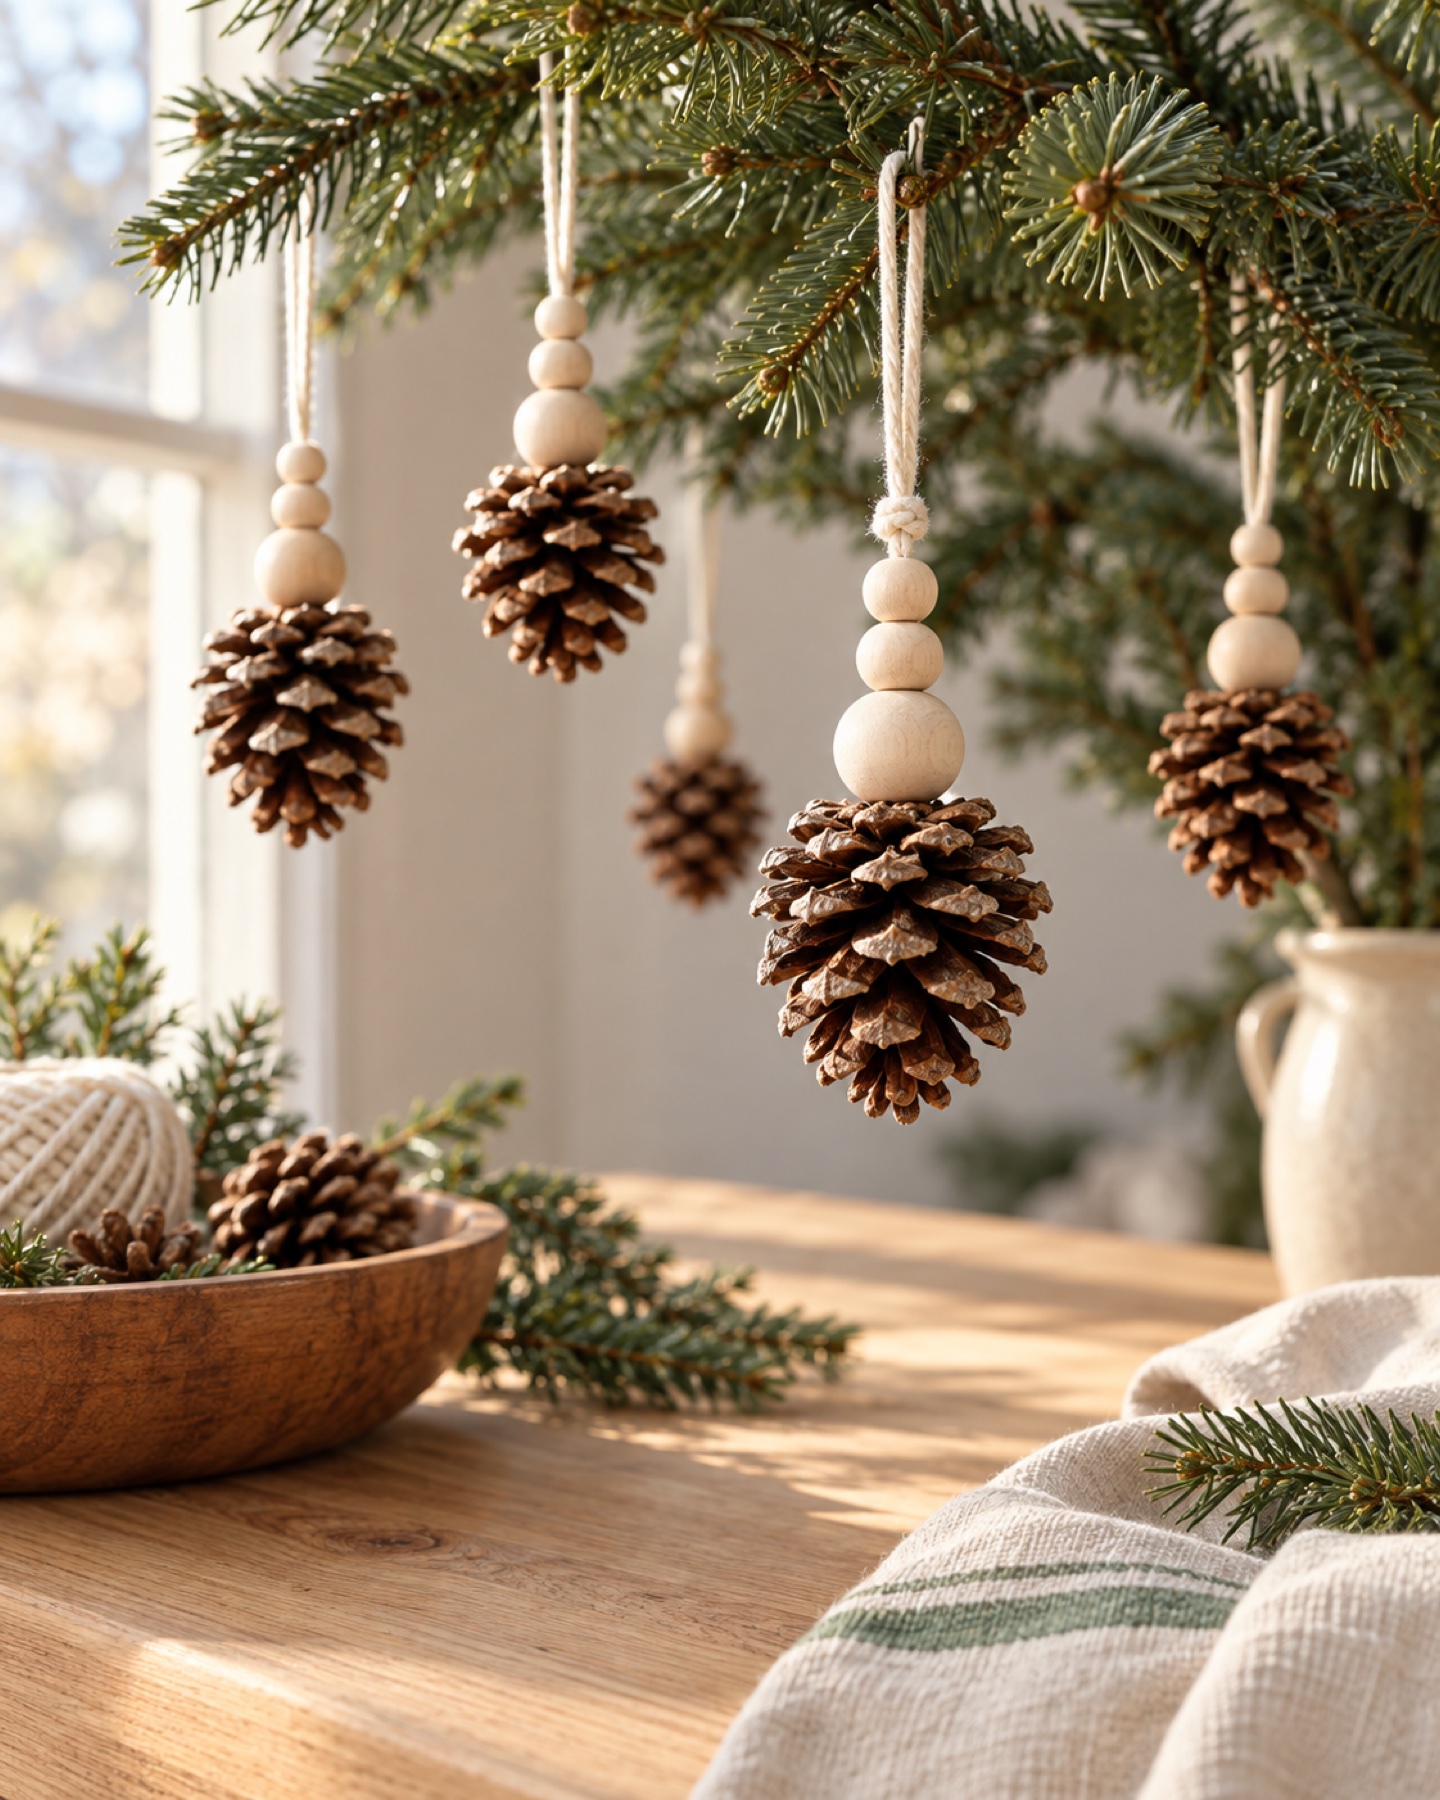
Pinecones already have the shape and texture of a finished ornament. A wooden bead and a short cotton loop add a clear hanging point while keeping the natural scales visible. Make a matching set from cones of similar size, or mix a few silhouettes for a collected look on a tree, wreath, or seasonal branch arrangement.
Choose cones that are dry, intact, and free of visible mold, insects, or a strong musty smell. Brush away loose dirt outdoors and let the cones air-dry fully before attaching cord. This guide keeps the finish simple: no paint or glitter is needed, though a small amount of matte craft paint can be added to the tips if you want a little contrast.
Each pinecone is different, so test the loop on one cone before preparing a whole batch. A secure attachment matters more than a perfectly centered bead. Use a lightweight ornament hook or loop, keep the finished piece away from candles and heat, and hang it where children and pets cannot pull it down.
Materials and tools
- Clean, dry pinecones
- Soft brush and clean cloth
- Cotton cord or narrow twine
- Small wooden beads
- Scissors
- Optional matte craft paint and brush
Select cones that are dry and sturdy
Gather cones that feel dry and do not shed heavily when handled. Choose pieces with intact scales and a base wide enough to anchor the cord. Similar-size cones make a tidy set; a mix of small and medium cones feels more natural on a tree. Avoid cones with visible mold, insect activity, sticky residue, or a musty odor. If you collect outdoors, check local rules and avoid taking cones from protected areas.
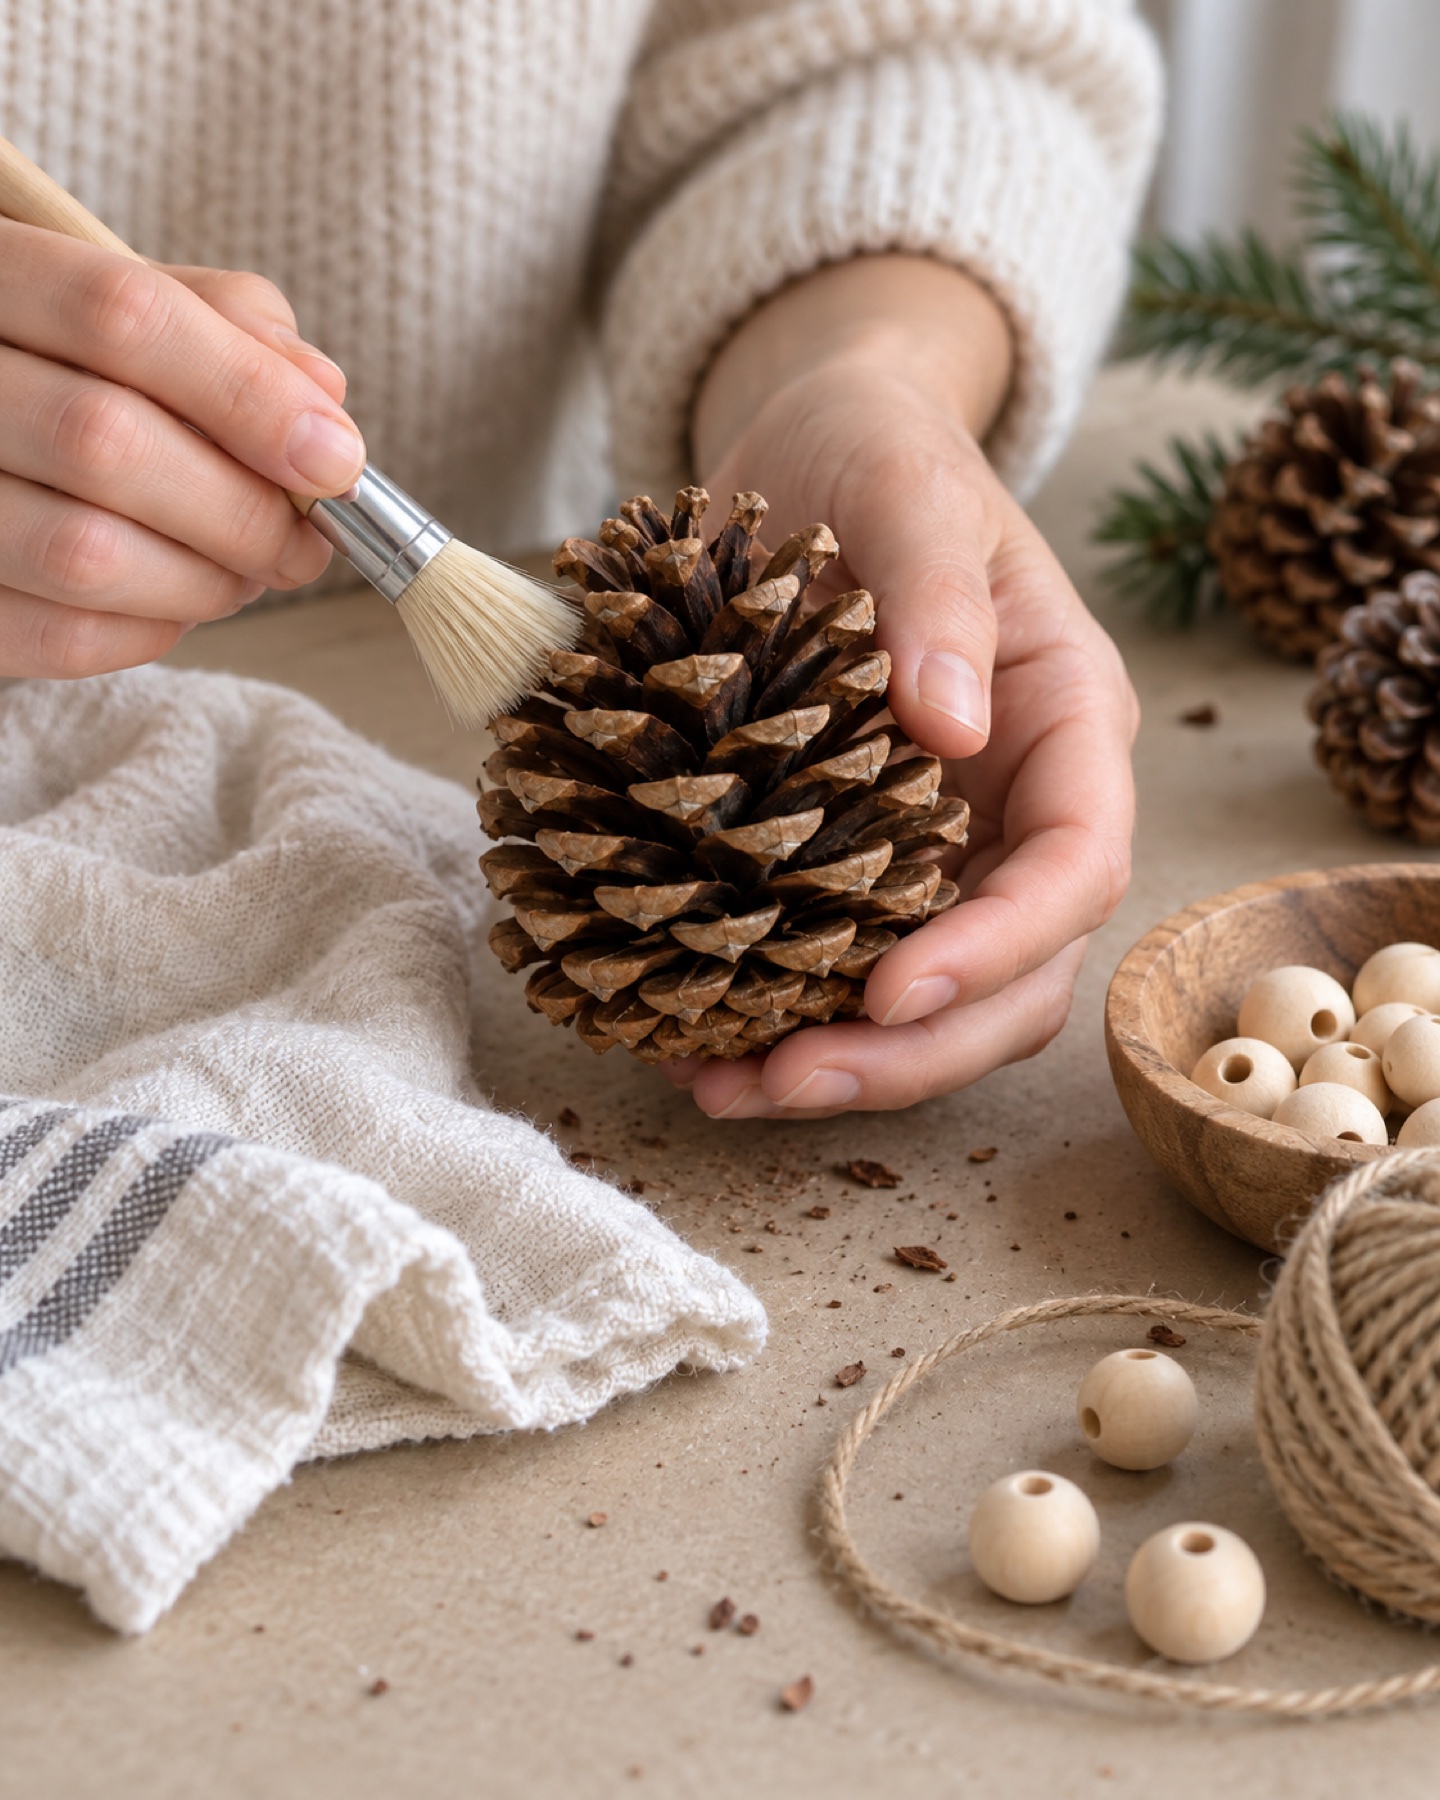
Brush and air-dry the pinecones
Work outside or over a paper-covered surface. Use a soft brush to remove loose dirt from between the scales, then wipe the base with a clean, dry cloth. Let each cone air-dry in a warm, ventilated spot until it feels dry throughout. Do not seal in a damp cone; trapped moisture can lead to odor or spoilage. If anything looks suspect after drying, discard that cone rather than trying to cover it with paint.
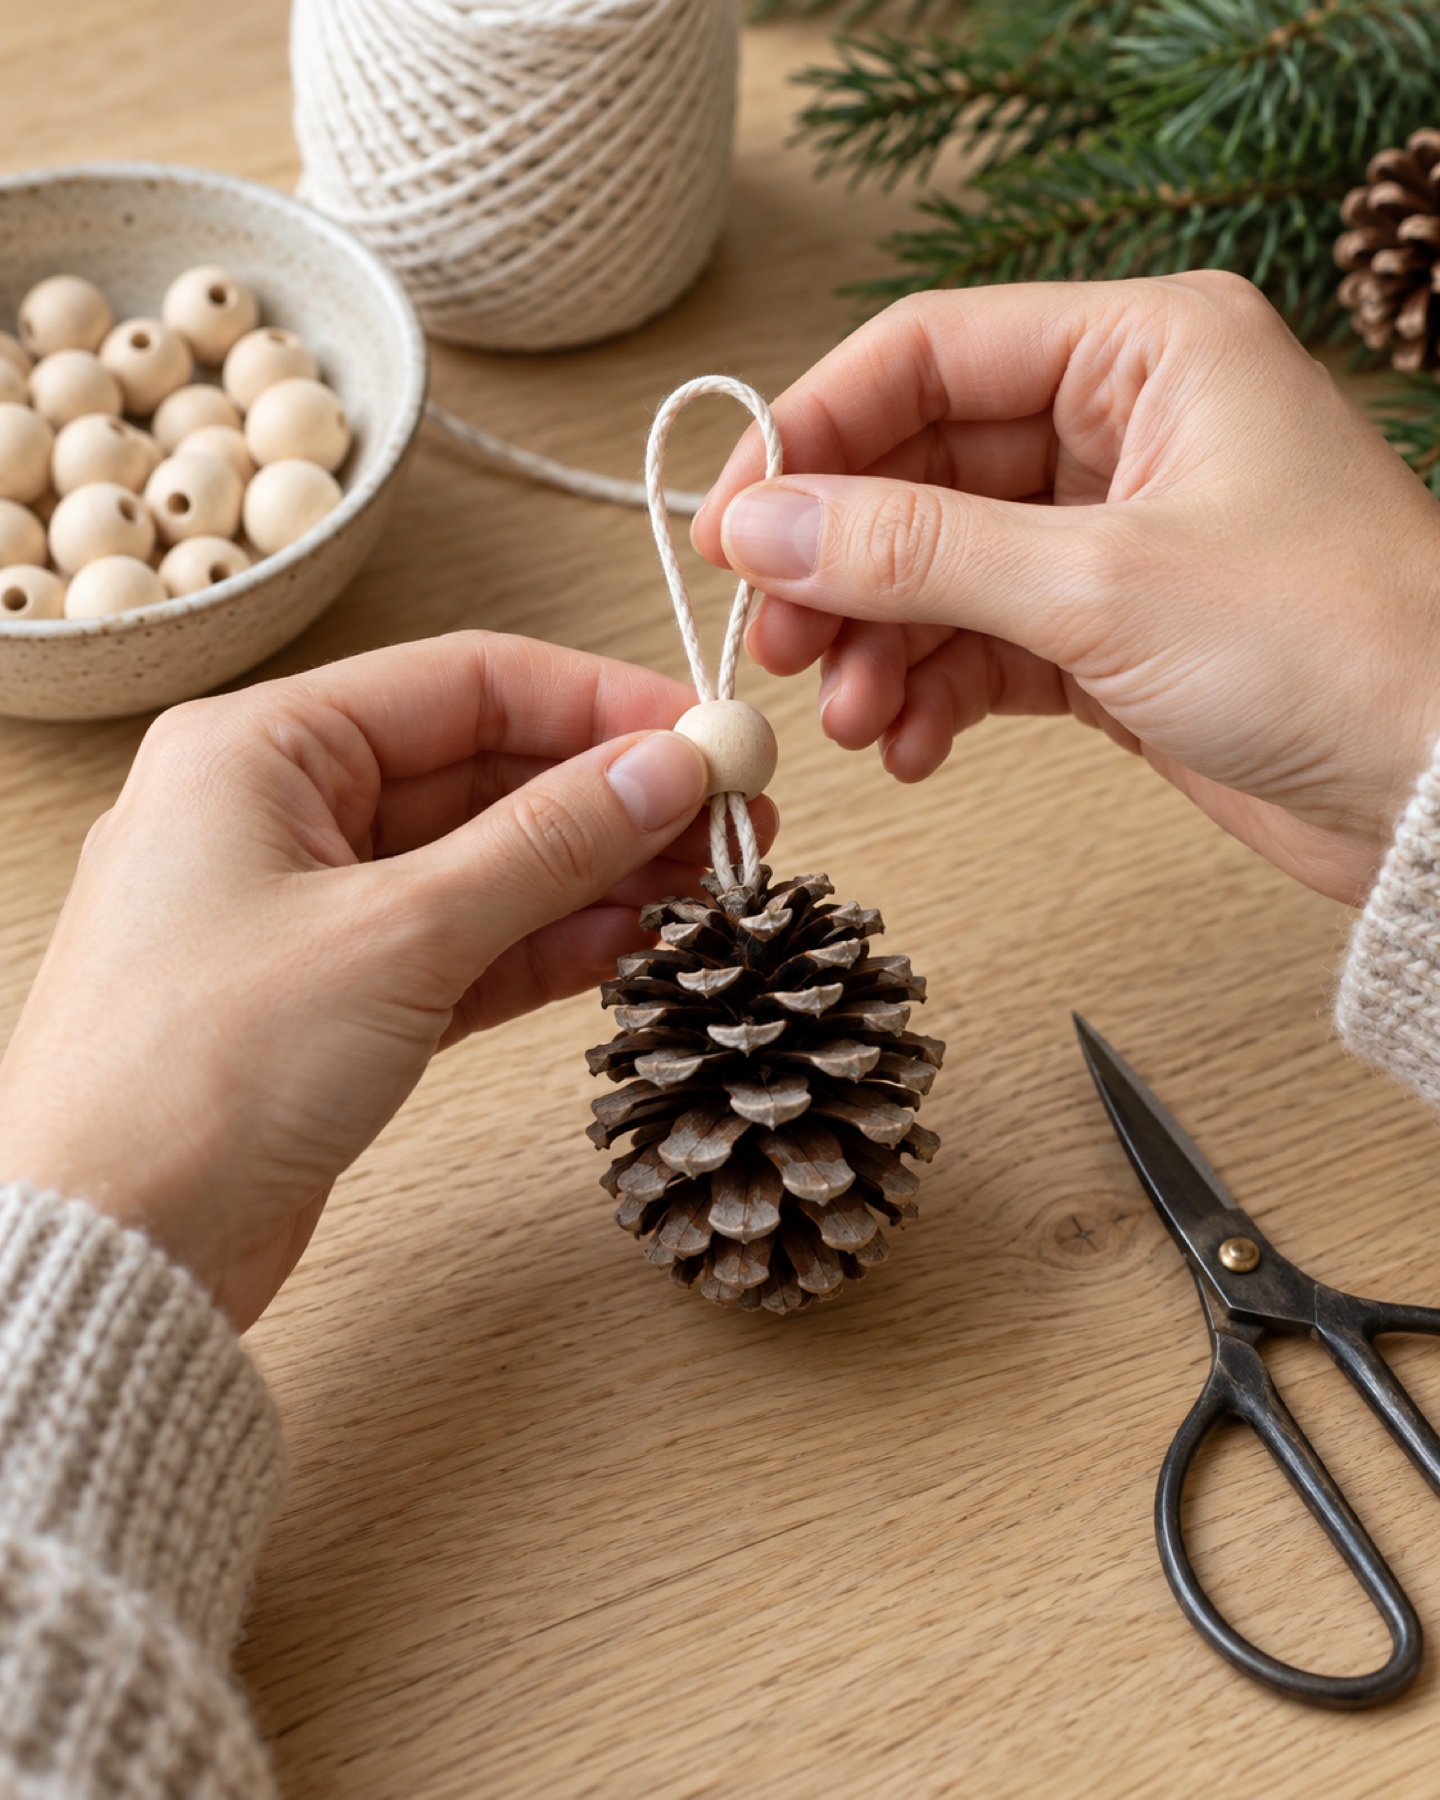
Make a secure hanging loop
Cut a length of cotton cord long enough to create a loop with two tails. Slide a wooden bead onto the cord and position it near the loop. At the pinecone base, pass both tails under two or three sturdy scales and tie a firm double knot. Pull gently to test the hold before trimming the ends. If the scales are too loose to grip the cord, choose another cone or secure the loop to a small piece of floral wire wrapped around the base. Do not rely on a knot around a brittle tip.
Add a restrained finish, if desired
The natural surface is often enough. For a subtle highlight, use a small brush to touch matte craft paint onto only a few scale tips, then let the cone dry completely according to the paint label. Keep the paint away from the cord knot so it remains easy to inspect. Work in a ventilated area and protect the table. Skip loose glitter, which can shed during storage and handling.
Hang and store the ornaments
Hang the cones from sturdy branches or a display hook, checking that the loop rests securely and the bead does not press against the scales. Keep them away from candles, fireplaces, and other heat sources. At the end of the season, remove the hooks and store the cones in a dry box with light paper padding so the scales do not crush. Check the pieces before reusing them and discard any that smell musty or show mold.
Good to know
Common questions
Do pinecones need to be baked before crafting?
This project uses cones that are clean and fully air-dried. If you choose a different cleaning or heat-treatment method, follow reliable local guidance and use the appliance maker’s instructions; do not leave natural materials unattended in an oven.
How do I attach a hanger without glue?
Tie cotton cord around the sturdy base, passing it beneath several scales, and test the knot with a gentle pull. A small loop of floral wire can help when the base is too smooth for cord to grip.
Can I paint the pinecones?
Yes. Use a small amount of craft paint and let it dry fully according to the label. A few painted tips preserve the cone’s texture better than covering every scale.
How should I store pinecone ornaments?
Keep them in a dry box with enough space that the scales are not crushed. Before storing, make sure the cones and any paint are fully dry; inspect them again before next season.
Plan your holiday gifts
Personal keepsakes from Ottly
Christmas gifts to plan ahead, picked from our Etsy shop. Each card opens the actual listing. These are separate gift ideas, not supplies for this project.
Current seasonal edit · Halloween
 Christmas · cat giftPersonalized cat photo ornamentA Christmas wreath keepsake featuring a favorite cat.View on Etsy ↗
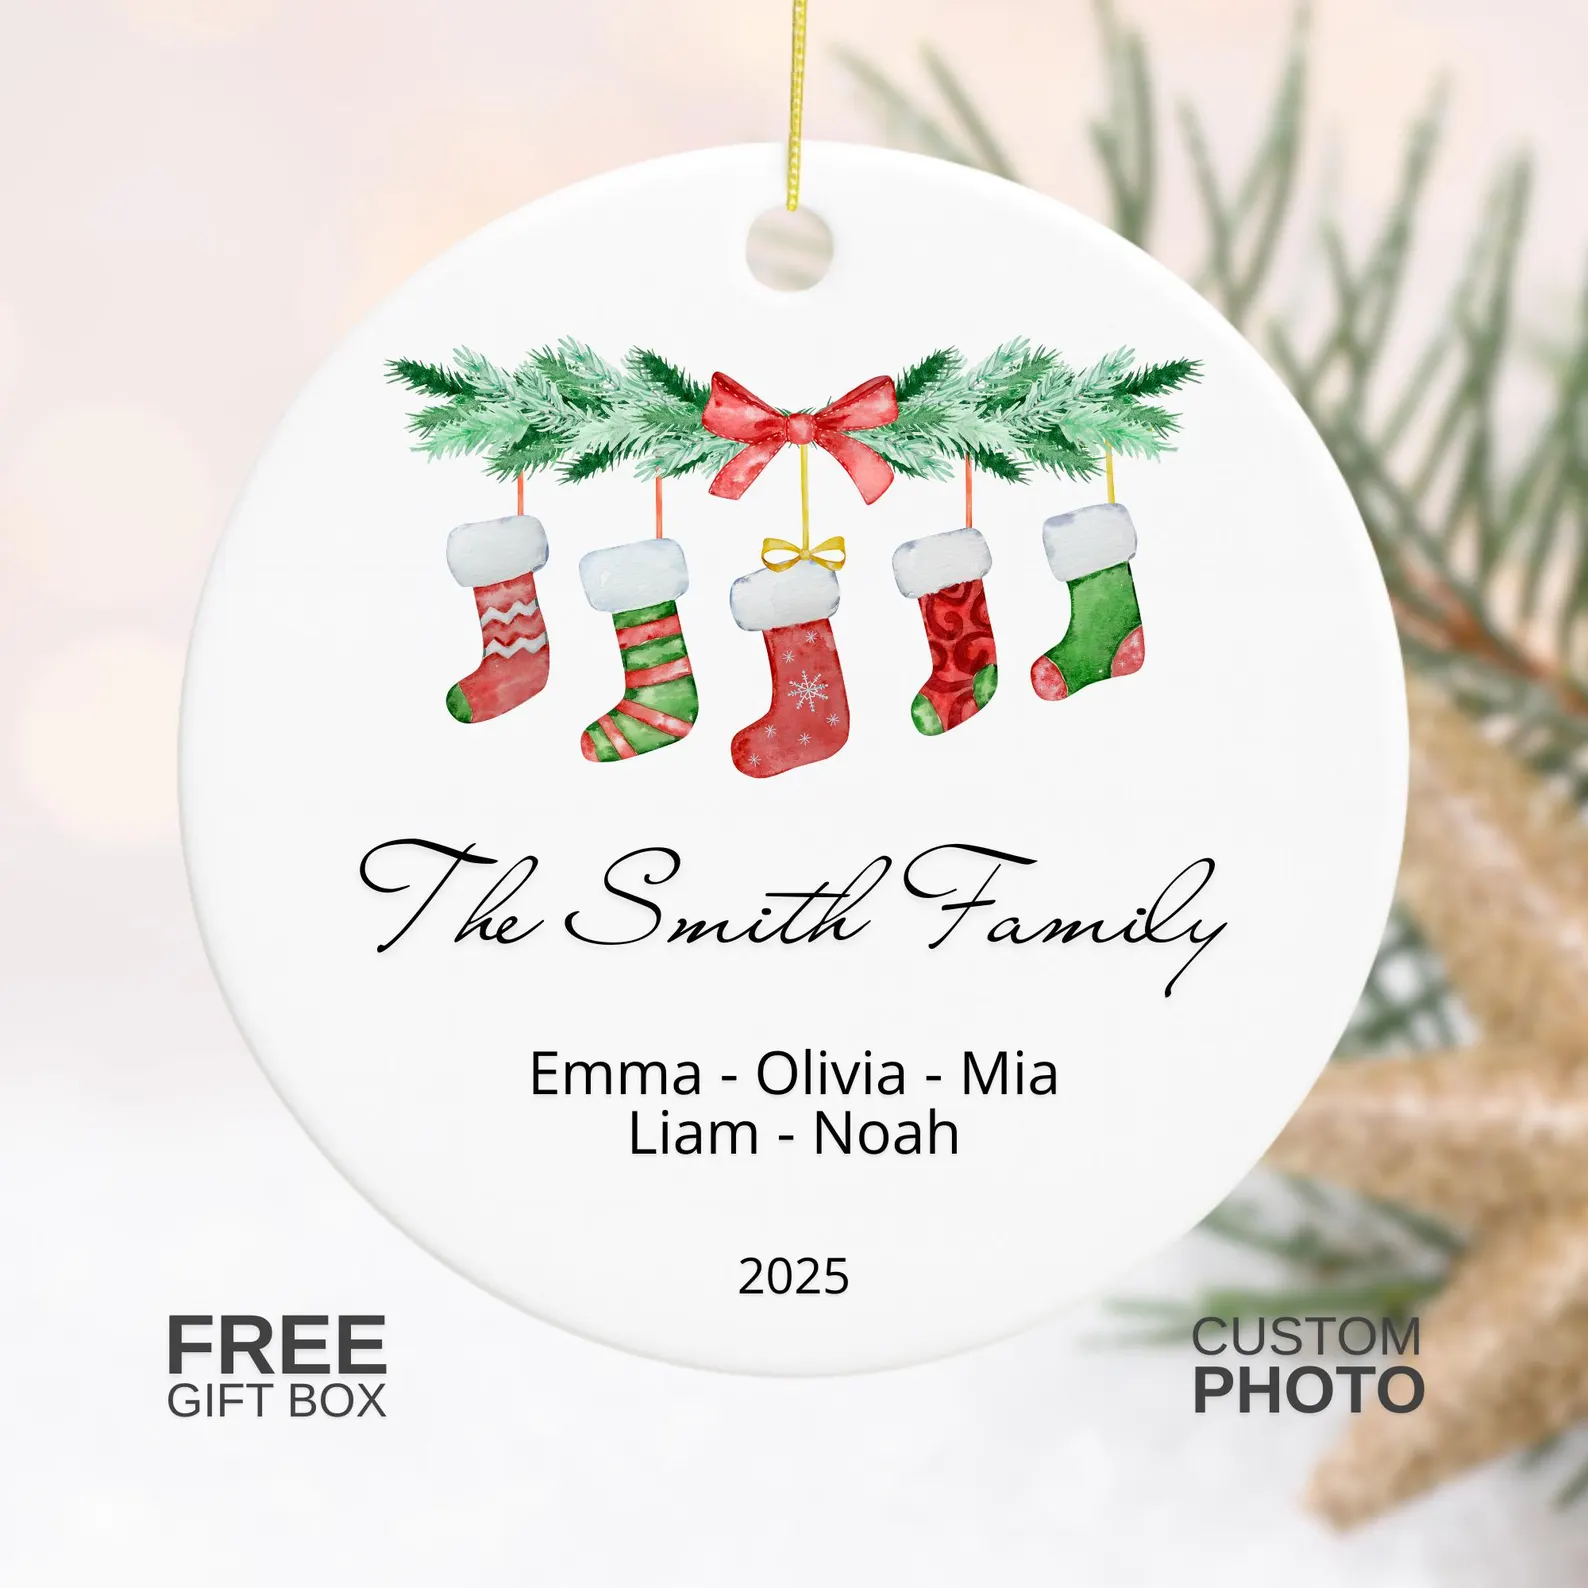 Christmas · personalizedPersonalized family ornamentA stocking keepsake made with the family's names.View on Etsy ↗
 Christmas · pet giftPersonalized dog photo ornamentA photo keepsake for a much-loved dog.View on Etsy ↗
Keep exploring