In this guide6 steps
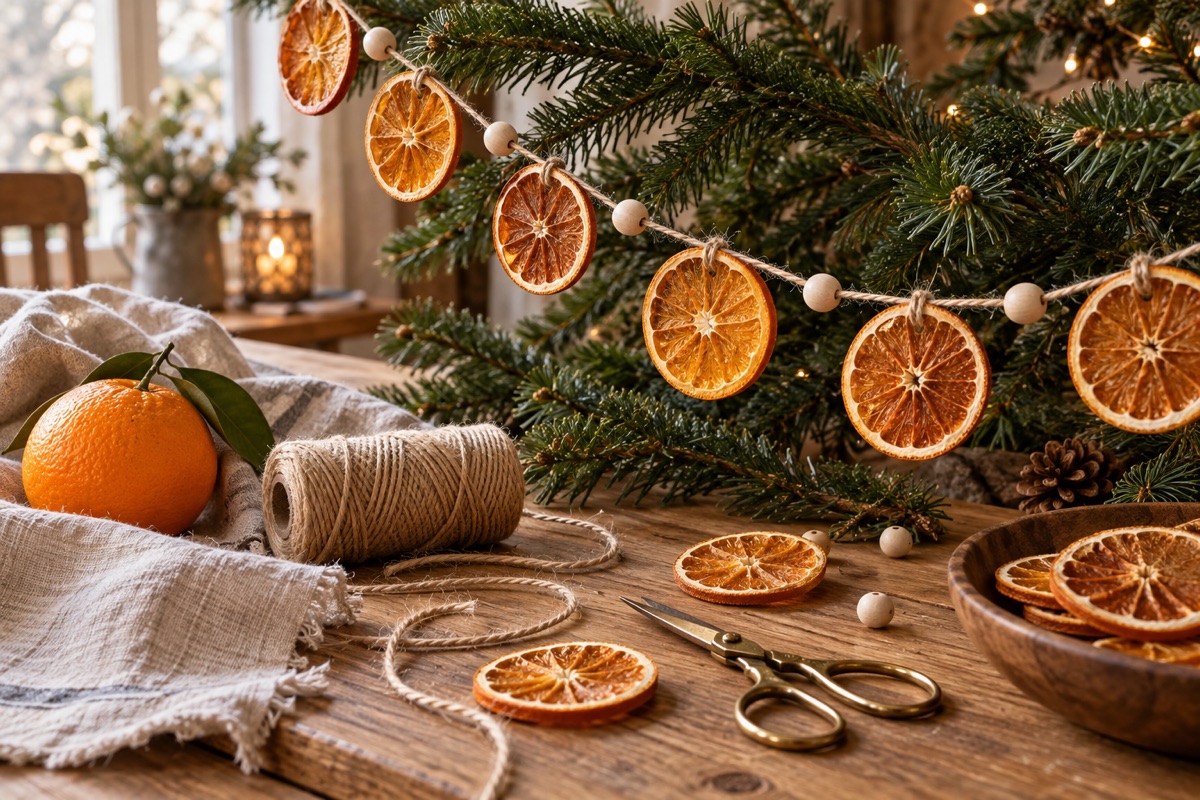
A dried orange garland brings color and texture to a mantel, window, or holiday table without a complicated pattern or special equipment. The slices glow when daylight passes through them, while cotton cord and simple knots keep the finished piece relaxed and easy to adjust. Make one long strand for a mantel or several short lengths for a window or tree.
The key is consistency: slices of similar thickness dry more evenly, and a little space between them helps the garland hang naturally. Choose firm oranges with smooth skins, wash and dry them well, and plan to give the fruit plenty of time in a low oven. The drying stage takes several hours and varies with slice thickness, oven behavior, and how juicy the fruit is, so use the visual and touch cues below rather than relying on a timer alone.
This is a decorative project, not a food-preservation method. Do not eat the finished citrus. Keep the garland away from open flames, heaters, and damp areas, and check it occasionally while it is displayed. If any slice develops a musty smell, soft damp patch, or visible mold, discard the affected piece or the whole strand.
Before you begin
Decide where the garland will hang and measure that space before cutting the cord. A mantel strand needs extra length at both ends for loops; a window strand can be divided into several shorter drops. Leave enough cord to tie a hanging loop without placing the slices under tension. If you want a fuller look, dry more slices than you expect to use and select the best ones after cooling.
Wash, dry, and slice the oranges
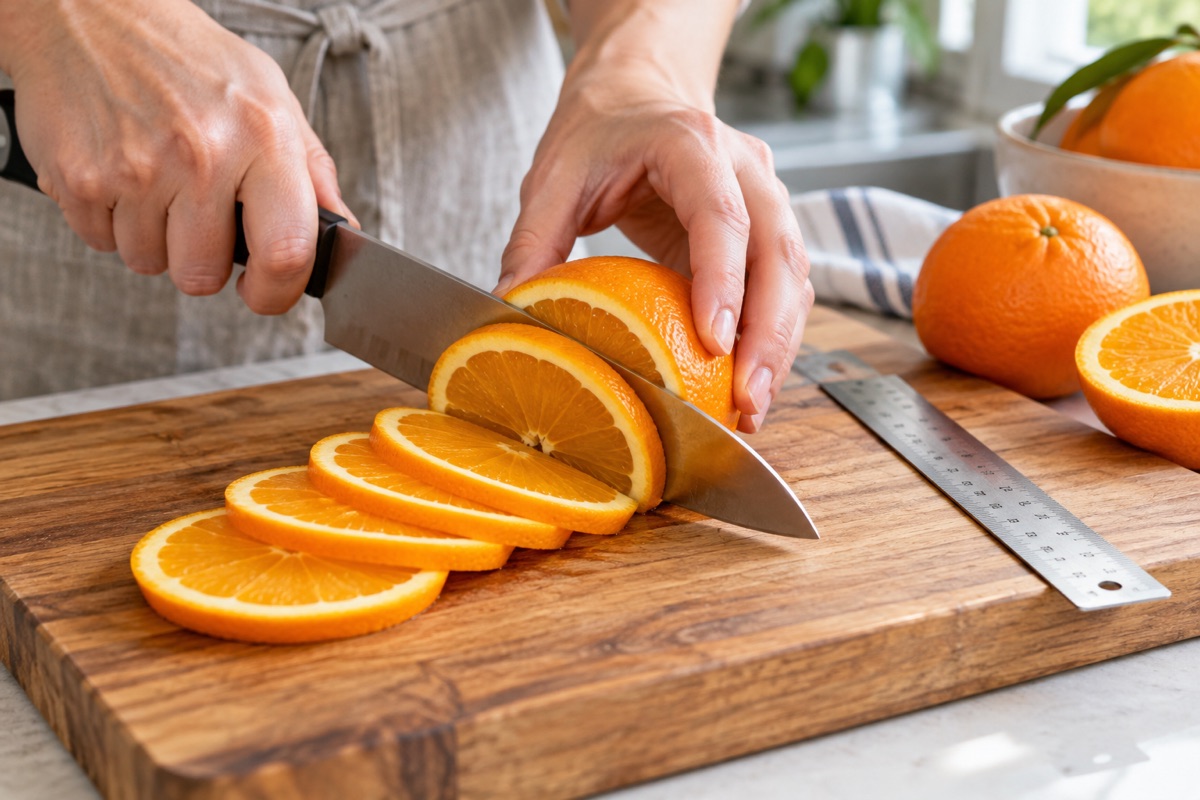
Wash the oranges under running water and dry each one thoroughly. Trim a very small amount from the ends if they are uneven, then cut crosswise into rounds of consistent thickness, about ⅛ to ¼ inch. Thinner slices dry faster but can become fragile; thicker rounds take longer and may remain moist in the center. Aim for even slices rather than making every piece exactly identical. Remove visible seeds with the tip of the knife so they do not leave dark marks. Use a stable board, curl your fingertips away from the blade, and work slowly.
Blot away surface juice
Arrange the rounds in one layer between clean towels and press gently. Do not squeeze; the goal is to remove surface moisture, not crush the segments. Replace a soaked towel if needed. This small step reduces sticky drips on the baking sheet and makes the drying process easier to monitor. Discard any slices that are badly torn or unusually thick, or reserve them for a separate test batch.
Arrange the slices for gentle drying
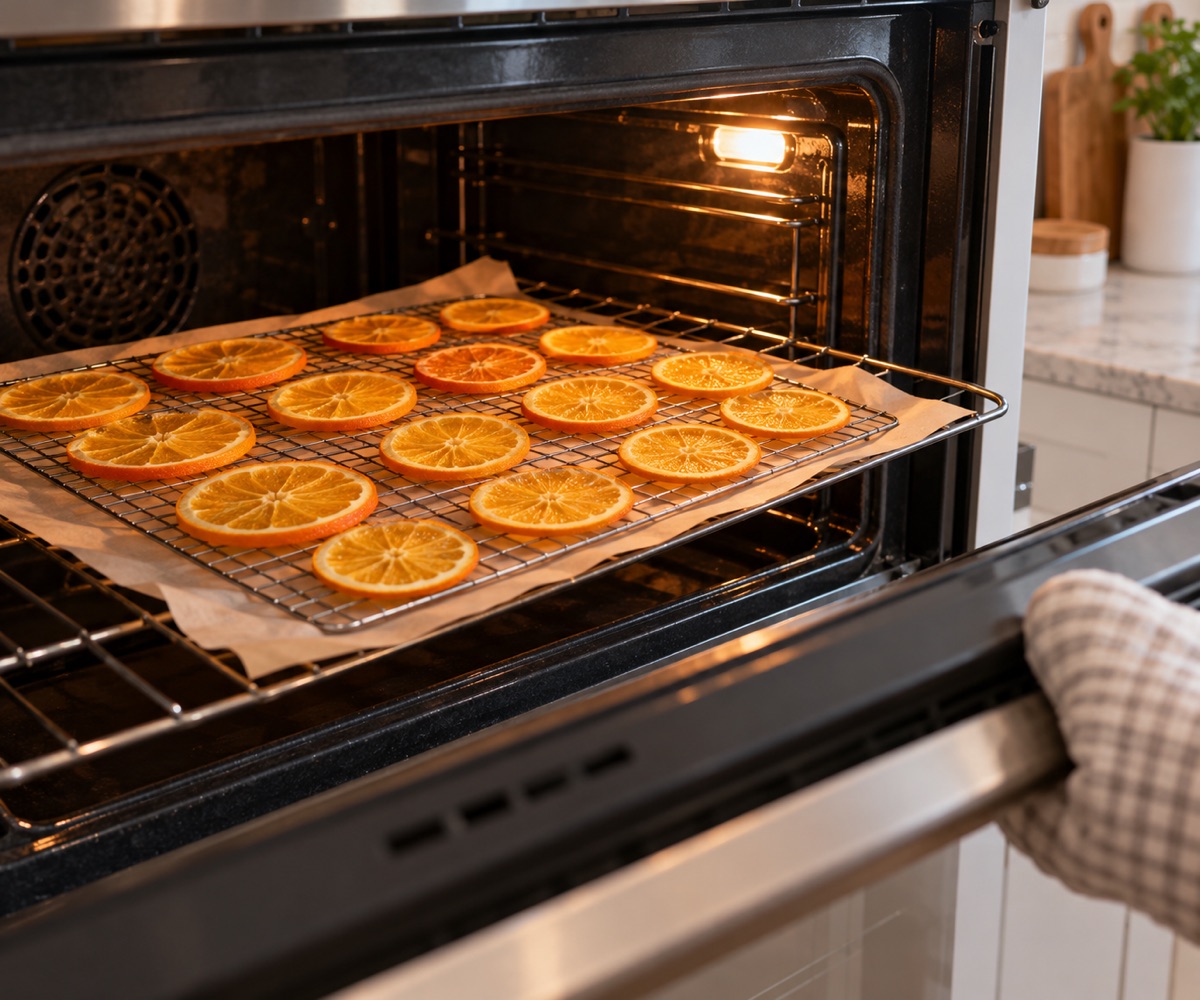
Set the oven to its lowest setting and follow the oven manufacturer’s instructions. Place the slices in a single layer on a wire rack over a baking sheet so warm air can move around both sides. If you do not have a rack, use parchment and turn the slices periodically. Leave a little space between pieces and avoid overlapping them. Put the tray in the oven and check it regularly; keep the kitchen ventilated and do not leave the oven unattended for long periods.
Dry until the slices are firm and no longer tacky
Drying can take several hours. Check the slices every 45–60 minutes, turning them if they are on parchment or browning more on one side. The rounds are ready for decorating when they look translucent, feel dry rather than sticky, and have no cool, soft, or wet-feeling center after they have cooled briefly. If they still feel tacky, return them to the oven and check again later. A little variation in color is natural; dark edges mean the oven may be too hot, so reduce the setting if possible. Let the slices cool completely on a rack before threading.
Plan the pattern and thread the garland
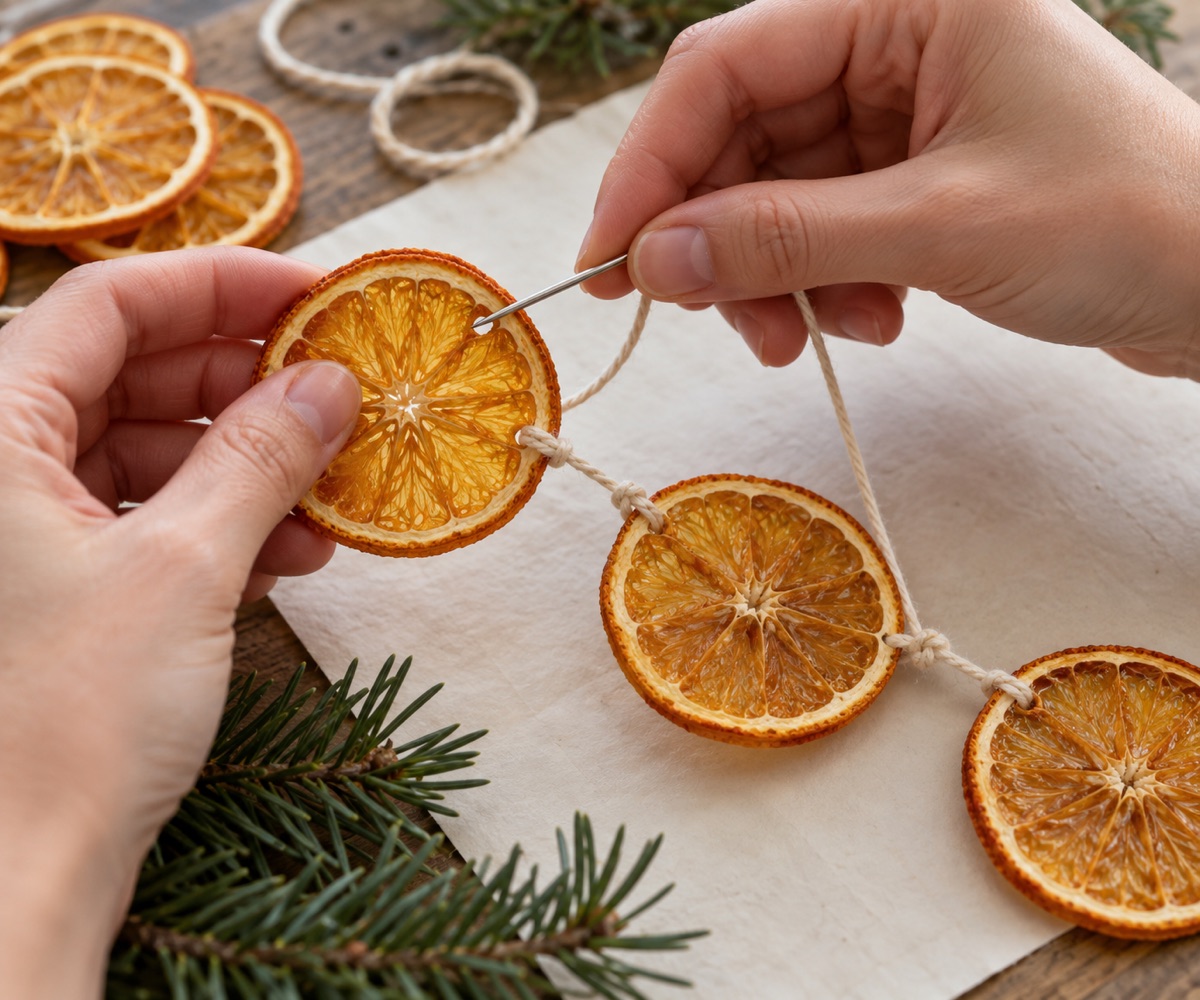
Lay the cooled slices on a table and arrange them in the order you want. Try a simple sequence with a small gap between rounds, or alternate orange slices with cinnamon sticks or wooden beads. Cut the cord longer than the measured display area so you can tie end loops. Thread a large needle and pass it carefully through the firm rind near the top of each slice; avoid the soft center, which can tear. If you prefer not to use a needle, make a small starter hole through the rind with a wooden skewer, then feed the cord through. Tie a loose knot on either side of a slice if you want it to stay in place.
Hang, inspect, and store it carefully
Tie a loop at each end and hang the strand from removable hooks or another secure support. Keep it away from candles, fireplaces, radiators, and places where condensation collects. Do not place it where children or pets can pull it down or chew the dried fruit. Inspect it occasionally while displayed. After the season, remove any damaged slices and store the fully dry garland in a breathable paper box in a cool, dry place. Do not pack it away if it feels damp; let it air out first. Discard it if it develops an off smell or any sign of mold.
Good to know
Common questions
How long does it take to dry orange slices?
It varies with thickness, juiciness, airflow, and oven temperature, so several hours is a realistic expectation rather than a fixed promise. Check the slices regularly and let touch and appearance guide you: they should be dry and firm, not sticky or soft in the center.
Why are my orange slices turning brown?
Darkening can happen when slices are too close to a hot element or the oven setting is higher than expected. Use the lowest suitable setting, space the rounds apart, and rotate the tray. Slight color variation is normal; discard slices that become scorched or smell burnt.
Can I use this garland outside?
It is best for a dry indoor space. Moisture can soften the citrus and encourage spoilage, while wind can pull slices from the cord. If you display it briefly in a sheltered spot, bring it indoors before rain, frost, or heavy dew and inspect it afterward.
How do I keep the slices from sliding along the cord?
Tie a small knot on either side of each slice, or add a bead or cinnamon stick between rounds. Keep knots loose enough that the fruit does not split when the garland moves.
Plan your holiday gifts
Personal keepsakes from Ottly
Christmas gifts to plan ahead, picked from our Etsy shop. Each card opens the actual listing. These are separate gift ideas, not supplies for this project.
Current seasonal edit · Halloween
 Christmas · pet giftPersonalized dog photo ornamentA photo keepsake for a much-loved dog.View on Etsy ↗
 Christmas · cat giftPersonalized cat photo ornamentA Christmas wreath keepsake featuring a favorite cat.View on Etsy ↗
 Christmas · personalizedPersonalized family ornamentA stocking keepsake made with the family's names.View on Etsy ↗
Keep exploring