In this guide6 steps
Looking for no-carve pumpkin ideas that feel calm enough for the rest of autumn? A few hand-painted leaves, a loose cream vine, or a scattering of rust dots can give an ordinary pumpkin a thoughtful finish without a knife, stencil, or full coat of paint. Each design lets the natural ribs and color remain part of the decoration.
This beginner-friendly guide uses brush-on matte acrylic craft paint and three simple motifs. Make one pumpkin as a quick shelf accent or paint a small group in related colors. The key is restraint: sketch the main movement first, use less paint than you think you need, and leave open space around every mark.
Use a fresh pumpkin only if it is firm and dry, and remember that natural pumpkins are seasonal produce. Their display life varies with condition and room temperature, so inspect them regularly. Choose a paintable craft pumpkin if you want to keep the design for next year. The photographs show visual inspiration; your own brush marks and pumpkin shapes will naturally vary.
For more autumn making, see our paper bat window display and pressed-leaf place cards.
Choose firm pumpkins for a stable surface
Choose pumpkins with intact stems, no soft spots, and a stable base. Small and medium pumpkins are easier to turn while painting than oversized ones. A pale pumpkin makes olive paint stand out; an orange pumpkin gives cream lines strong contrast. Wipe away loose soil and inspect the grooves before you begin. If the pumpkin rocks, set it on a folded towel while you work. Keep natural pumpkins whole; cutting or scooping them shortens their display life.
Clean, dry, and protect the work surface
Brush off dirt with a dry cloth. If the skin needs more cleaning, use a barely damp cloth with a little mild soap, wipe again with clean water, and let the pumpkin dry completely. Do not soak it; water held in the grooves can encourage soft spots. Cover the table with scrap paper, keep the water cup away from the pumpkin, and use a folded towel to stop it rolling. Paint will not adhere well to a damp patch.
Sketch a light guide and choose a simple palette
Draw the motif on scrap paper first. For an olive branch, plan one curved stem and a few paired leaves. For a cream vine, keep the line loose and leave open space. For dots, vary their size instead of filling every groove. Use the pumpkin’s ribs as a guide and keep the palette to two or three colors. Avoid heavy pencil lines; they can show through pale paint.
Mix a thin, matte paint color
Put a small amount of matte acrylic craft paint on a palette and test it on the underside or on a spare craft pumpkin. Use less paint on the brush if the color looks too thick rather than thinning the entire pot. A dry brush gives softer, broken lines; a slightly wetter brush makes a continuous vine. The aim is a light decorative layer, not a sealed shell. Follow the paint label, ventilate the room, keep paint away from food, and reserve the decorated pumpkin for display only.
Paint the motif in a few deliberate strokes
Start with the main line using a fine round brush. For leaves, touch the brush down near the stem, press gently to widen the mark, and lift toward the tip. For a cream vine, draw one curved line and add only a few leaves or berries. For dots, use the end of a brush handle or a small round brush and vary both size and spacing. Let one color dry before adding another. Resist outlining every mark; slightly uneven brushwork is part of the handmade look.
Let the paint cure, then style and care for the pumpkins
Leave the pumpkins in a dry, well-ventilated spot until the paint is fully dry; follow the paint maker’s cure time and allow about a day before arranging if the label gives no guidance. Set the largest pumpkin behind the others and leave breathing room around each motif. Keep the display away from candles, heaters, and damp windowsills. Natural pumpkins are perishable, so check the underside every few days and compost any that soften or leak. Choose a craft pumpkin for a decoration you want to store and reuse.
Ideas to try
Make the idea your own
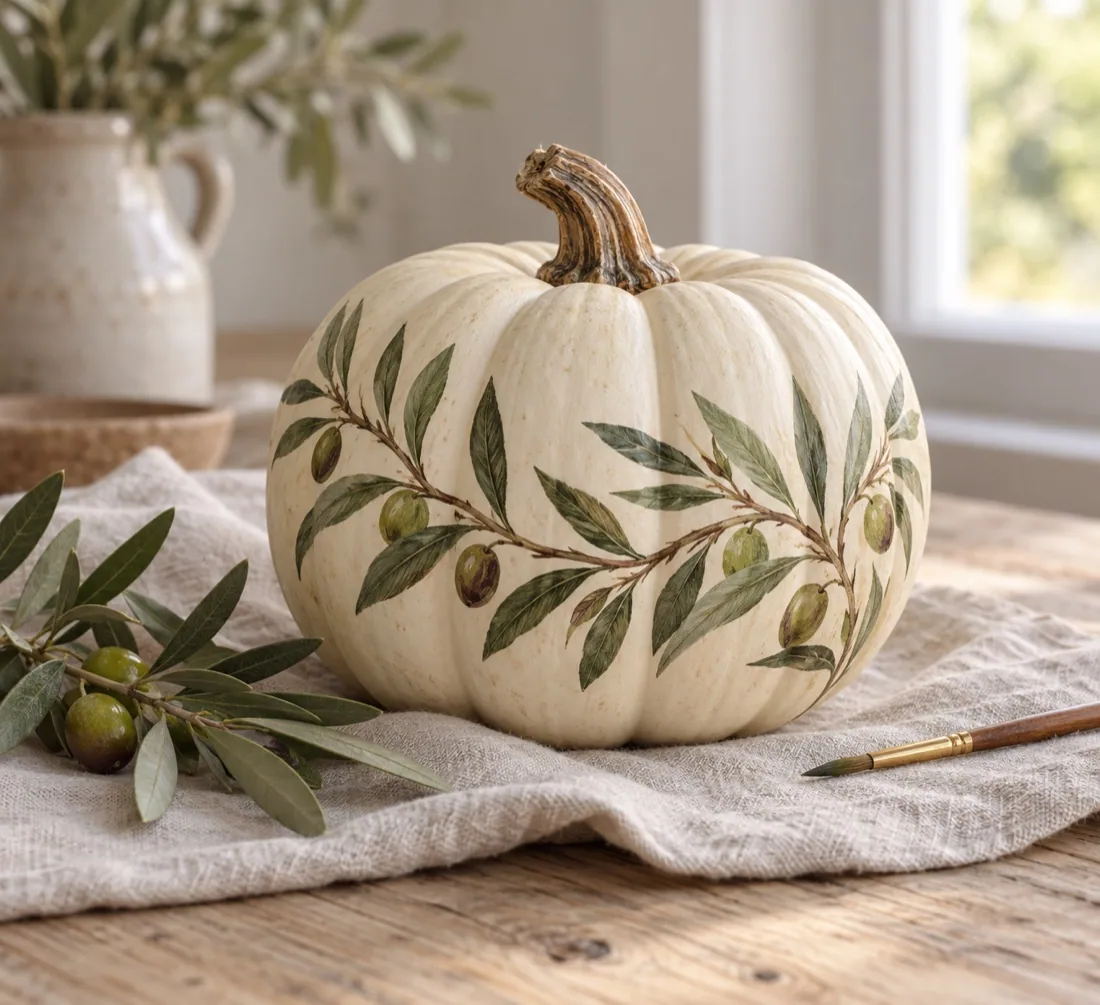
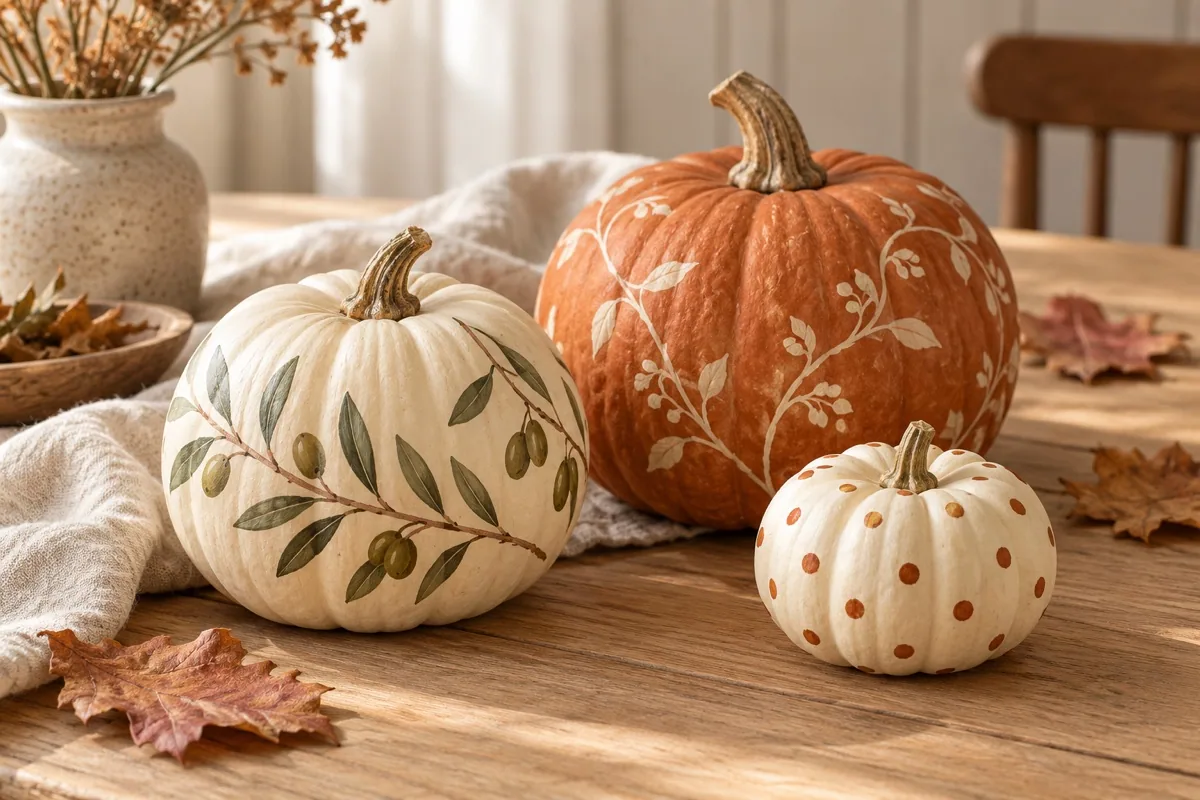
Olive branch on a pale pumpkin
Use one long, gently curved stem and a few paired olive leaves in muted green. Keep the leaf marks small and leave most of the cream skin visible; open space makes the branch readable from across a room. Add a few tiny berries only if you want more contrast. This is the lightest piece in a small table grouping.
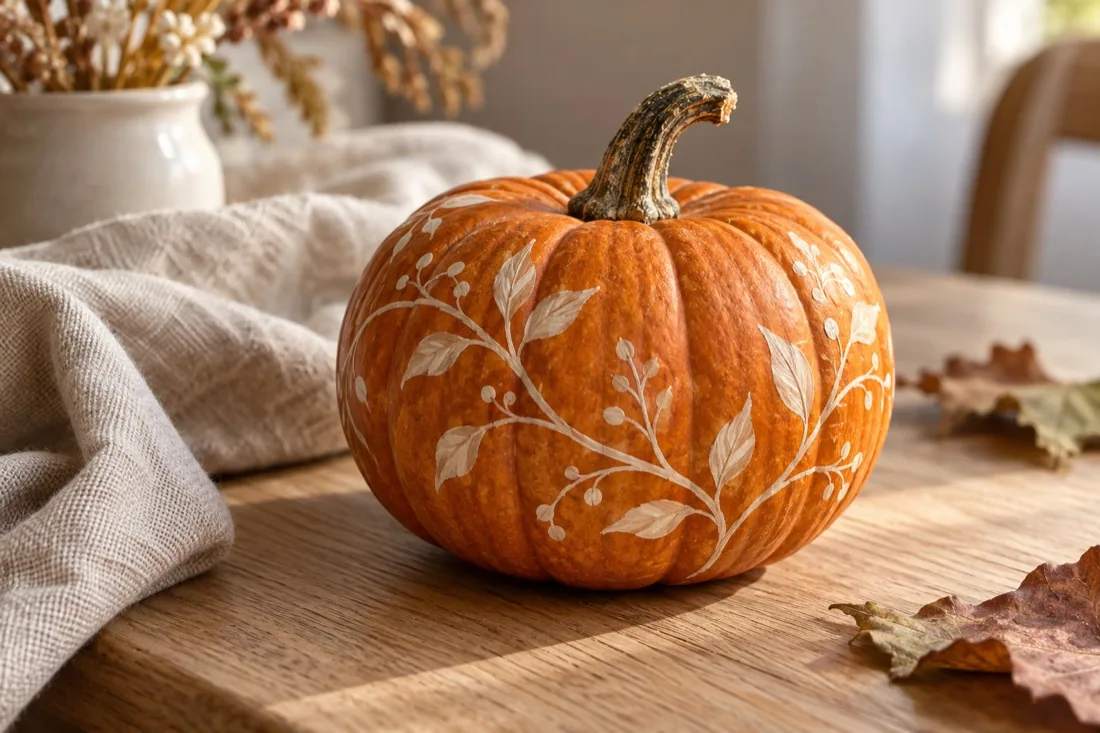
Cream vine on a muted orange pumpkin
Paint a fine cream line that curves around one or two ribs, then add a few leaves or berries. Stop before the vine circles the whole pumpkin. Let the line vary slightly in thickness and leave the natural orange as the main color. Pair it with a pale pumpkin painted in olive for a quiet two-piece display.
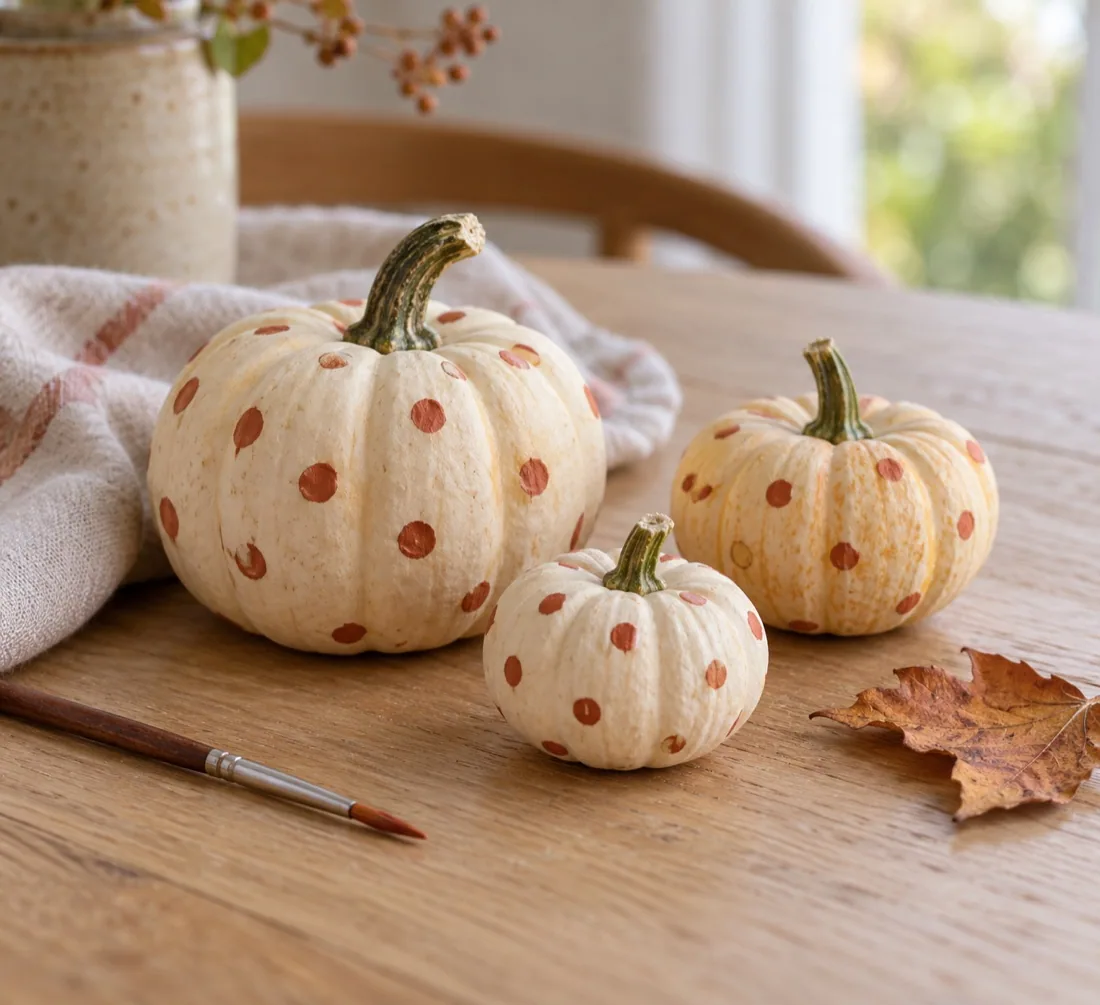
Rust dots for a mini pumpkin trio
Choose three small pumpkins in slightly different sizes and add loose rust dots to each. Vary the spacing so the pieces look related but not stamped. A few dots can cluster near the stem while most of the surface stays bare. Arrange them on a shelf or use one at each place setting, away from food and open flames.
Good to know
Common questions
What kind of paint works on pumpkins?
Brush-on matte acrylic craft paint is easy to control for small botanical details. Follow the product label, use it in a ventilated space, and treat a painted pumpkin as display-only rather than food.
How long should the paint dry before I move a pumpkin?
Follow the paint label. When it does not state a cure time, leave the pumpkin in a dry spot for about 24 hours before handling or arranging it.
Will a painted pumpkin last until Thanksgiving?
A natural pumpkin is perishable, and its life depends on its condition and where it is displayed. Check it regularly and compost it if it softens or leaks. Use a craft pumpkin if you need a decoration that can be stored for next year.
Can I use the same design on a reusable pumpkin?
Yes. Choose a craft pumpkin whose surface is made for paint, test a small area first, and follow both the surface and paint instructions. A reusable pumpkin is best when you want to keep the design beyond this season.
Plan your holiday gifts
Personal keepsakes from Ottly
Christmas gifts to plan ahead, picked from our Etsy shop. Each card opens the actual listing. These are separate gift ideas, not supplies for this project.
Current seasonal edit · Halloween
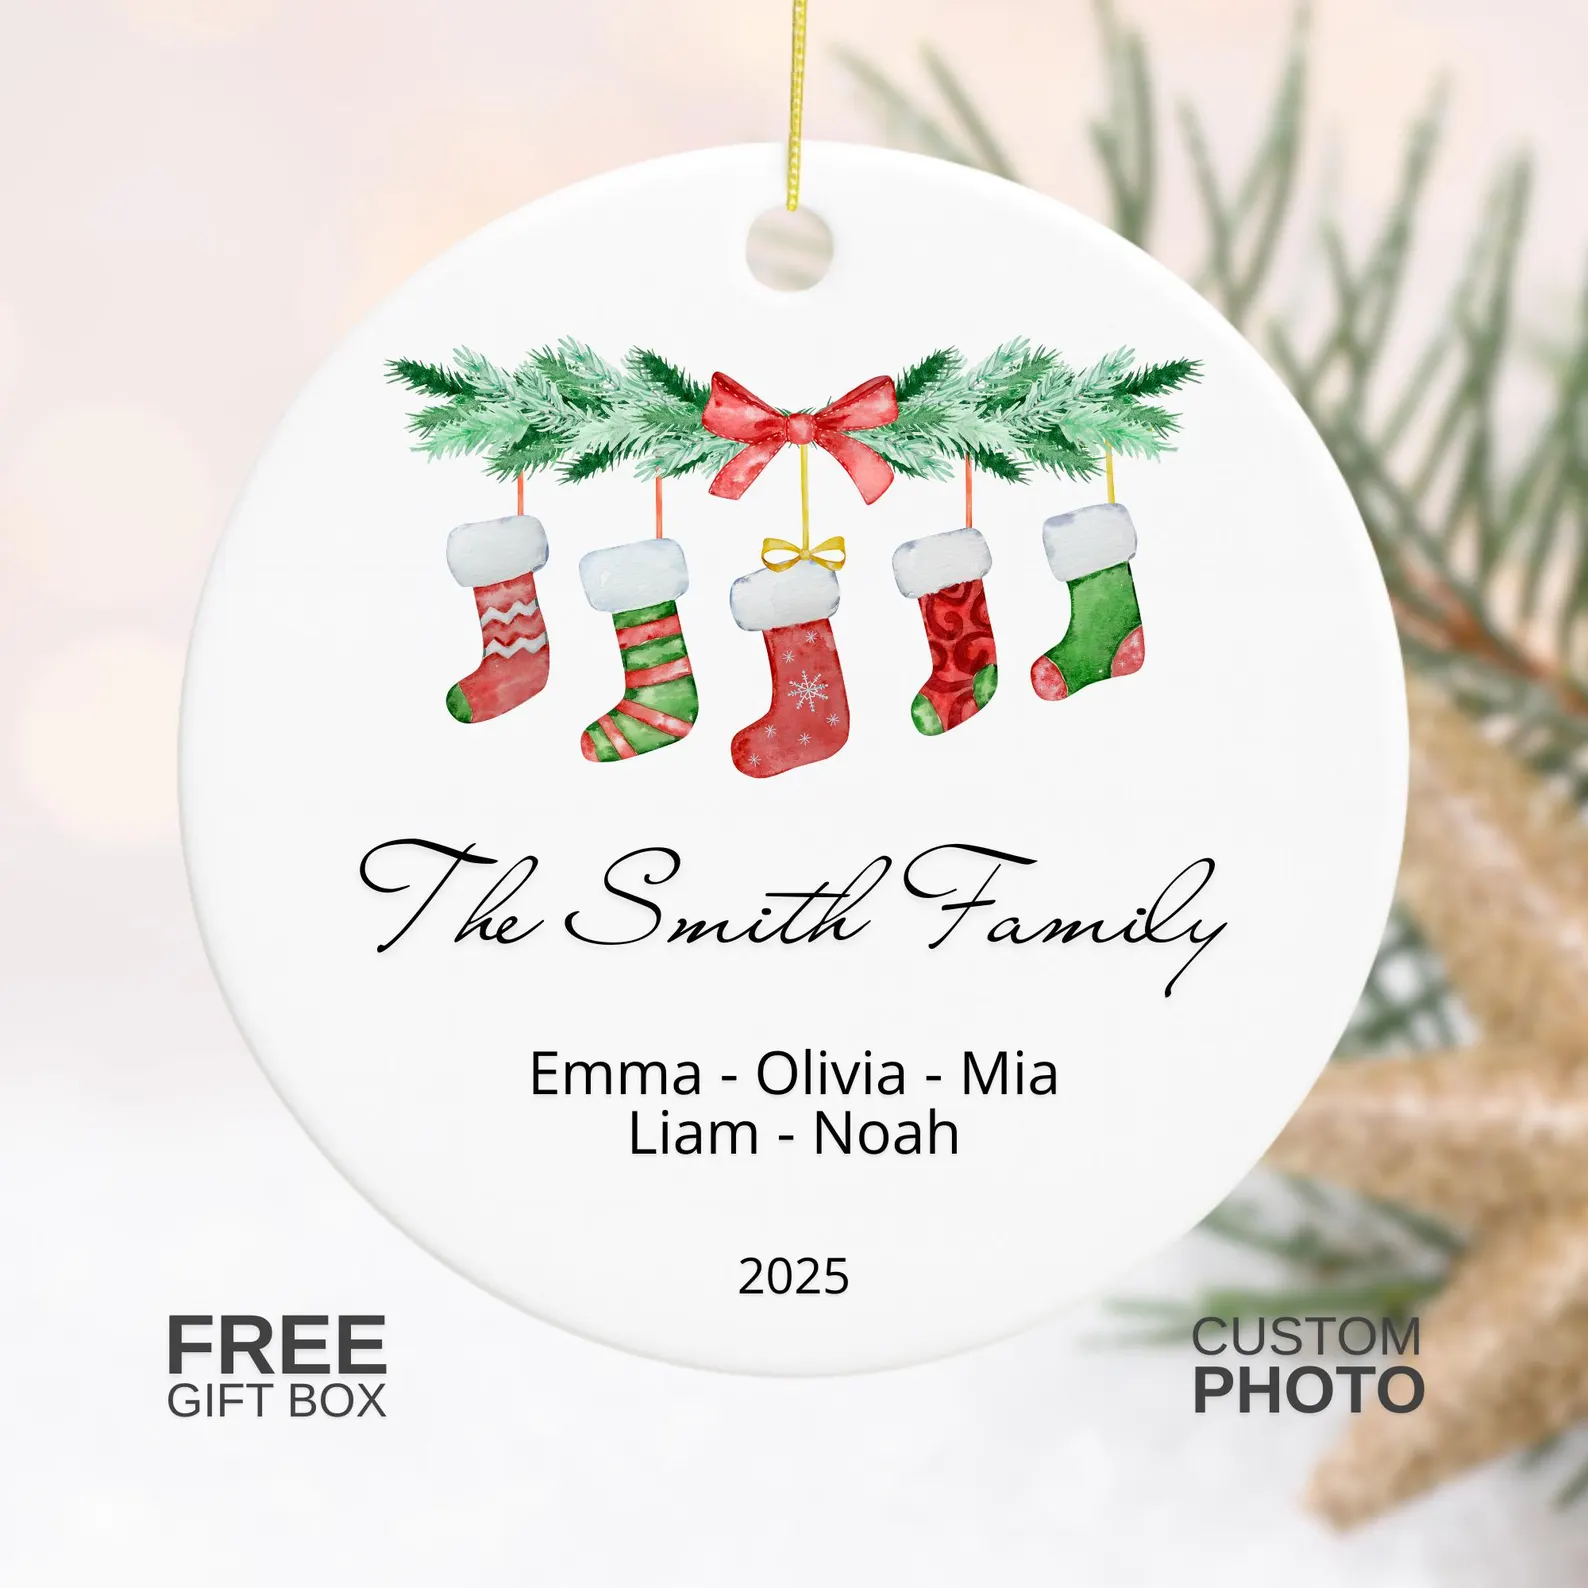 Christmas · personalizedPersonalized family ornamentA stocking keepsake made with the family's names.View on Etsy ↗
 Christmas · pet giftPersonalized dog photo ornamentA photo keepsake for a much-loved dog.View on Etsy ↗
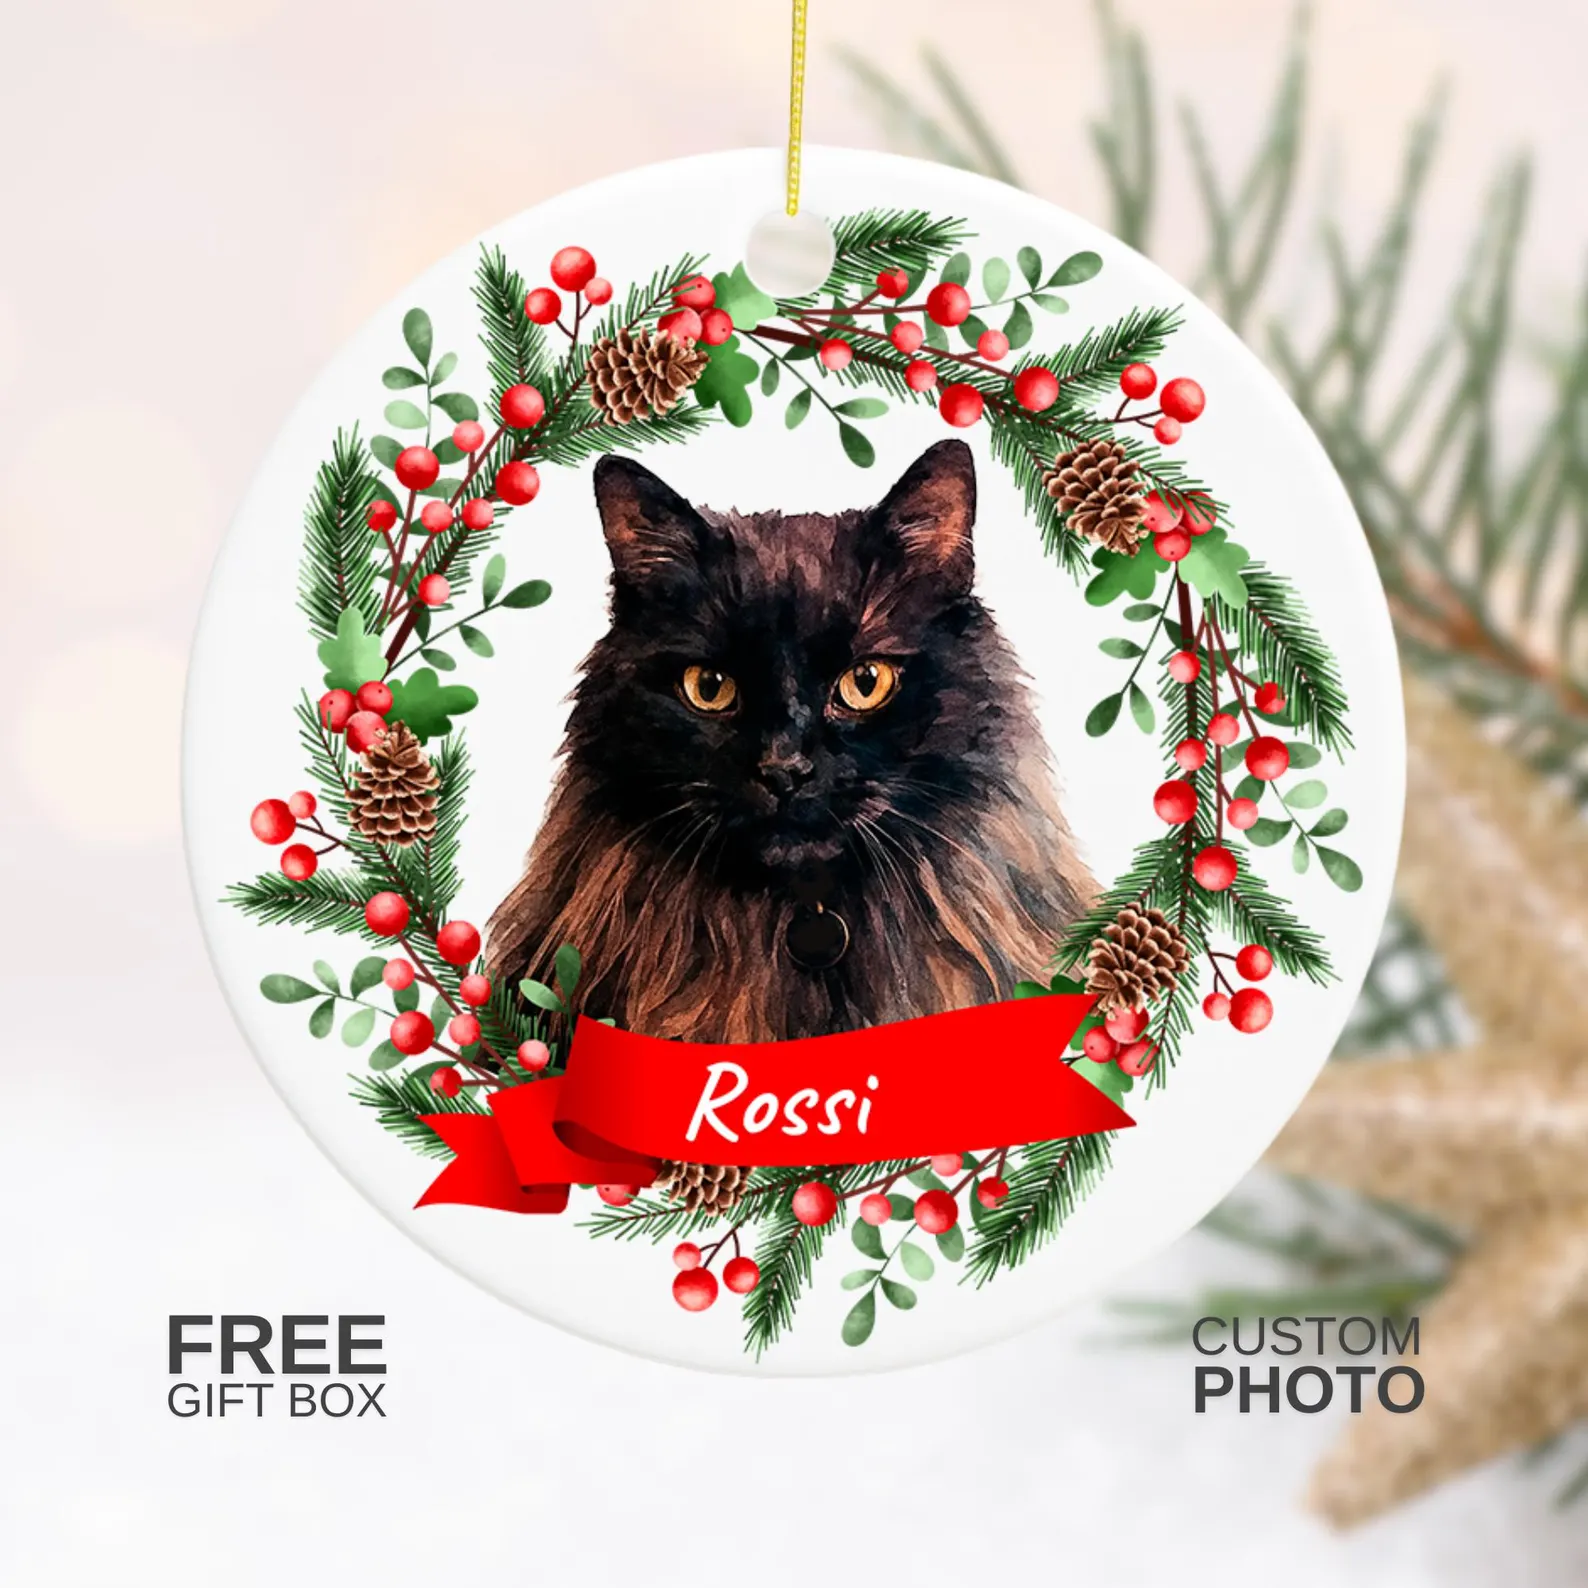 Christmas · cat giftPersonalized cat photo ornamentA Christmas wreath keepsake featuring a favorite cat.View on Etsy ↗
Keep exploring