In this guide5 steps
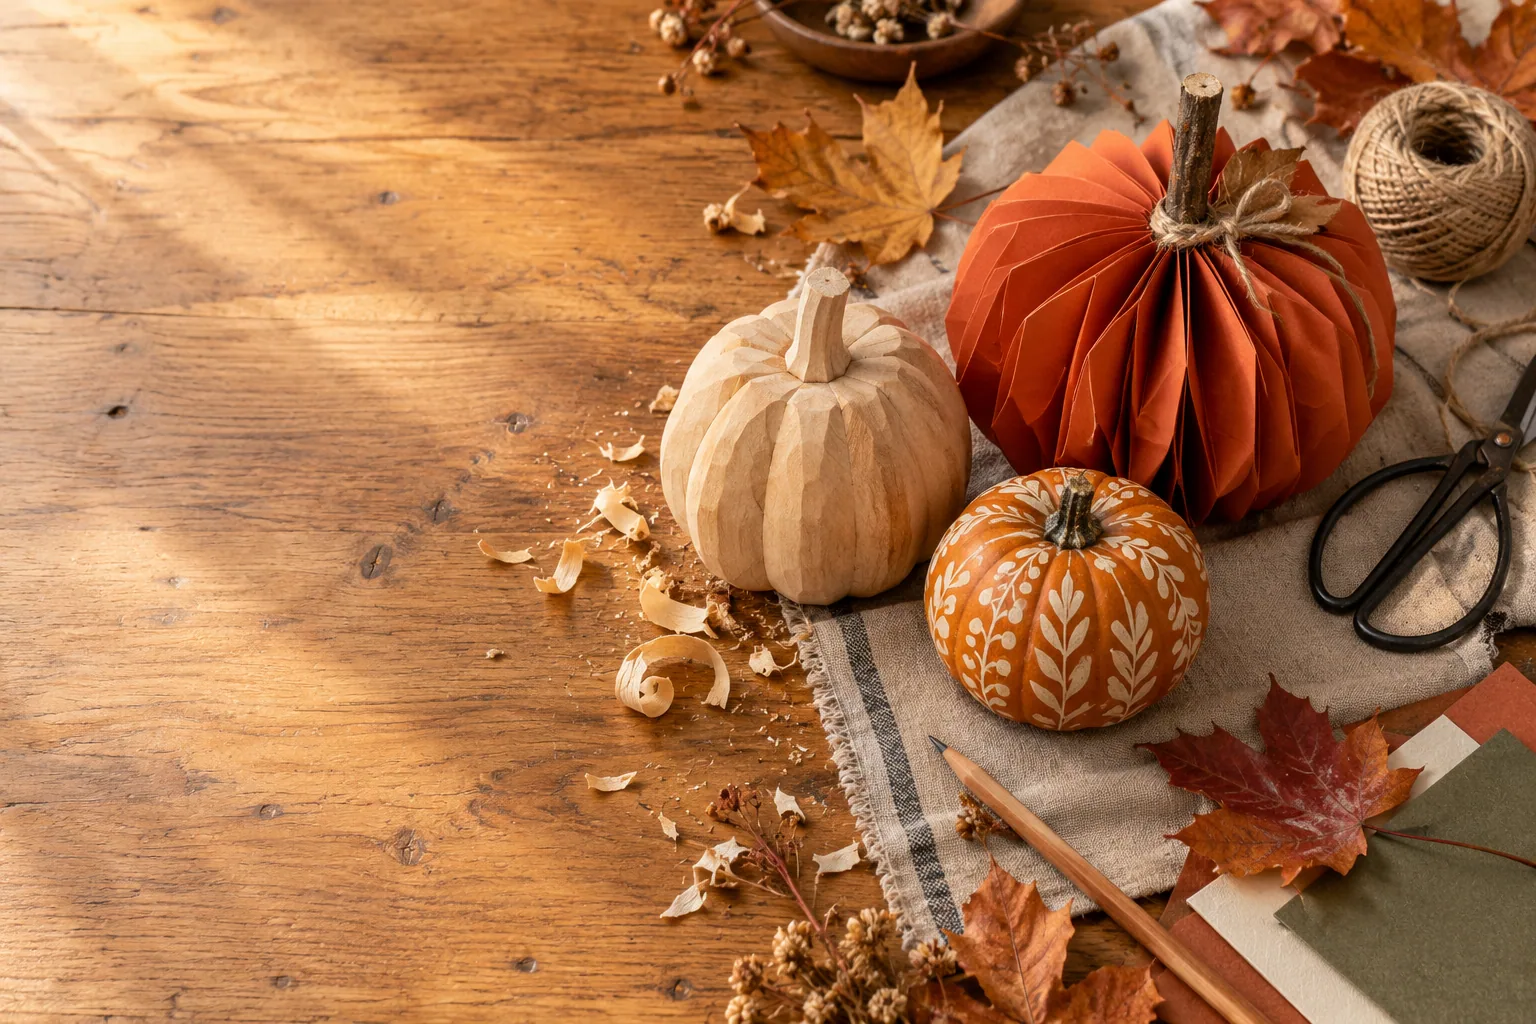
A fall centerpiece can feel collected rather than coordinated when each object brings a different texture. These three handmade pumpkins use a small palette of natural wood, warm paper, and painted orange skin. Make one as a quick afternoon project, or combine all three into a low arrangement for a dining table, mantel, or entry shelf.
The wood version is the most durable and gives the group visual weight. The folded-paper pumpkin is light, inexpensive, and easy to store flat. A painted real pumpkin takes the least construction, but it is seasonal and should be treated as decoration rather than food. Starting with these differences makes it easier to choose the right project for your time, tools, and storage space.
Before beginning, decide where the finished piece will live. For a table, keep every pumpkin below seated eye level and leave clear space for dishes. For a shelf, vary the heights and place the broadest silhouette near the center. A restrained combination of cream, natural grain, and one accent color lets the materials do the decorating without making the display feel busy.
Each method below can be completed on its own. The steps favor ready-made blanks and hand tools, with a safer beginner option wherever a cut or drilled shape would otherwise be required.
Plan the palette and size
Pick one neutral and one accent color, then choose three different heights. If these will sit on a dining table, keep the tallest piece low enough that guests can see across it. Put scrap paper under the work and test paint colors there first. Gather a pre-cut wood blank, medium-weight paper, a small clean pumpkin, scissors, pencil, fine sandpaper, matte acrylic paint, and a soft brush. Working on a tray keeps small pieces together and makes cleanup easier.
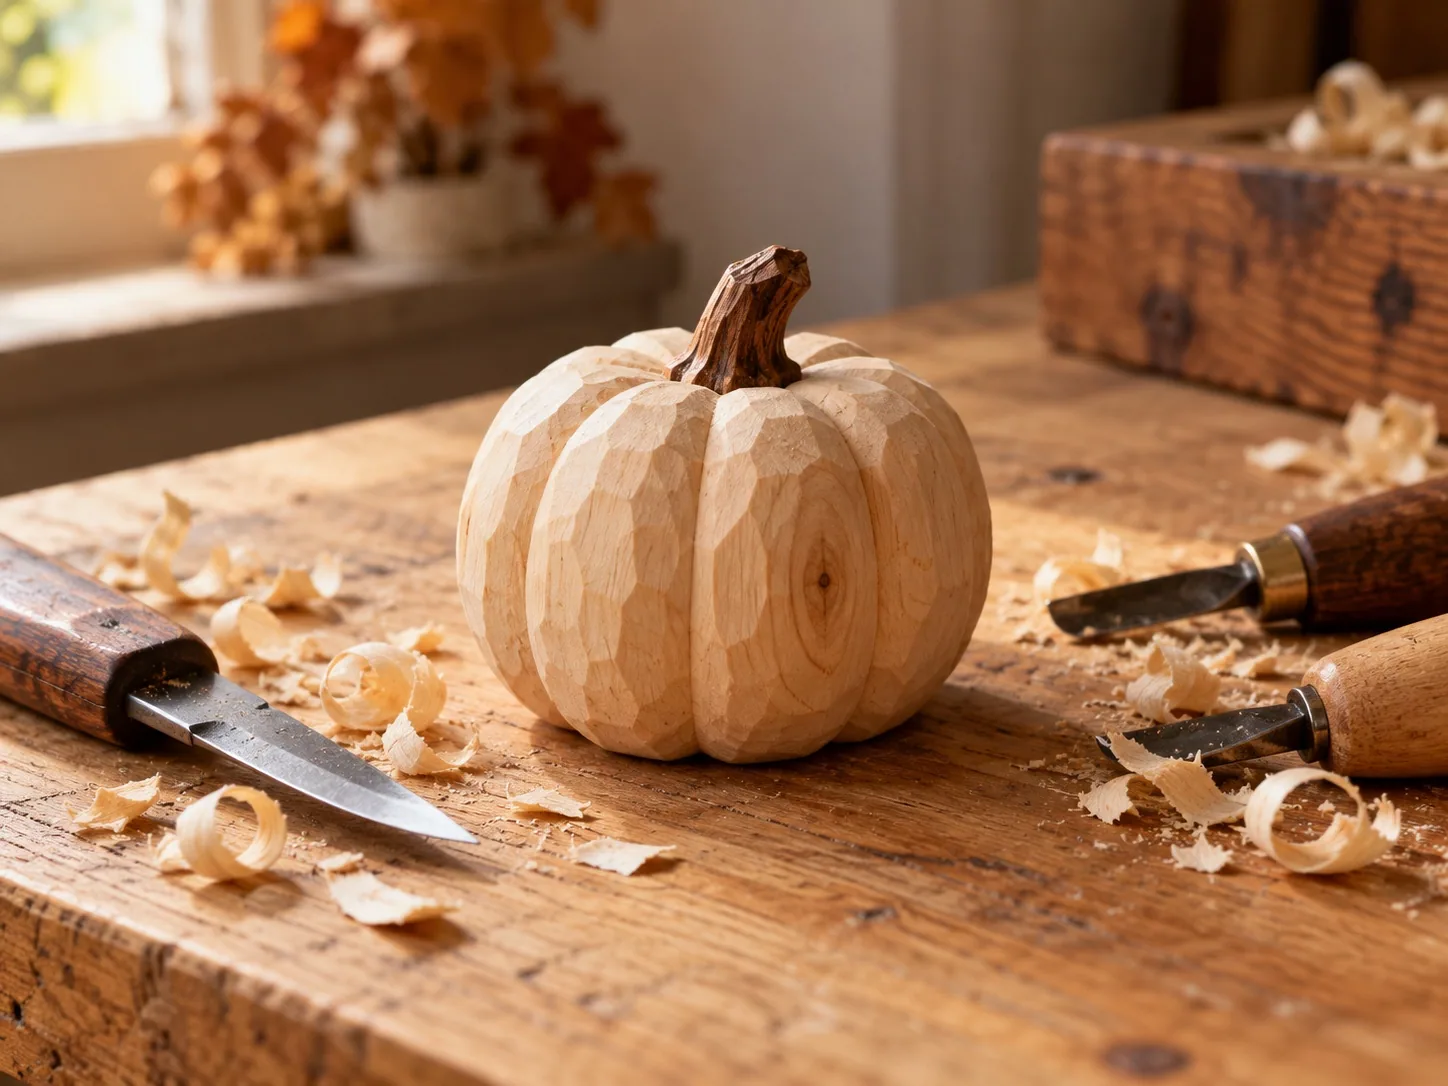
Finish a wooden pumpkin blank
For the easiest wood version, buy or reuse a pre-cut pumpkin blank with smooth edges. Sand lightly with 180- to 220-grit paper, moving with the grain where possible, then wipe away dust with a dry cloth. Leave the wood bare or apply a small amount of water-based wax according to its label. Glue on a short twig stem only after the finish has dried. If you choose to cut a blank yourself, clamp the wood securely, wear eye protection, and follow the tool maker’s instructions; beginners can skip this step and use a ready-cut shape instead.
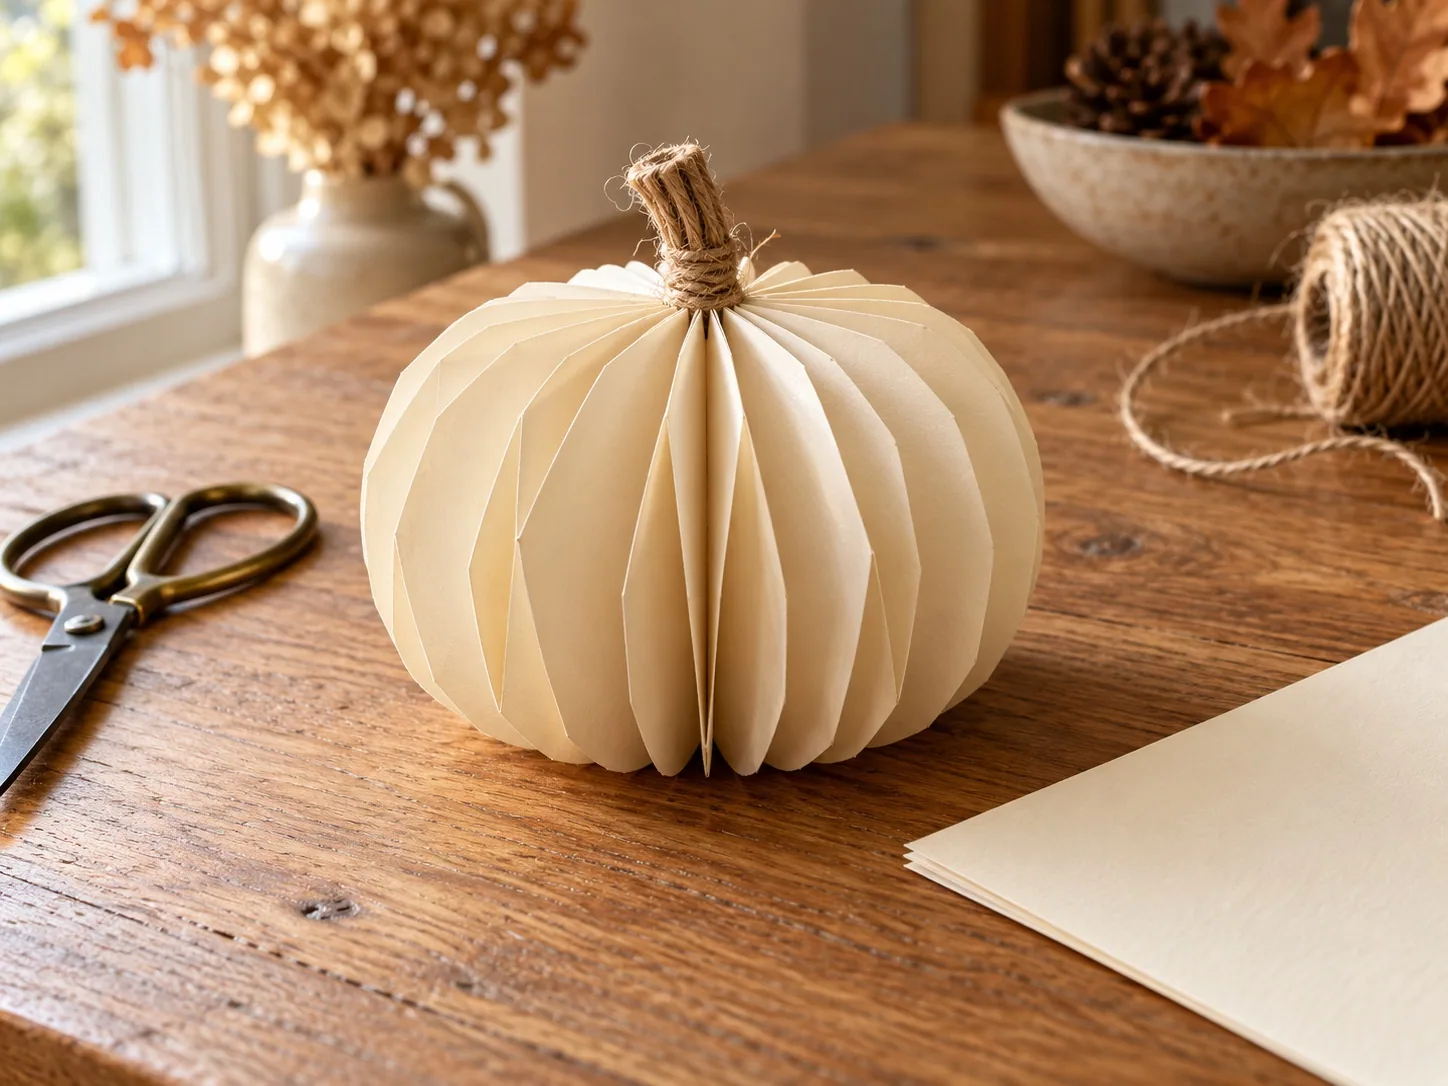
Fold a paper pumpkin
Cut two equal strips from 180- to 220-gsm paper. For a small tabletop pumpkin, strips about 2 inches wide and 11 inches long are a useful starting point; shorter strips make a smaller ornament. Mark fold intervals evenly, then accordion-fold both strips and sharpen each crease with the back of a spoon. Join the ends into rings, fan the folds inward, and glue the center points to small paper circles on both sides. Hold each center until the glue grips, then let the pumpkin dry flat before adding a loop or paper stem.
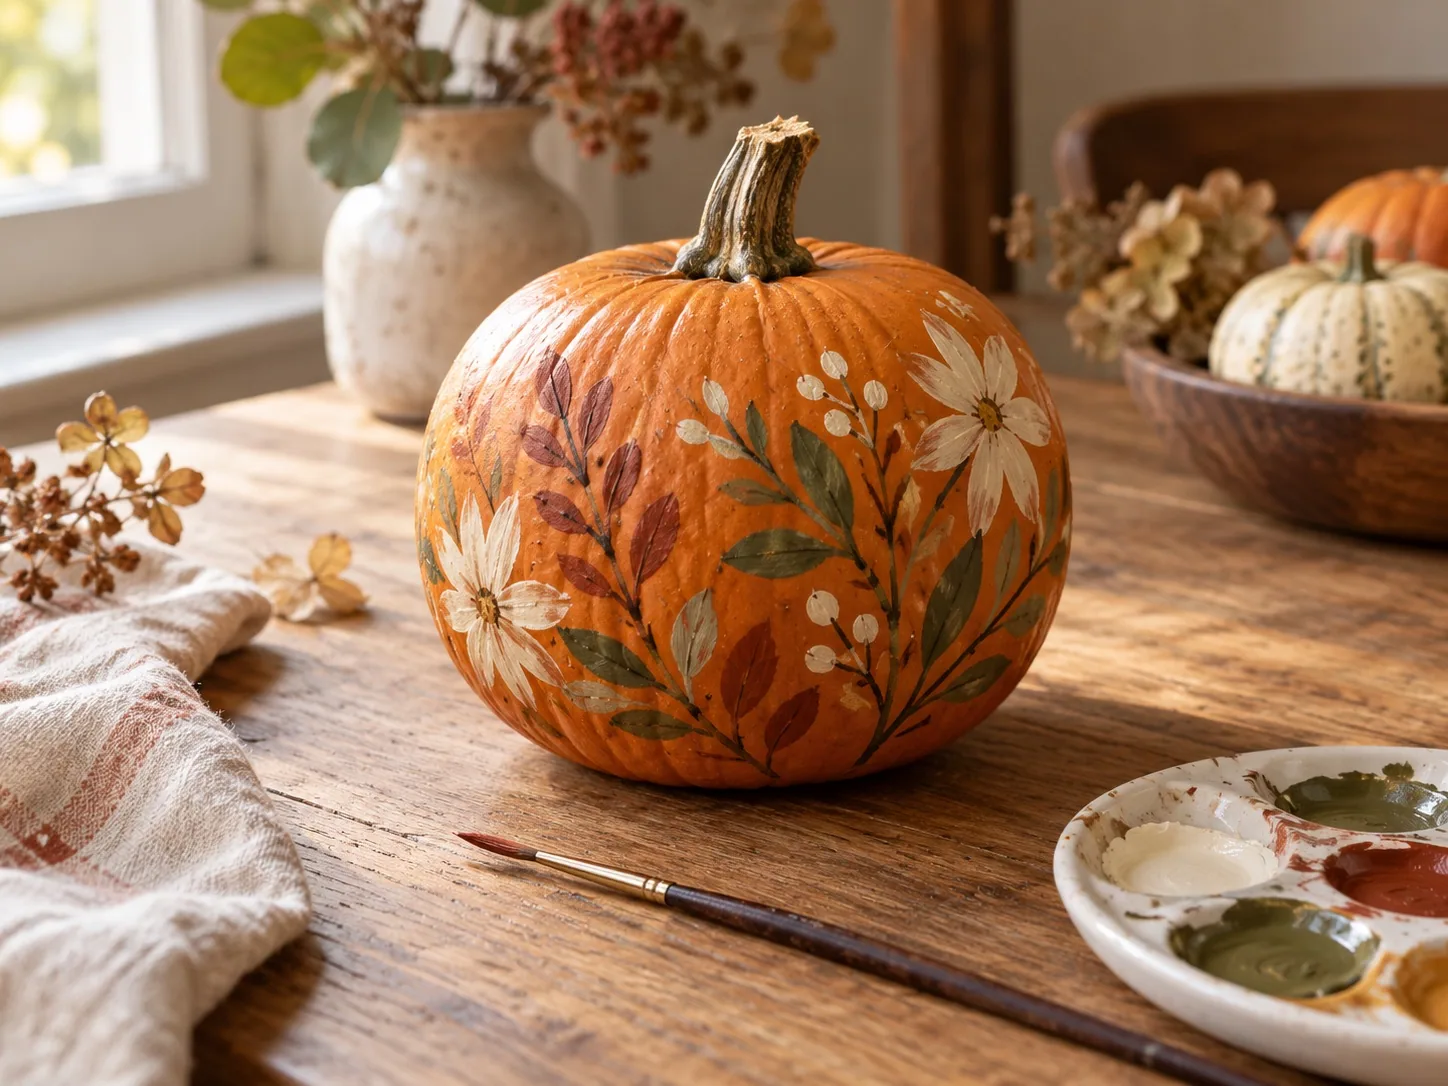
Paint a natural pumpkin
Choose a firm, unblemished pumpkin with a dry stem. Wipe it with a dry cloth and let it reach room temperature so condensation does not interfere with the paint. Sketch a few leaves or curved lines on scrap paper first, then use a fine brush to add a light motif. Thin coats of matte acrylic paint preserve the orange skin and dry more evenly than one heavy coat. Turn the pumpkin only after the first side is touch-dry. Keep paint away from the cut stem and do not use a decorated pumpkin for eating.
Arrange the three pieces
Set the wooden pumpkin toward the back, the painted one slightly forward, and the light paper version off to one side. Rotate each until its strongest texture faces the room. A folded linen runner or a few clean dry leaves are enough to connect the materials. Keep the arrangement low and leave gaps between the shapes so the table still works for serving. Store the wood and paper pumpkins in a dry box with tissue between them; compost the real pumpkin when it softens or shows mold.
Good to know
Common questions
Which version is best for beginners?
The paper pumpkin needs only scissors, folds, and glue. A pre-cut wooden blank is also beginner friendly if you skip cutting the wood yourself.
Can I use a painted pumpkin for food later?
No. Treat a painted pumpkin as decoration and keep it out of the kitchen food stream.
How do I store the finished pumpkins?
Store the wood and paper versions in a dry box with tissue between them. The natural pumpkin is seasonal and should be composted once it softens.
Plan your holiday gifts
Personal keepsakes from Ottly
Christmas gifts to plan ahead, picked from our Etsy shop. Each card opens the actual listing. These are separate gift ideas, not supplies for this project.
Current seasonal edit · Halloween
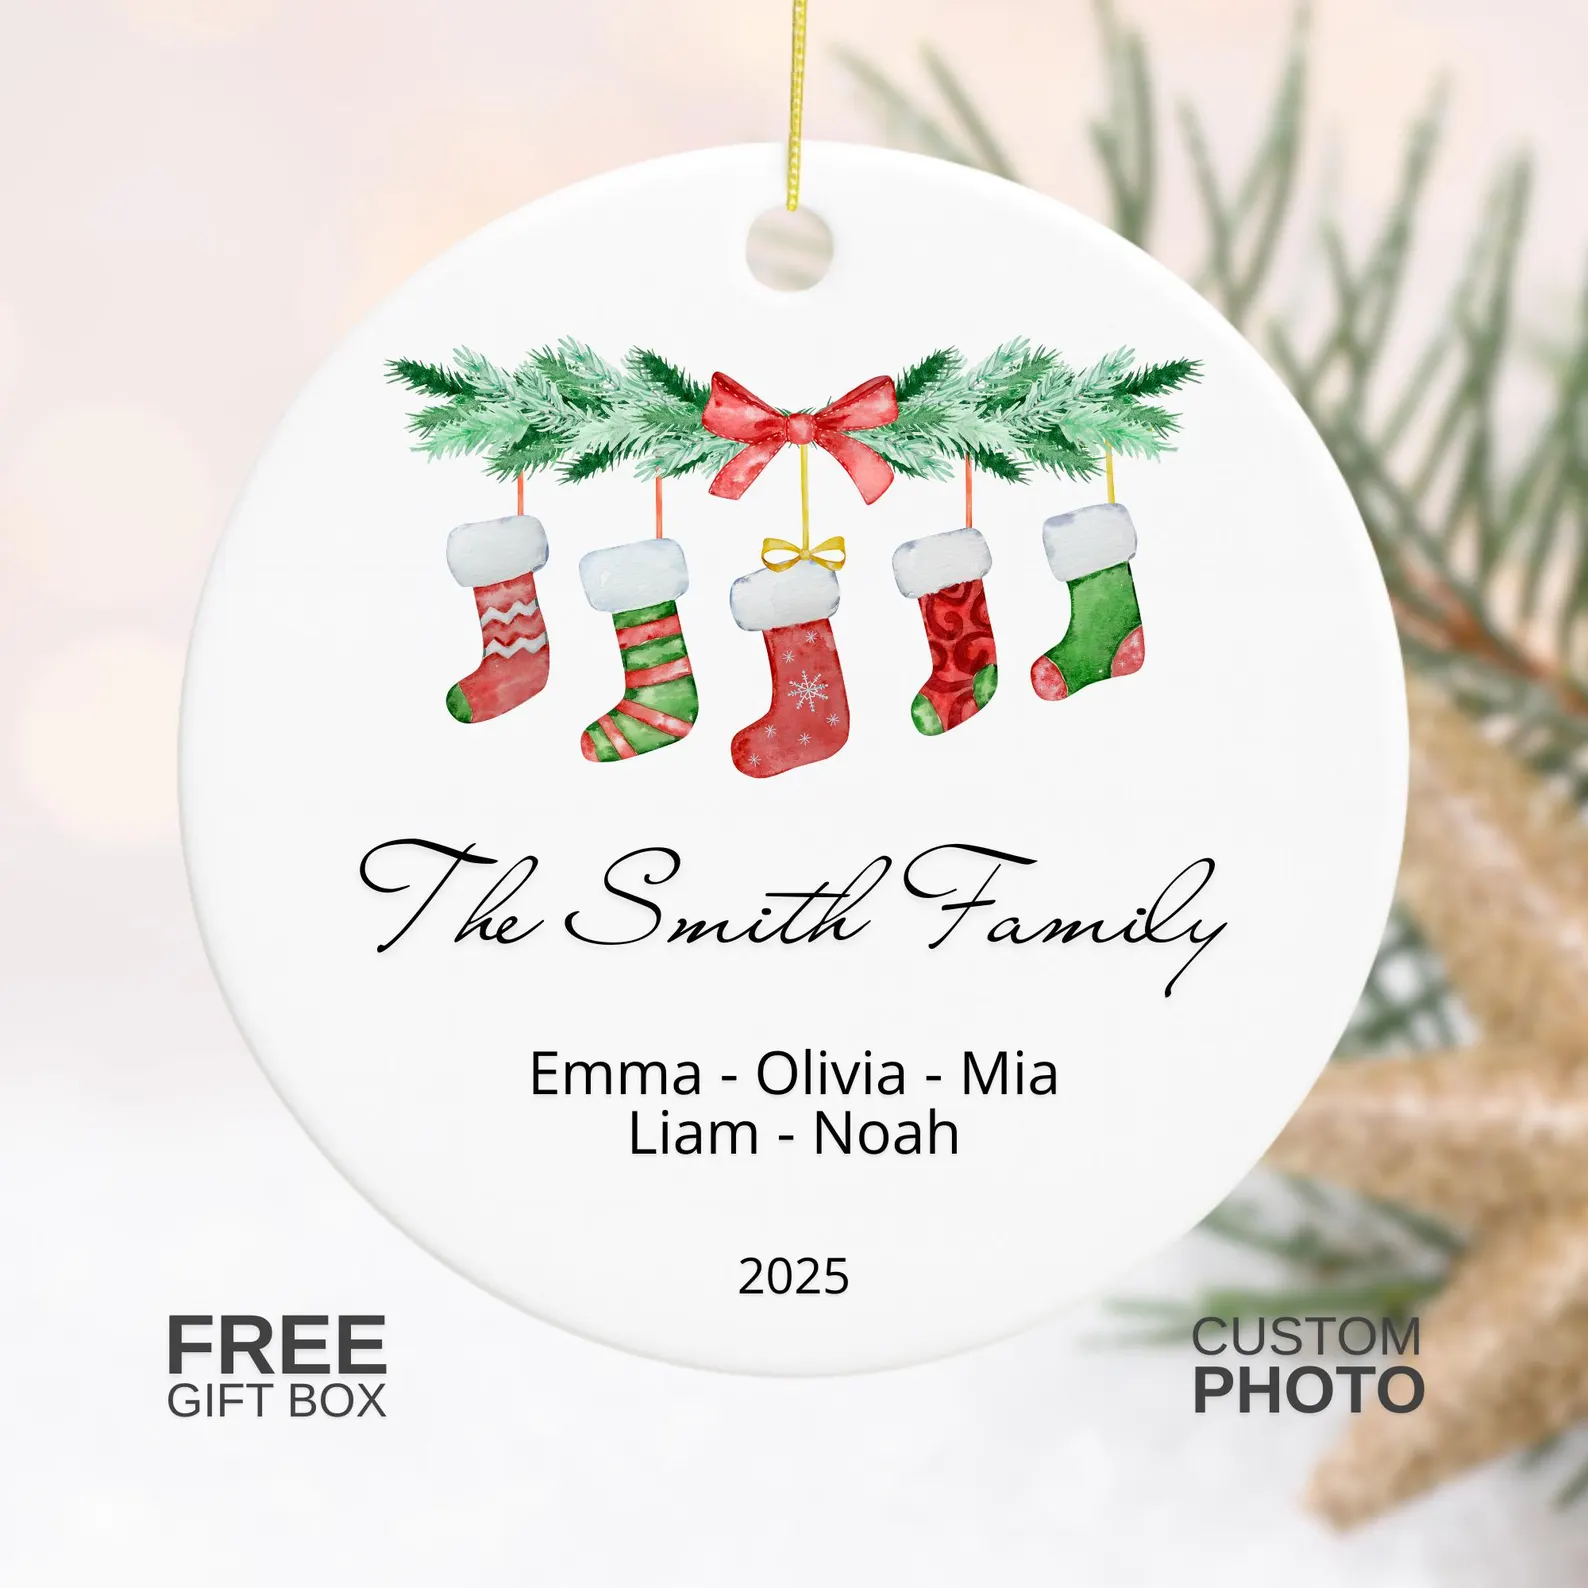 Christmas · personalizedPersonalized family ornamentA stocking keepsake made with the family's names.View on Etsy ↗
 Christmas · pet giftPersonalized dog photo ornamentA photo keepsake for a much-loved dog.View on Etsy ↗
 Christmas · cat giftPersonalized cat photo ornamentA Christmas wreath keepsake featuring a favorite cat.View on Etsy ↗
Keep exploring