In this guide4 steps
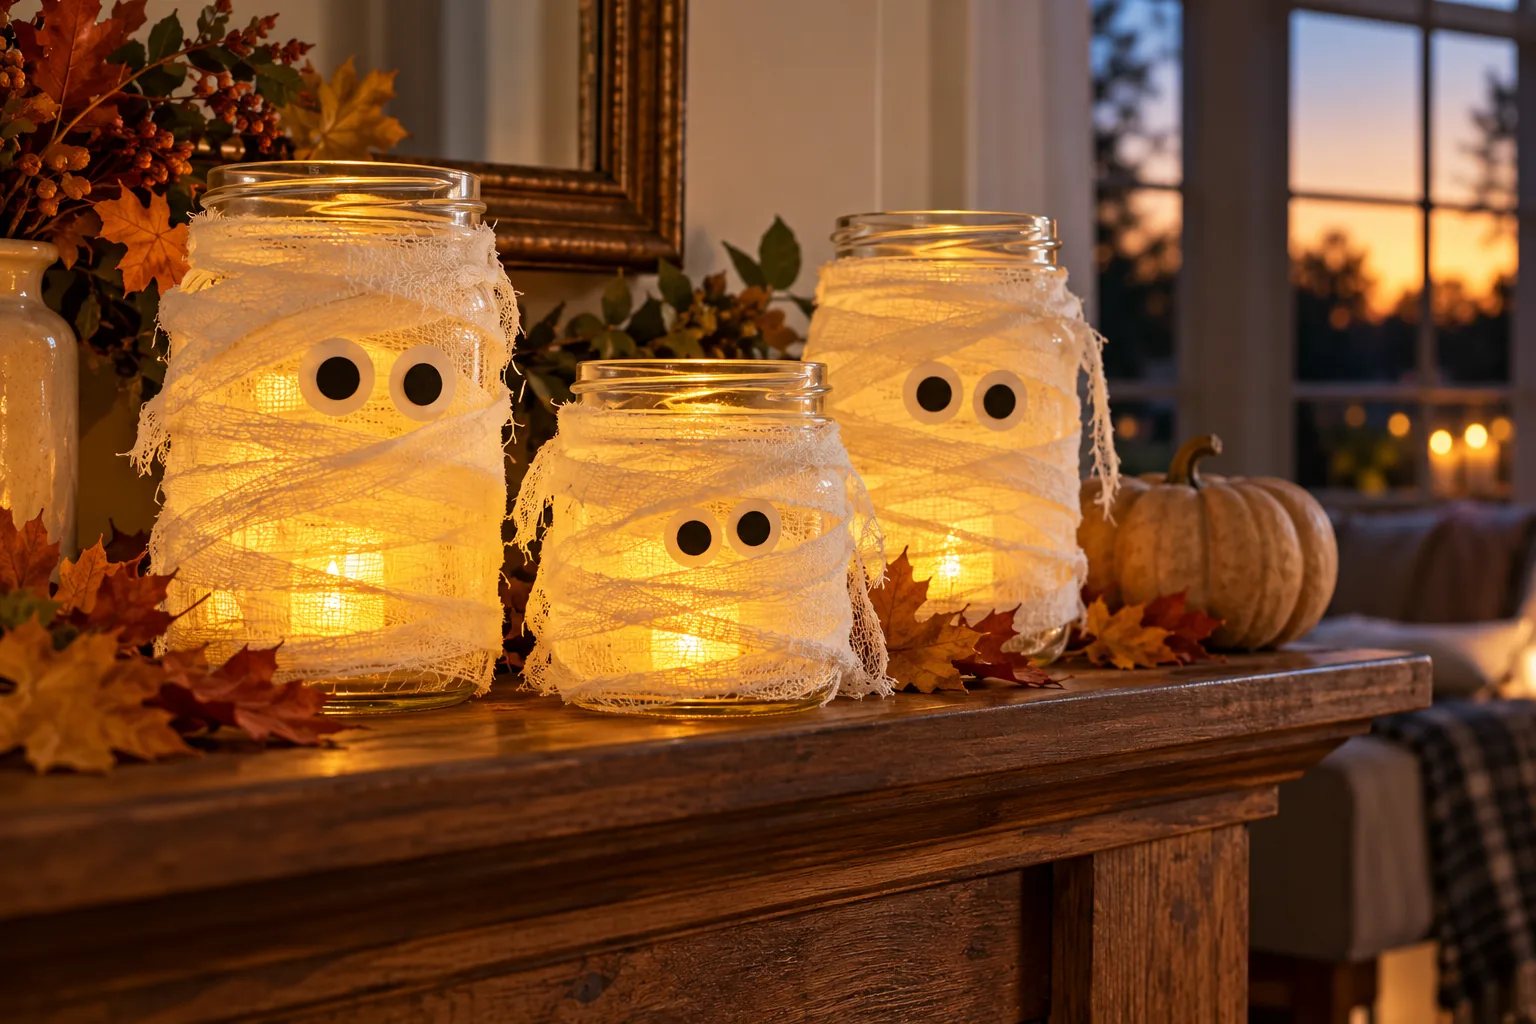
These mummy jar luminaries turn clean jars and a few strips of gauze into a friendly Halloween display. The wrapping is intentionally loose, so the glass catches a soft glow from a battery-operated light. Make one for a shelf or a small group for an entry table; the materials are inexpensive and the faces can be as simple as two paper eyes.
Prepare the jars and gauze
Wash the jars, remove labels, and let them dry completely inside and out. Cut gauze into long strips about 1–2 inches wide. If the fabric is very thin, use two layers; if it is thick, a single loose layer will show more light. Cut small black cardstock circles or ovals for eyes and keep the jar opening clear.
Wrap without covering the opening
Start near the base and wrap upward with slight overlaps, leaving small gaps where glass can show through. Secure the first and last turns with removable tape or a glue dot placed on the gauze, not across the jar opening. Keep the rim and base unobstructed so the jar stands steadily and the LED can be switched on or removed easily.
Finish and display safely
Place the eyes over a narrow gap between the gauze strips and attach them with a small glue dot. Set a battery-operated LED tea light inside each jar and check that it sits level. Put the jars on a dry, stable tray, away from places where they could be knocked over. Do not use real candles or open flames: gauze and paper are combustible.
After the holiday, remove the battery lights before storing. If the gauze is still clean, unwind it and keep it in a dry bag for another project. Recycle the jars when you no longer need them and follow local guidance for batteries.
Clean the jars and cut the gauze
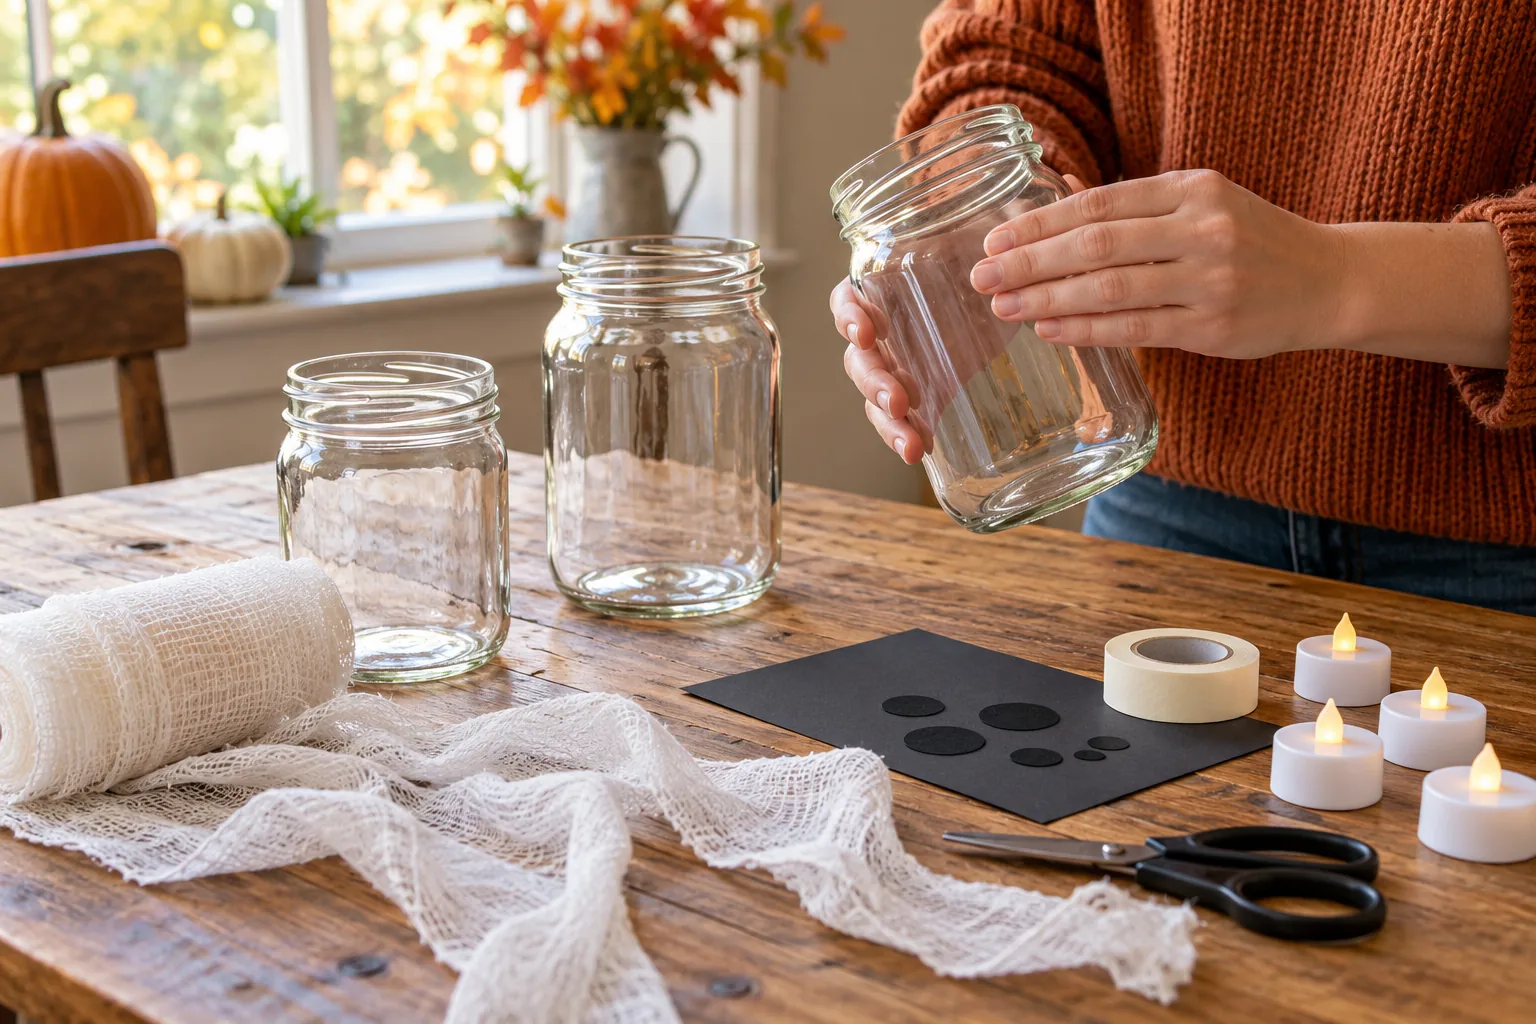
Remove labels and wash each jar, then dry it completely so tape will hold. Cut gauze into long strips roughly 1–2 inches wide. Prepare black cardstock eyes and test that the LED tea light fits through the jar opening.
Wrap the jar in loose layers
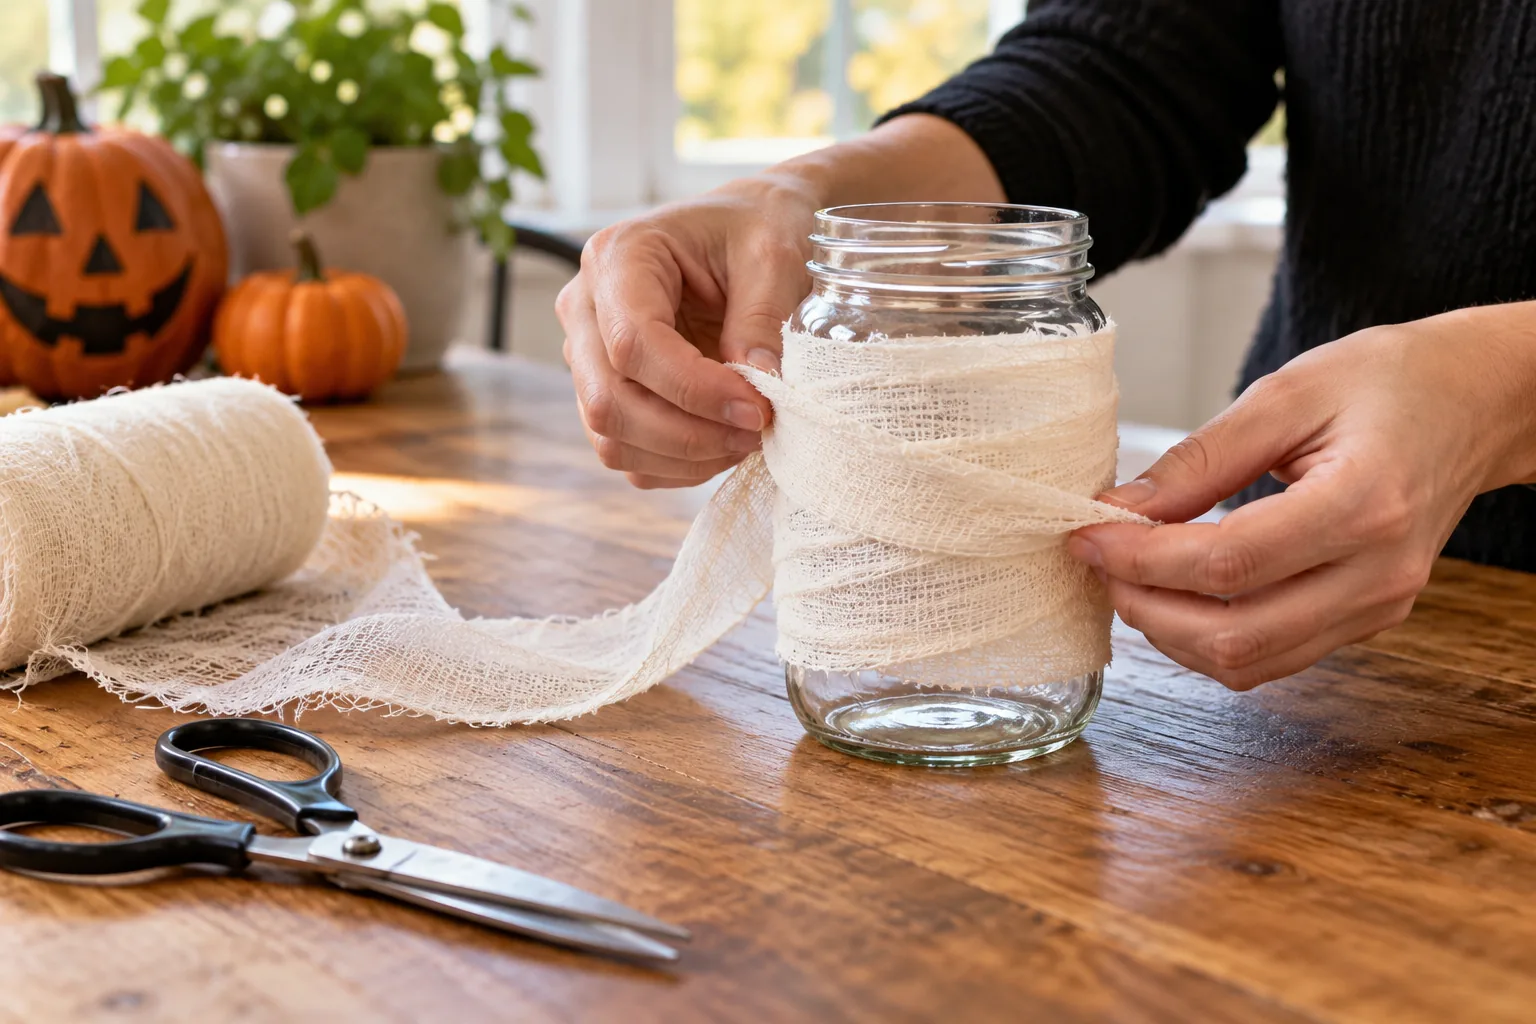
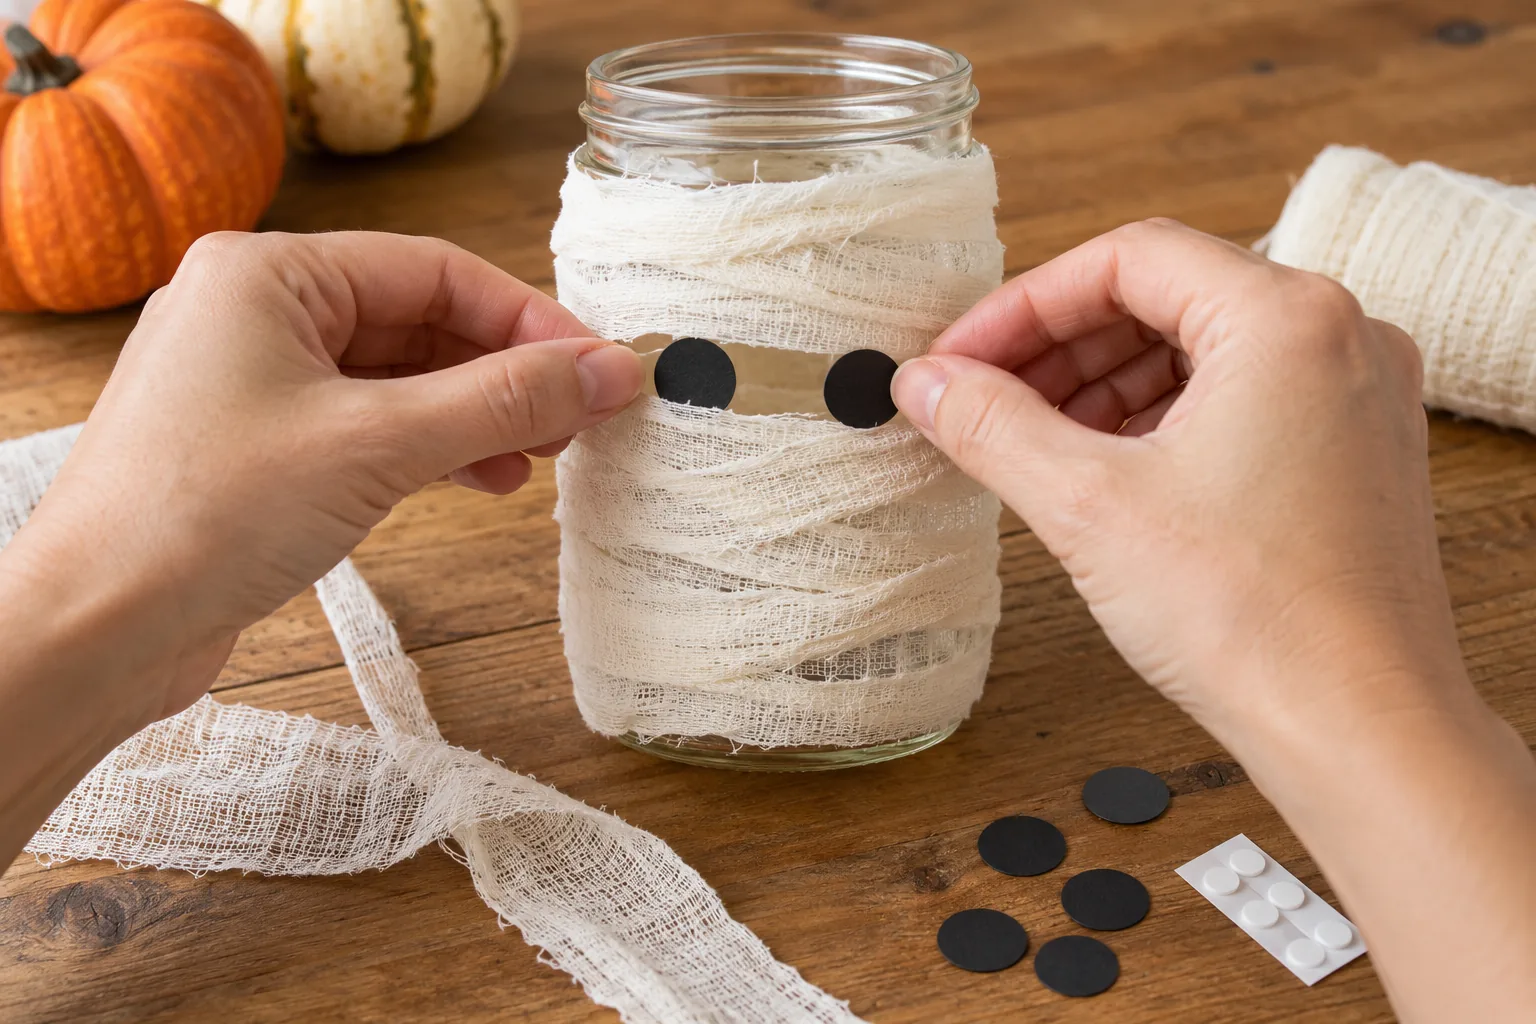
Anchor one end of gauze near the base with a small piece of removable tape. Wrap upward with slight overlaps, leaving a few narrow gaps for the light to pass through. Keep the rim and bottom clear, and secure the final end with another small tape tab.
Add the cardstock eyes
Cut two small black circles or ovals from cardstock. Place them over a gap between the gauze layers so they read clearly as a face, then attach with tiny glue dots. Keep the pieces small and lightweight so they stay in place.
Add an LED and arrange the jars
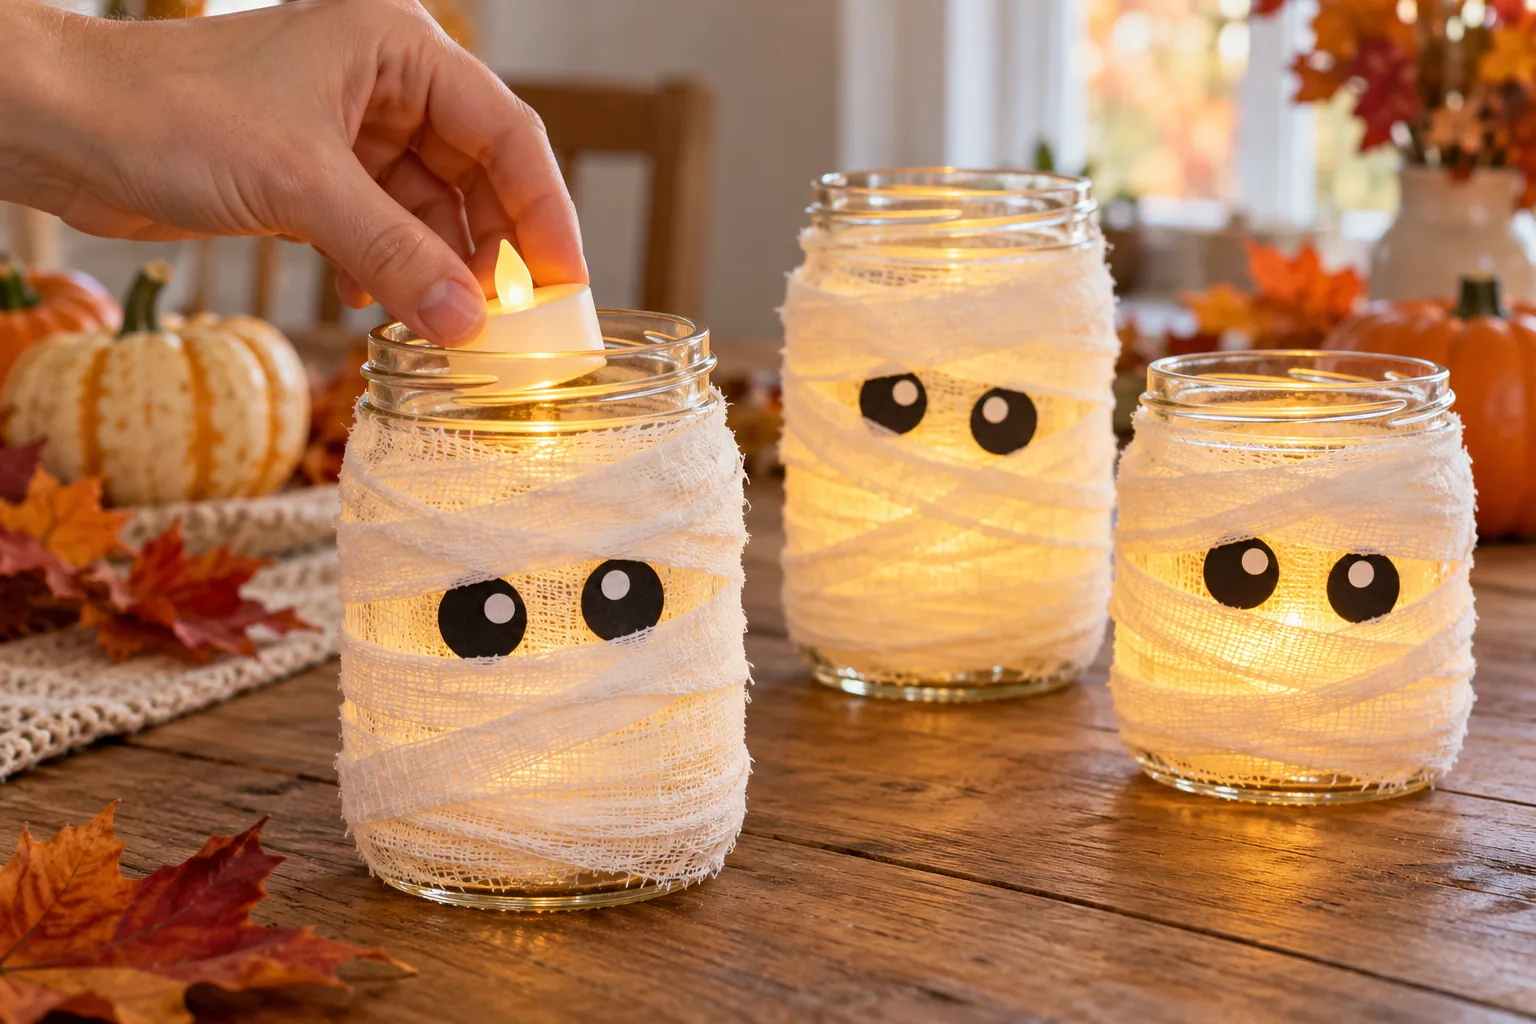
Set a battery-operated LED tea light inside each jar and confirm that it stands level. Turn it on only after the jar is positioned on a stable, dry surface. Keep real candles and open flames away from gauze and paper, and store the batteries separately after the season.
Good to know
Common questions
Can I use a real tea light candle?
No. Gauze and cardstock can catch fire. Use a battery-operated LED tea light only, and do not place a flame near the wrapped jars.
What can I use instead of gauze?
Loose-weave cotton cheesecloth works well. Avoid stretchy synthetic fabric that may melt or sit too tightly against the LED.
Do the jars need to be completely dry?
Yes. Dry glass helps removable tape stay put and prevents moisture from being trapped under the fabric.
Can I reuse the jars after Halloween?
Yes. Remove the gauze and adhesive, wash the jars, and reuse them for storage or recycling. Keep batteries out of the jars when storing.
Plan your holiday gifts
Gift ideas from Ottly
Personalized ornaments and keepsakes, selected from our Etsy shop. These are separate gift ideas, not supplies for this project.
Current seasonal edit · Halloween
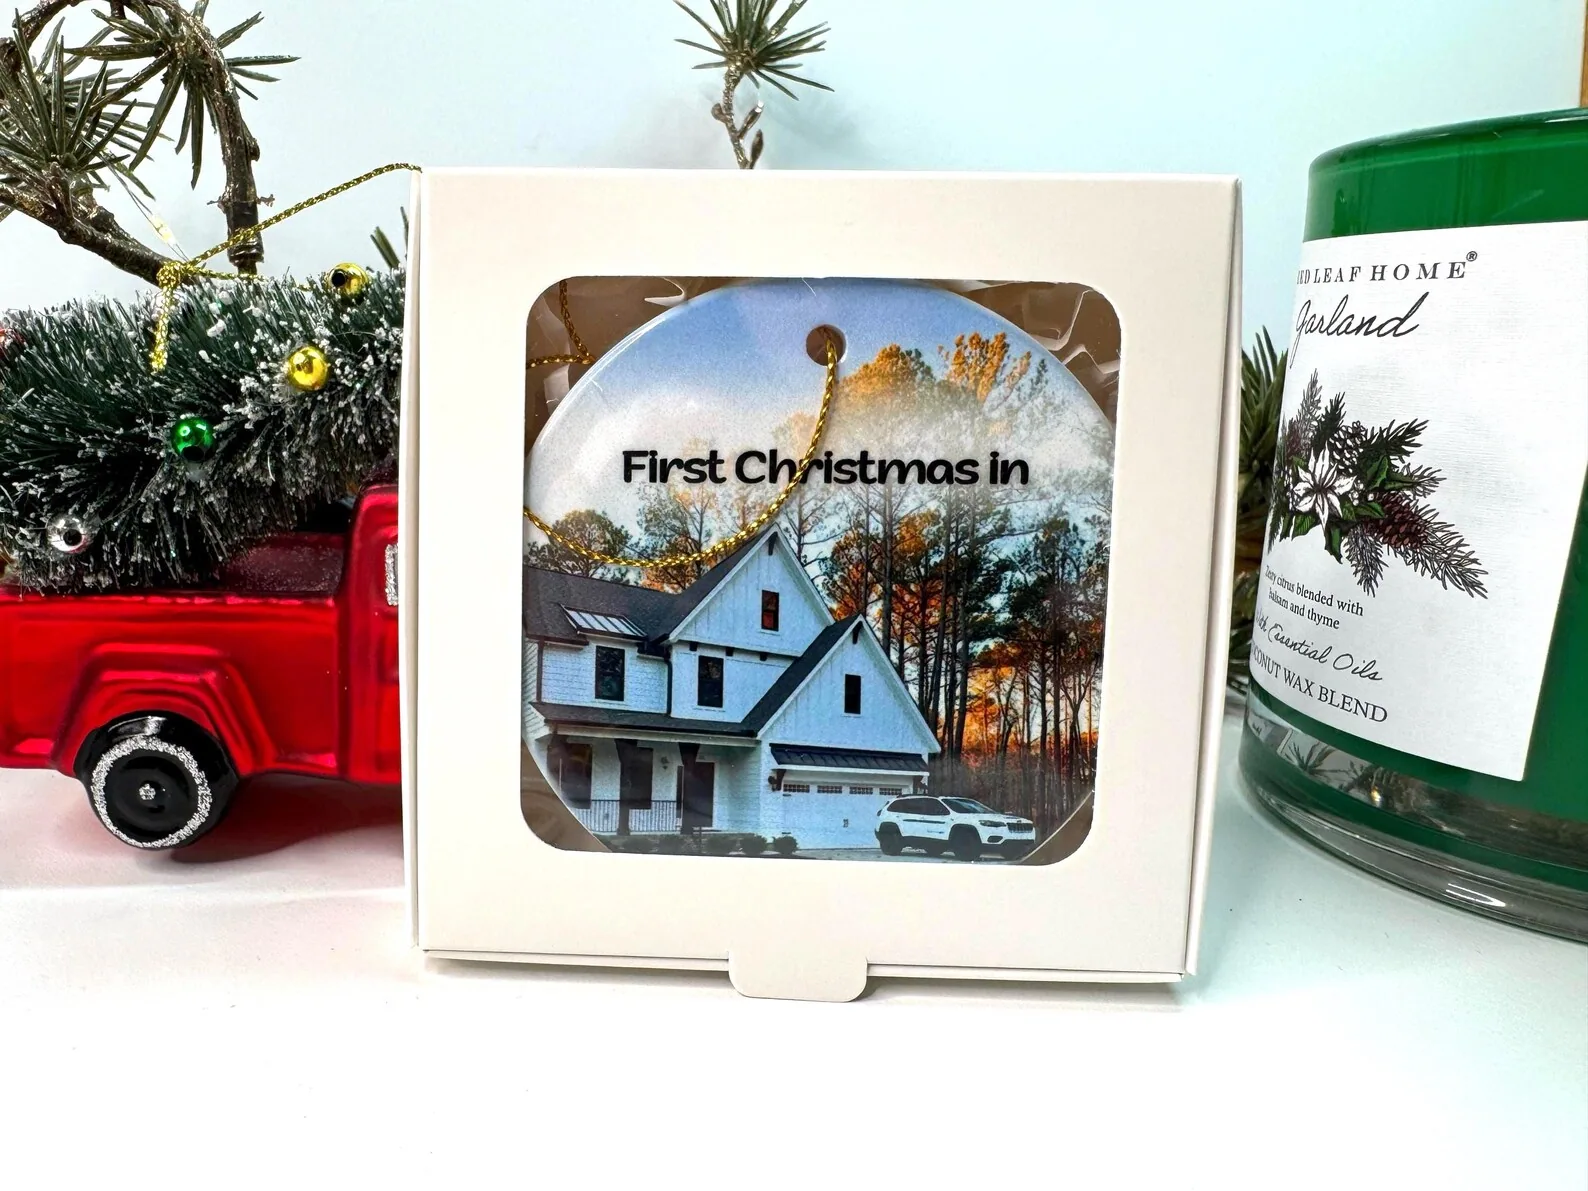 Milestone · housewarmingNew home photo ornamentA personal way to remember a first home or a move.View on Etsy ↗
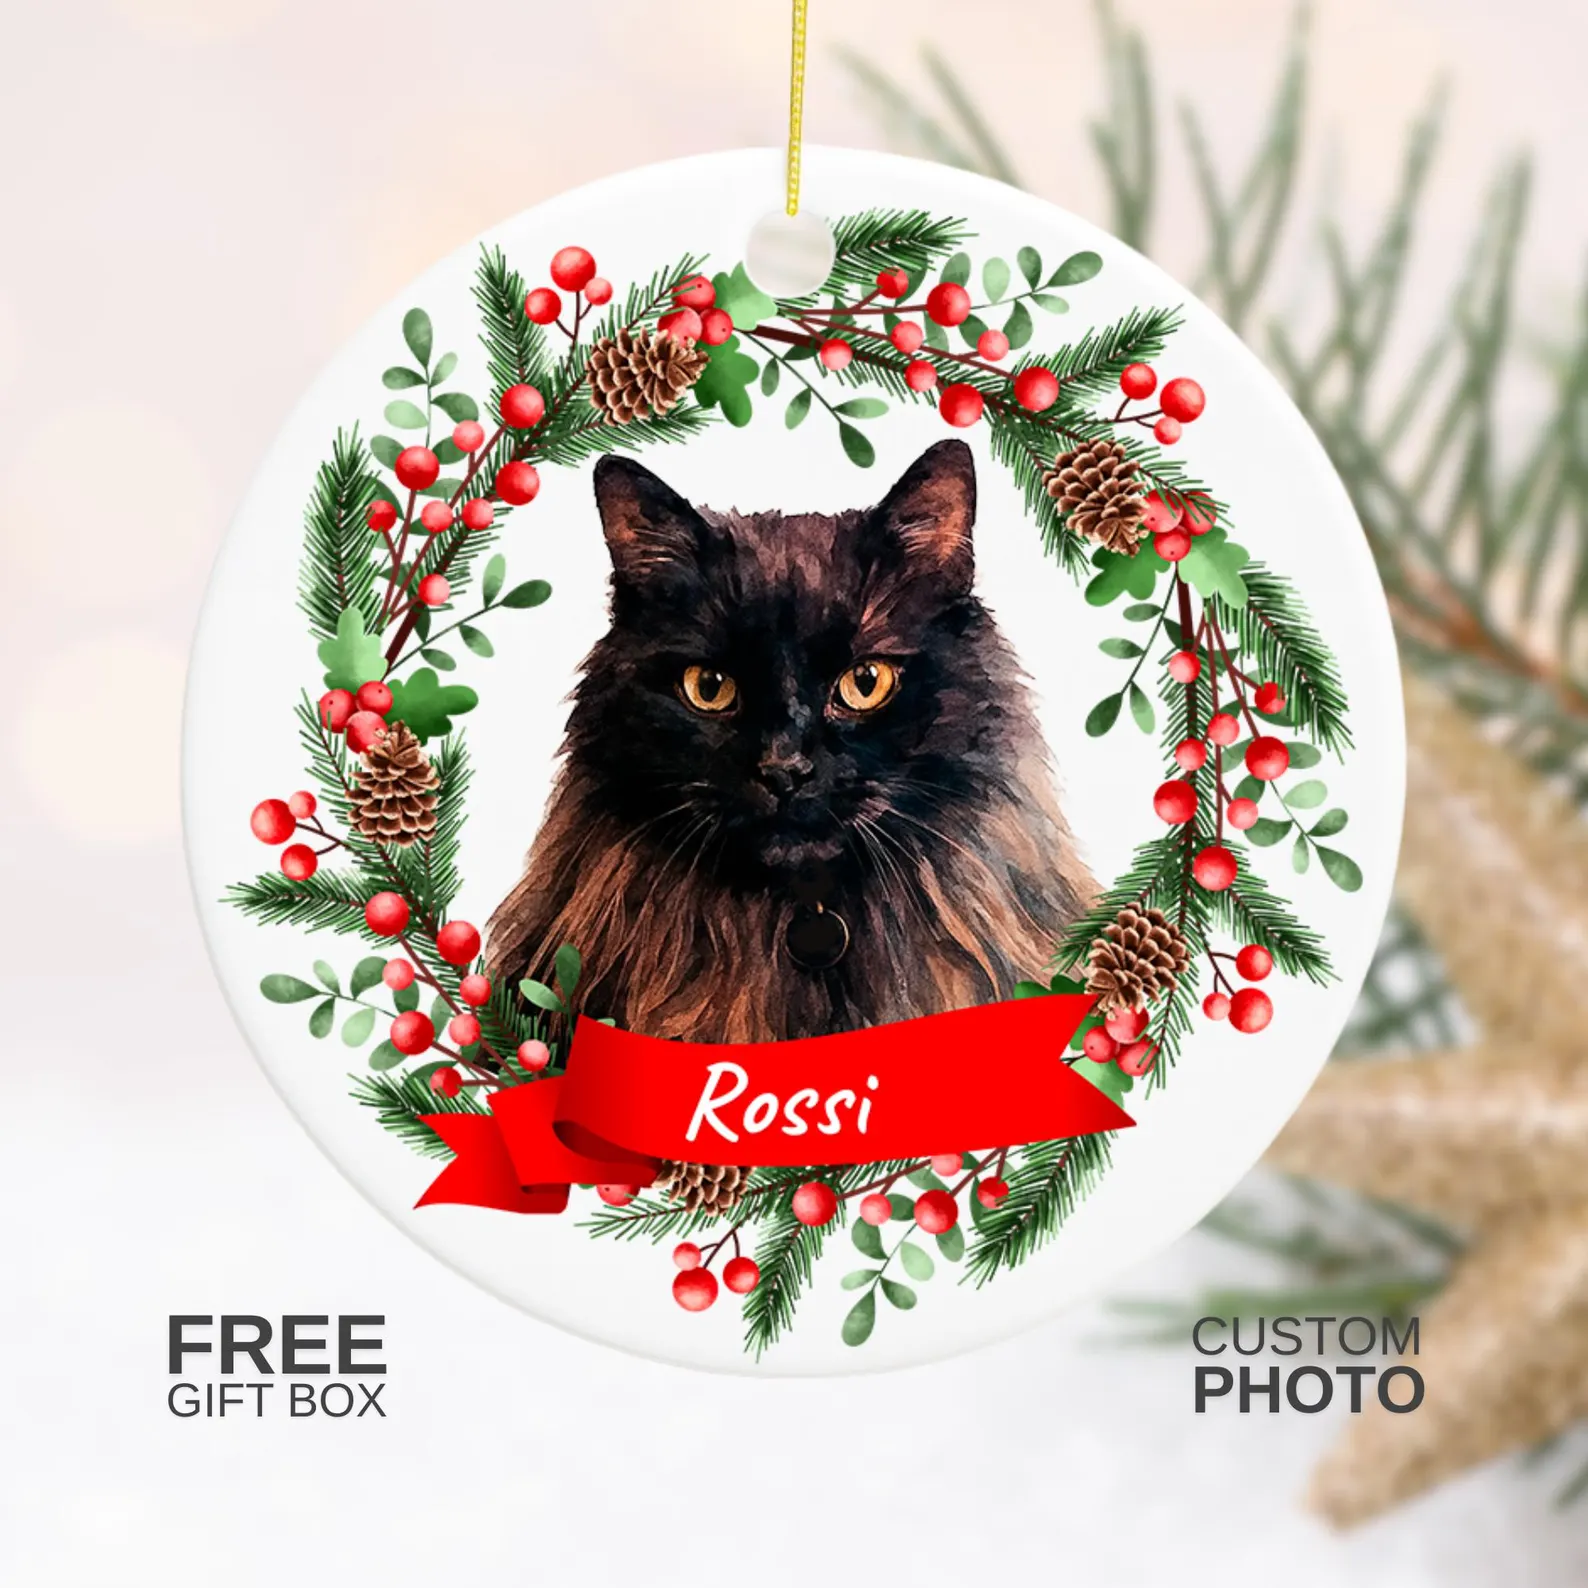 Christmas · cat giftPersonalized cat photo ornamentA Christmas wreath keepsake featuring a favorite cat.View on Etsy ↗
 Christmas · pet giftPersonalized dog photo ornamentA photo keepsake for a much-loved dog.View on Etsy ↗
Keep exploring