In this guide4 steps
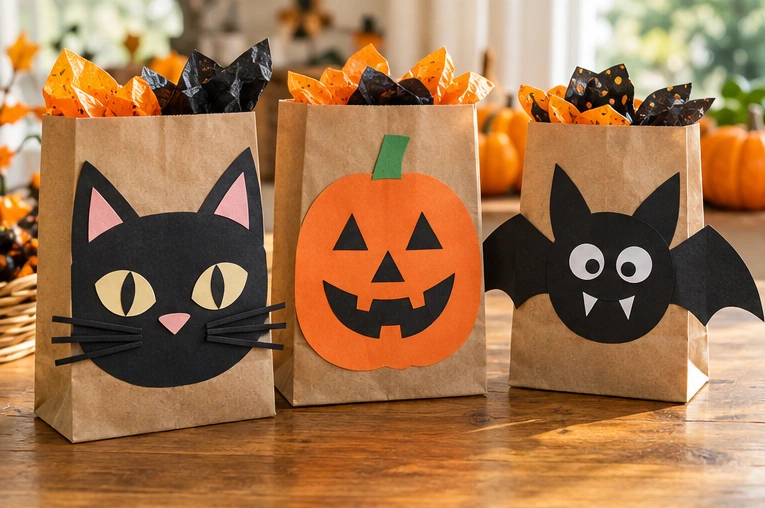
Paper lunch sacks make quick, inexpensive Halloween treat bags, and their flat sides are easy for little hands to decorate. This guide turns three bags into a black cat, a pumpkin and a bat using the same simple base. Make a matching trio for a party table or choose one design for trick-or-treating.
Before you begin
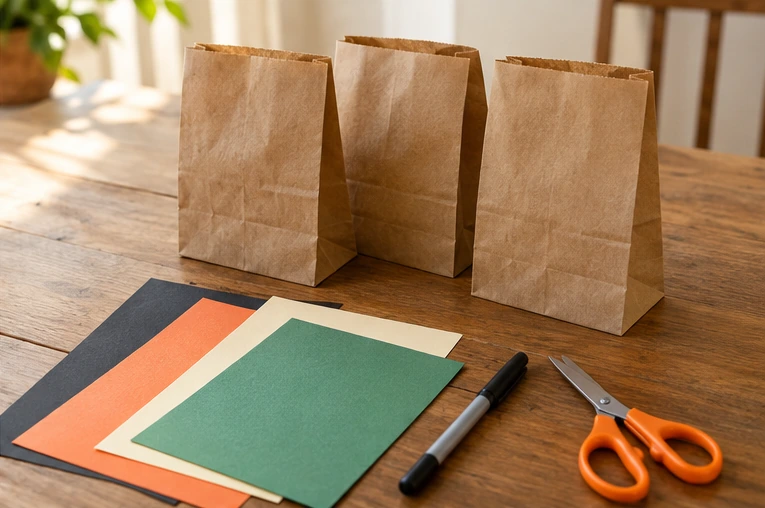
Use dry, uncoated bags so glue and marker adhere. Keep the bags empty while decorating, and let glue dry fully before adding wrapped candy. Children can help place shapes; an adult should handle scissors and any hot-glue work.
Three easy face ideas
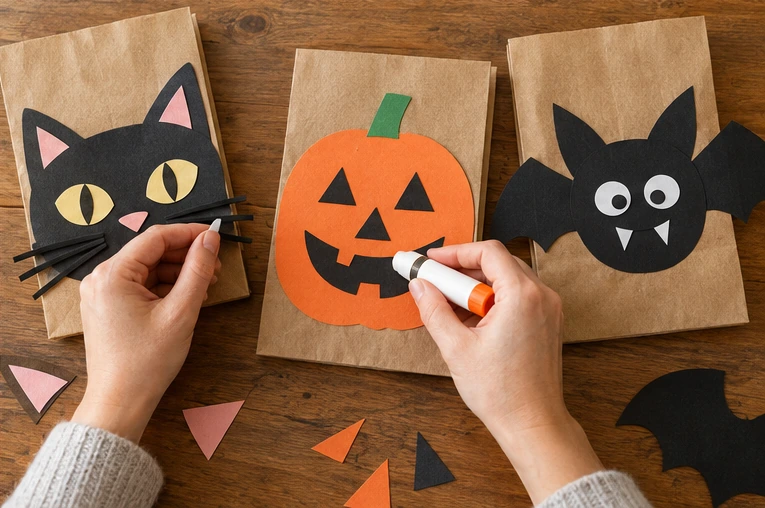
For the cat, add two pointed ears and whiskers. For the pumpkin, use orange paper and a small green stem. For the bat, cut broad wings from black paper and add two small eyes. Keep each face centered on the front panel so the bag still folds flat.
Finish for a party
Once dry, add lightweight treats and fold the top down once. Close it with a sticker or ribbon. If you add a handle, reinforce both top corners with paper patches before punching holes; avoid overfilling so the bottom seam stays intact.
Prepare the bags
Open each sack, press its side folds flat, then stand it upright to check the bottom seam. Keep the front panel smooth.
Cut the decorations
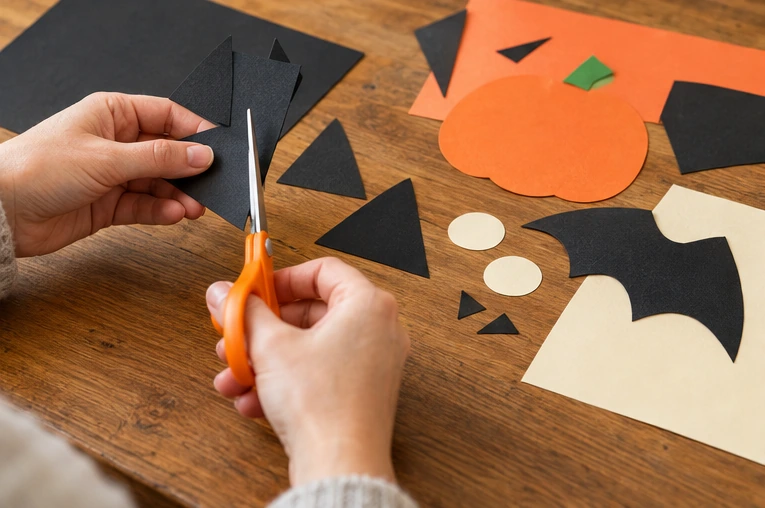
Cut two pointed ears and a muzzle for the cat, a pumpkin face and short stem, and two curved bat wings. Make pieces large enough to read clearly.
Decorate each design
Glue cat shapes to one bag, orange shapes to the second, and bat wings to the third. Add whiskers and simple expressions with marker after the glue sets.
Reinforce and fill
For handles, glue a small paper patch inside each top corner, let it dry, then punch through both layers before adding ribbon. Add light wrapped treats only after all glue is dry.
Good to know
Common questions
What size paper lunch bag works best?
A standard small kraft lunch sack is easiest to decorate and holds a modest portion of wrapped treats.
Can children make these bags?
Yes, with supervision. Adults should handle scissors and any hot glue; a glue stick and pre-cut shapes work well for younger children.
How do I make the handles stronger?
Glue a small paper patch inside each top corner, let it dry, then punch through both layers before adding ribbon.
Plan your holiday gifts
Gift ideas from Ottly
Personalized ornaments and keepsakes, selected from our Etsy shop. These are separate gift ideas, not supplies for this project.
Current seasonal edit · Halloween
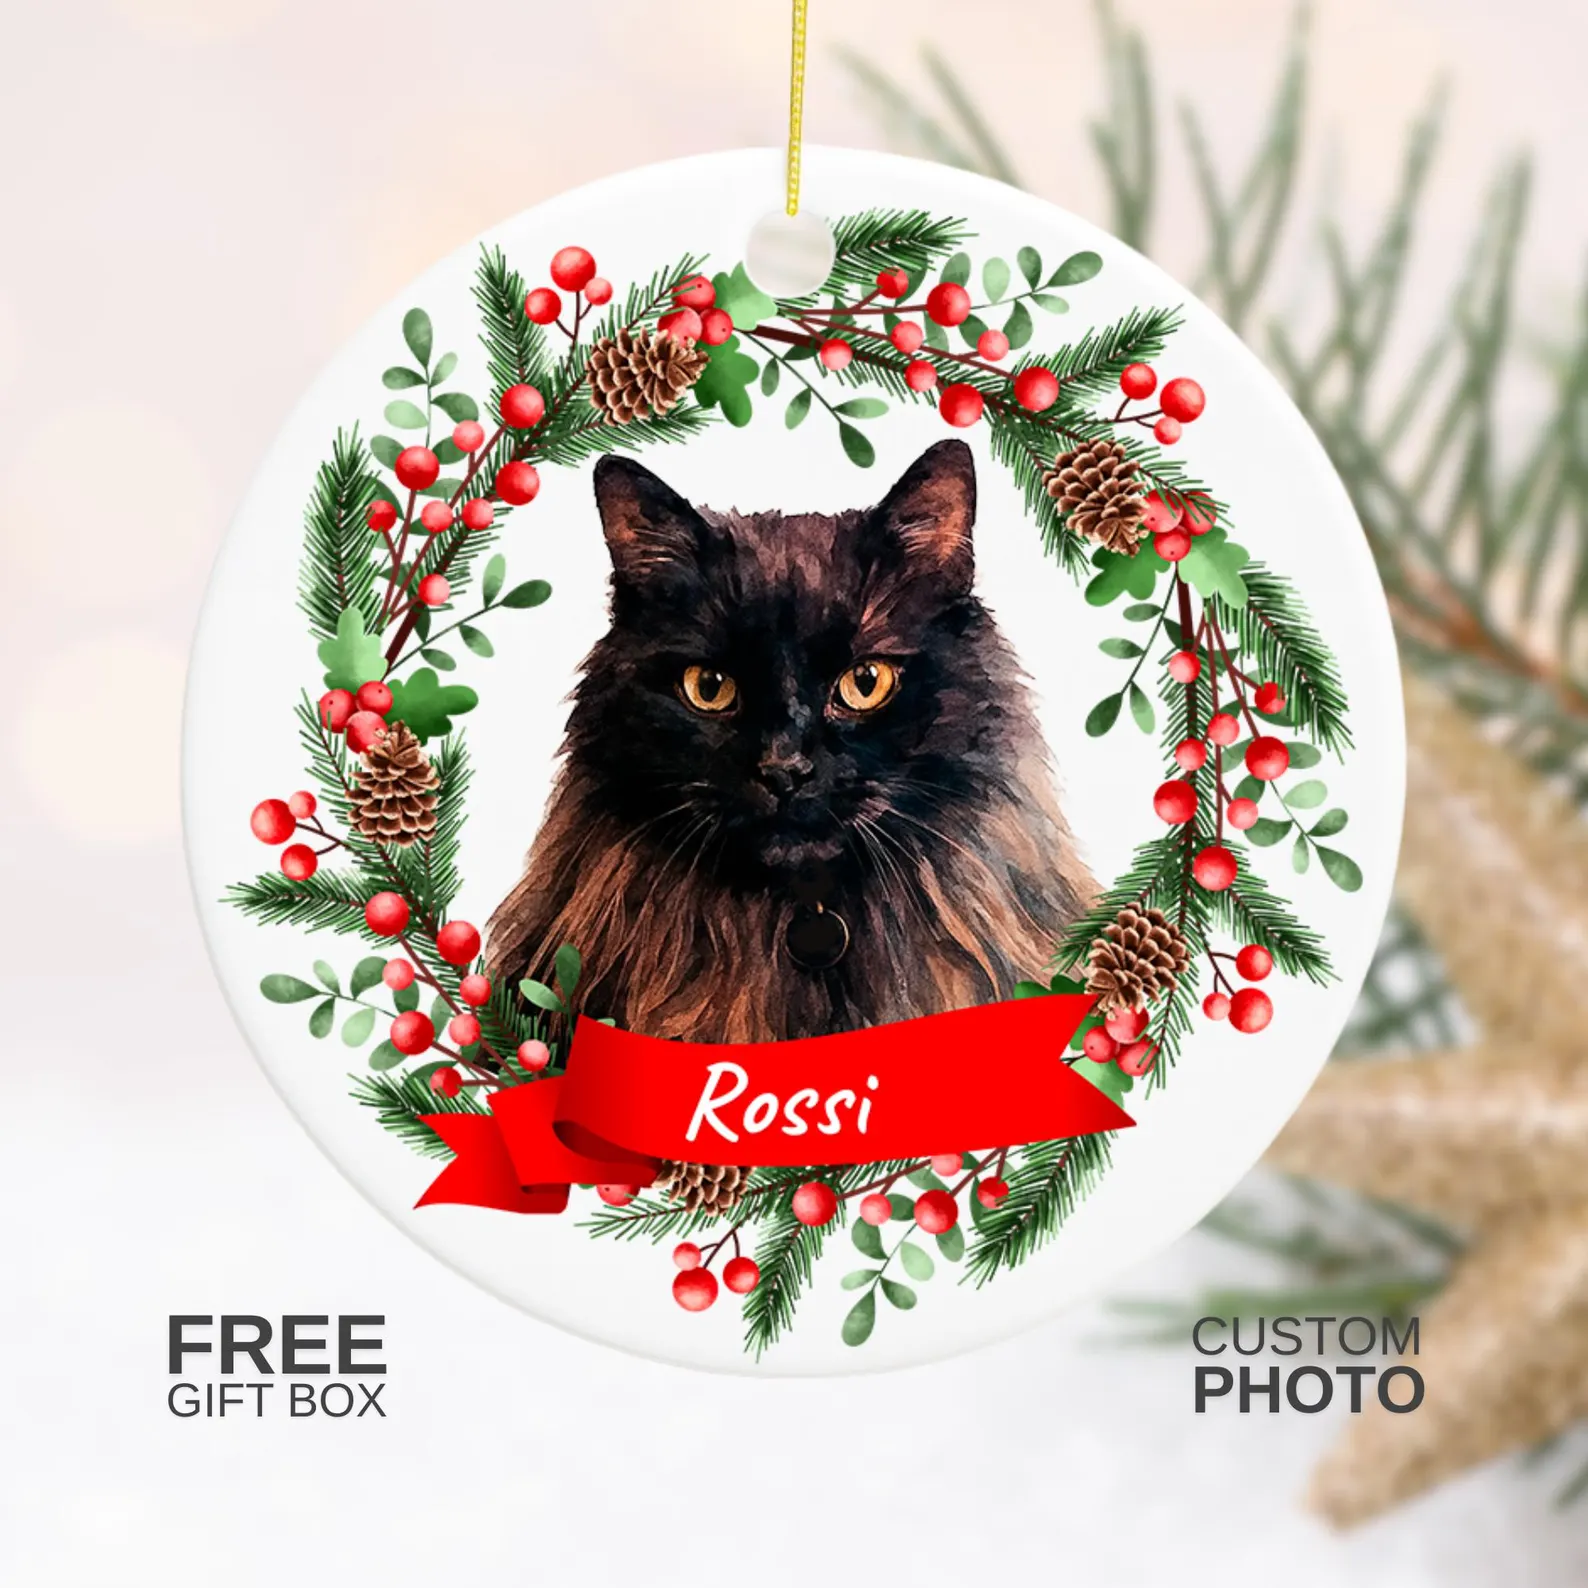 Christmas · cat giftPersonalized cat photo ornamentA Christmas wreath keepsake featuring a favorite cat.View on Etsy ↗
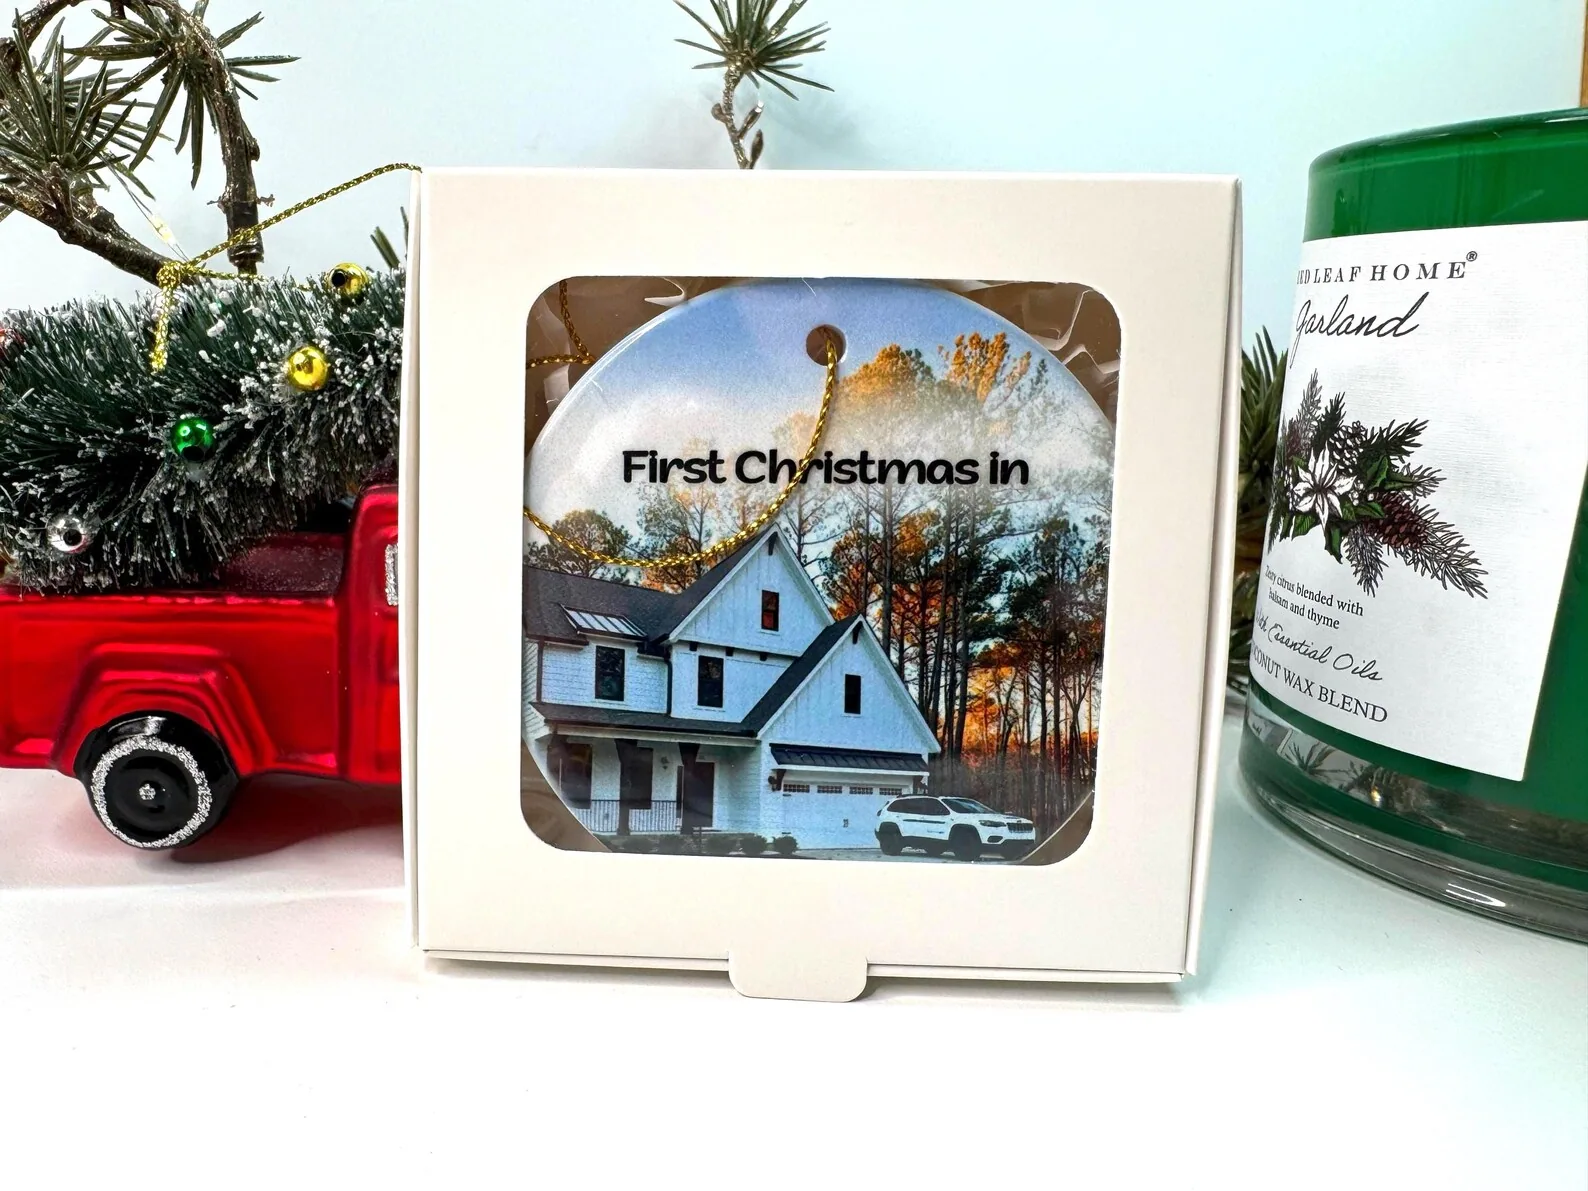 Milestone · housewarmingNew home photo ornamentA personal way to remember a first home or a move.View on Etsy ↗
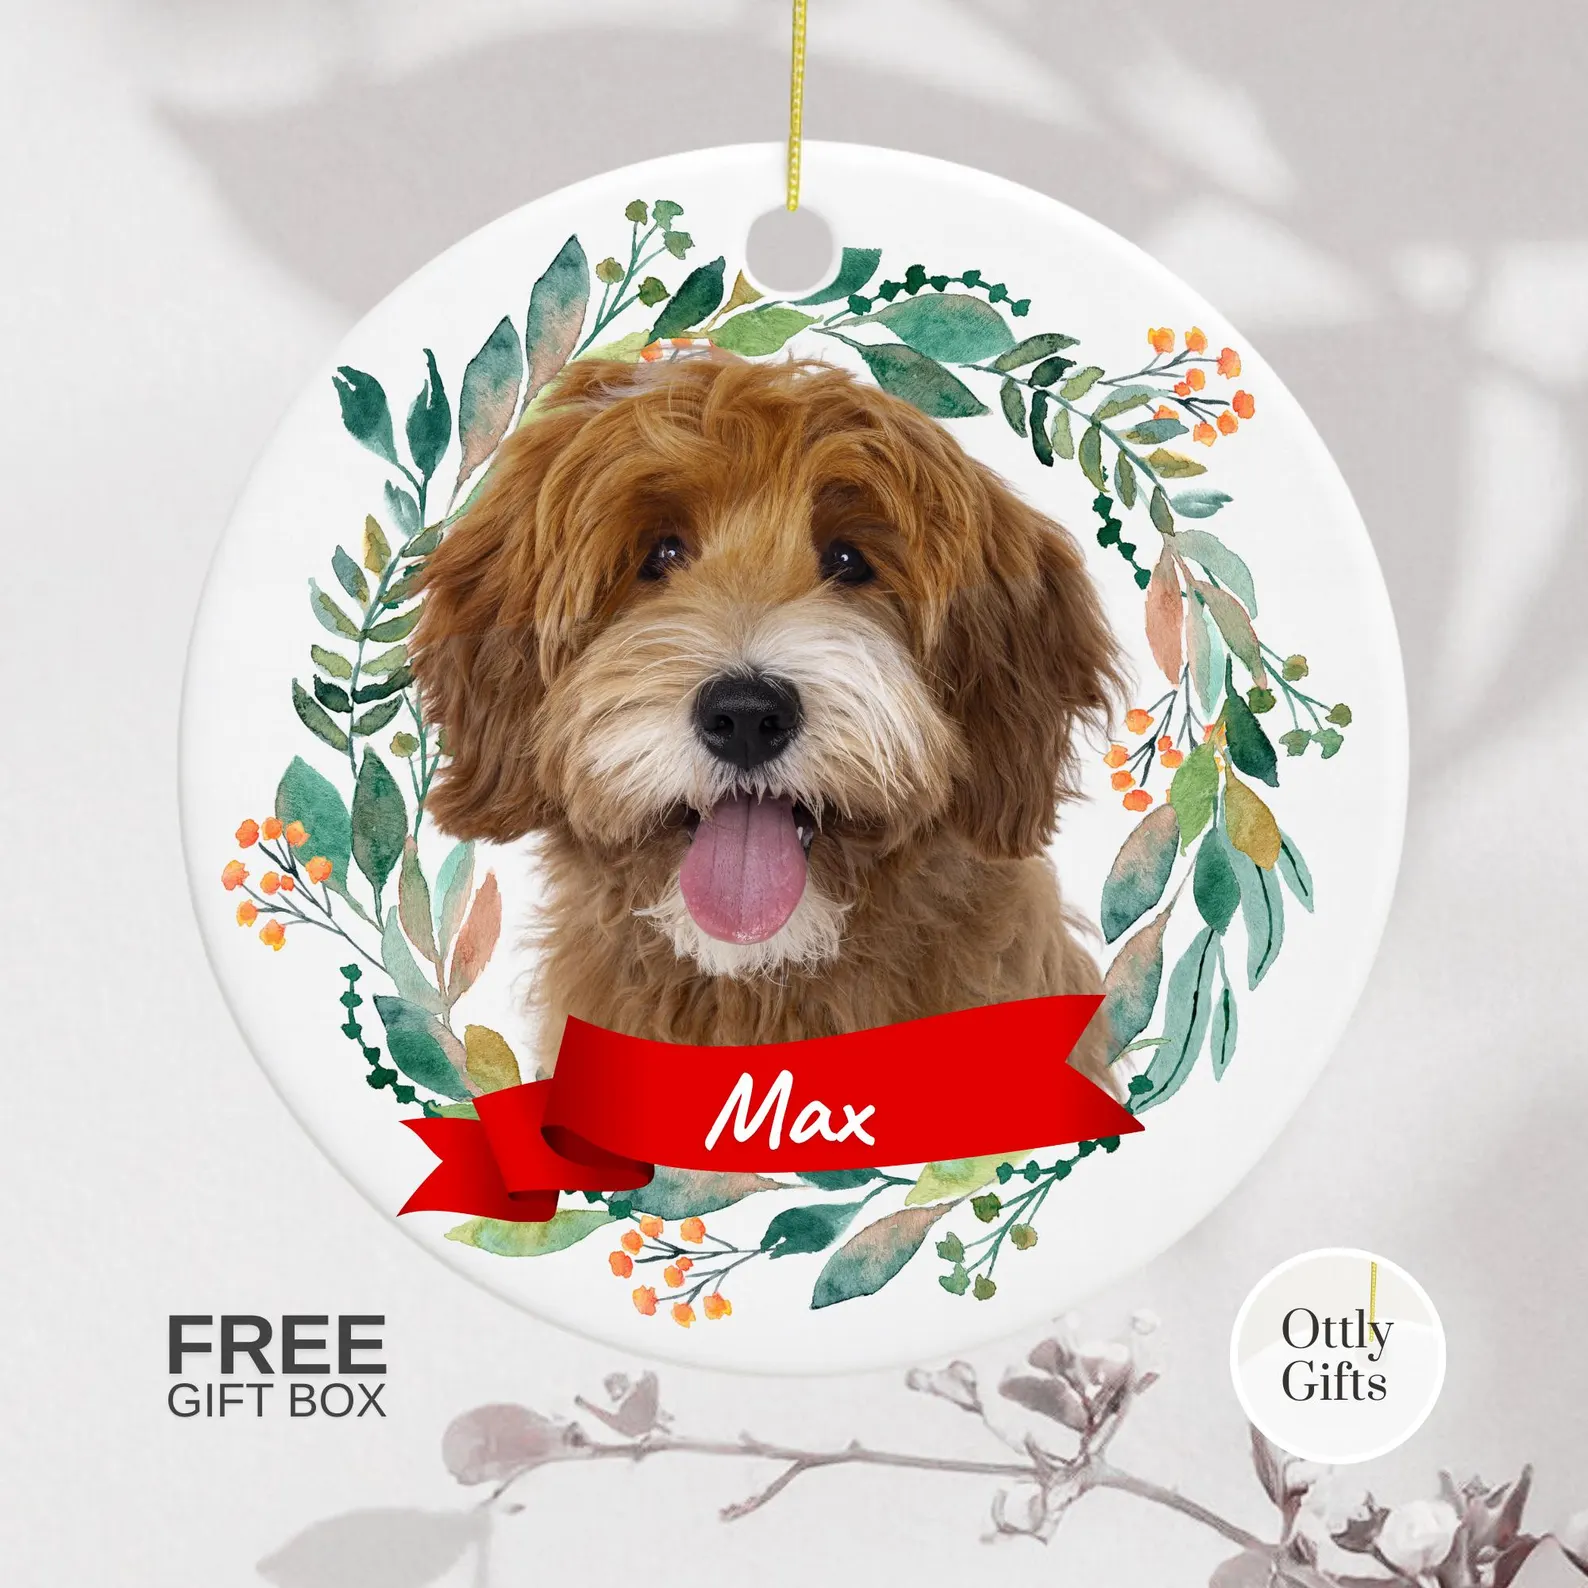 Christmas · pet giftPersonalized dog photo ornamentA photo keepsake for a much-loved dog.View on Etsy ↗
Keep exploring